
How to Remove Swirl Marks and Micro-Scratches — Two Steps to Restore a Mirror Finish
Wash your car, park it in the sunlight, and look at the hood — covered in tiny circular patterns. Change the angle, and there are hair-thin lines you can”t wipe away no matter how hard you try.
These are swirl marks and micro-scratches — microscopic scratches on the surface of the clear coat, only 0.5 to 5 micrometers deep. They don”t require heavy compounding, and they certainly don”t need a respray. Two steps are enough.
1. What Are Swirl Marks and Micro-Scratches?
Swirl marks are collections of fine, spiral-shaped micro-scratches. Why spiral? Because most swirl marks are created when a wash towel traps abrasive particles and drags them in circular motions across the paint. One circle overlapping another, leaving microscopic “tree rings” across the finish.
Micro-scratches are even finer — visible only at specific angles under light, with no detectable depth when you run your fingernail over them.
Both types of scratches are 0.5–5μm deep, while the clear coat is typically 30–50μm thick. Swirl marks occupy less than one-tenth of the clear coat”s total thickness, which means a finishing polish or one-step还原剂 is all you need.
Core principle: Use the finest method that gets the job done. Every additional compounding step removes 3–5μm of clear coat. Clear coat doesn”t grow back — conserve it whenever possible.
2. Diagnose Before You Start — Confirm the Scratches Are Removable
Even though swirl marks are shallow scratches, you should still verify before touching the paint.
2.1 The Fingernail Test
Run your fingernail perpendicularly across the scratch (across the scratch direction, not along it):
- Nail glides smoothly with zero resistance → Classic swirl marks / micro-scratches. A finishing step is all you need.
- Slight resistance but nail isn”t caught → Slightly deeper light scratches. Start with a medium polish, then finish.
- Nail catches noticeably → These aren”t swirl marks anymore. Likely 10–20μm deep — follow a full three-step scratch removal process.
2.2 The Water Test
Spray some water on the scratched area:
- Scratches disappear or become significantly lighter → Water has filled the microscopic grooves, confirming the scratches are confined to the clear coat and can be removed through car polishing.
- Scratches remain clearly visible → The scratches may have penetrated through the clear coat. Polishing won”t fix this.
Use both tests together. No nail catch + water makes scratches fade = confirmed light scratches. Two steps will handle it.
3. Don”t Start on the Whole Car — Do a Test Spot First
One of the biggest mistakes people make with swirl marks is diving straight into the entire car. You need to figure out whether a finishing polish alone is enough or whether you need a medium cut first. Different cars have different clear coat hardness levels, and the same approach can yield very different results.
Professional detailing has a standard procedure called the Test Spot Protocol. The logic is simple: start with the least aggressive option. If it works, apply it to the whole car. If not, step up.
How to Do It
- Find an inconspicuous but representative area — the lower corner of the rear bumper works well.
- Mask off a 30cm × 30cm square with painter”s tape. Draw a line down the middle to divide it into two halves.
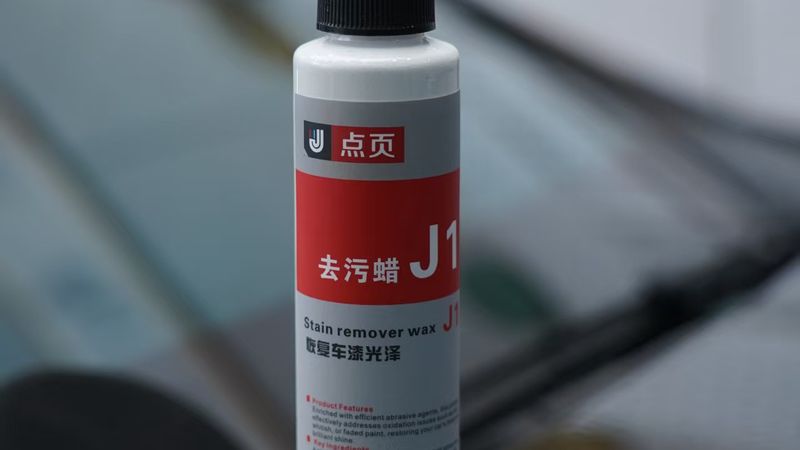
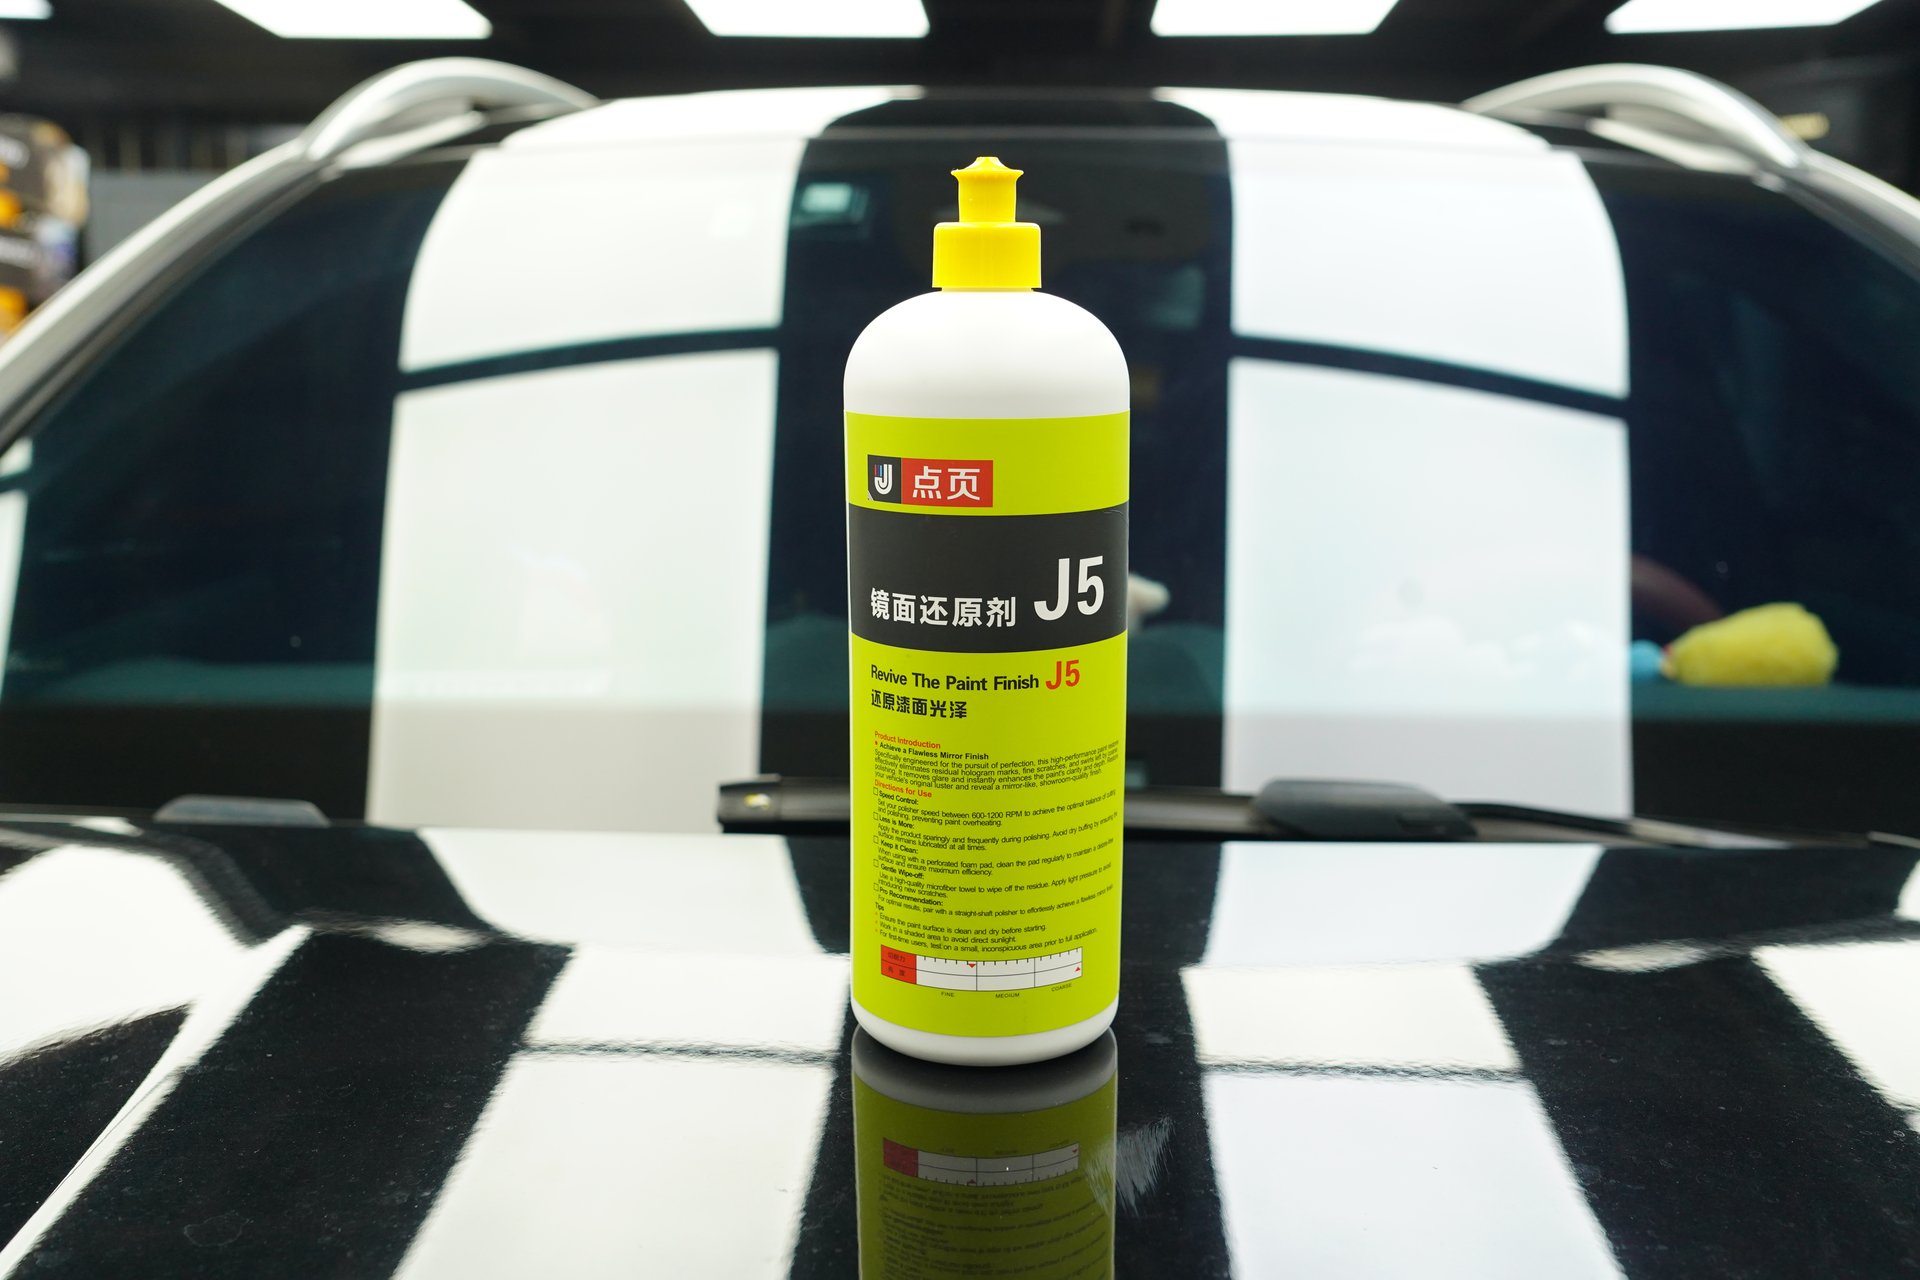
- Start with the mildest option — DianYe J5 Mirror Finishing Agent + ultra-fine foam pad on a DA machine at low speed.
- Polish half the area (two horizontal passes, two vertical passes). Wait until the polish breaks down and turns clear, then wipe off.
- Remove the tape and inspect under a light: did the swirl marks disappear on the polished half? Compare it side-by-side with the unpolished half — the difference speaks for itself.
This is what the industry calls the “50/50 Test” — peel the tape, and the before-and-after comparison is impossible to argue with.
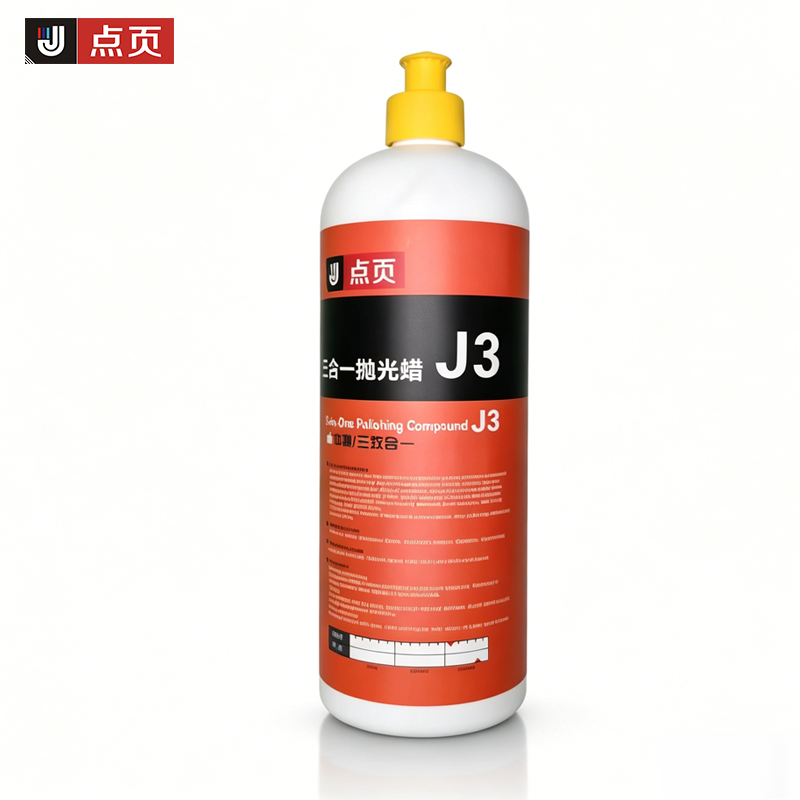
If J5 removes the swirl marks in a single pass, great — use this combination for the whole car. It saves time and preserves clear coat. If swirl marks remain, step up one level: switch to DianYe J3 Medium Cut Polish + fine foam pad and repeat the test.
The economics of the test spot method: a wrong full-car approach wastes 3–5μm of clear coat. A test spot wastes less than 0.5μm. One test spot could save you an unnecessary medium polish step.
4. The Two-Step Process
Once you”ve confirmed light scratches and completed a test spot, it”s time for the full process. The standard two-step procedure for light scratches: finishing → protection. If the paint condition is worse, add a medium polish step to make it three.
4.1 Decontamination Pre-Wash (Do Not Skip)
No matter how shallow the scratches, you must clean the surface thoroughly before polishing.
- Wash with a pH-neutral car shampoo to remove surface dirt and grime.
- Run a clay bar or clay mitt over the entire surface to remove embedded contaminants — iron particles, tar spots, and industrial fallout.
- Wipe down with an IPA panel wipe (isopropyl alcohol diluted 1:1 with water) to remove old wax and oils.
Skip decontamination, and those tiny surface particles get ground under the polishing pad like sandpaper — you”ll end up with more scratches than you started with.
4.2 Step One: Finishing Polish
After the test spot confirms J5 is sufficient, run the entire car through a finishing polish.
Product: DianYe J5 Mirror Finishing Agent. Abrasive particles <3μm, engineered specifically for fine finishing and refinement. Available in a 1000g container.
Pad choice: Ultra-fine foam pad (black or blue) or ultra-fine microfiber pad. The softest pad face paired with fine abrasives ensures no new scratches are introduced.
Operating parameters:
| Parameter | Recommended Value |
|---|---|
| Machine | DA dual-action polisher |
| Pad | Ultra-fine foam pad / ultra-fine microfiber pad |
| Speed | 1200–1500 RPM |
| Pressure | Extremely light — let the machine”s weight do the work |
| Pattern | Two horizontal passes, then two vertical passes |
| Section size | Approximately 60cm × 60cm per area |
Key technique: Wait for the polish to “break down”
Here”s a principle many people don”t know — diminishing abrasive technology.
The abrasive particles in a quality automotive polishing wax like J5 are not uniform in size. When you start polishing, the particles are angular with strong cutting power. As the machine continues working, the particles fracture into smaller, rounder pieces, and the cutting force automatically decreases — transitioning from “cutting mode” to “finishing mode.”
When the polish changes from a white paste to a clear, oily film, that”s the signal that the particles have fully broken down. Clear = finishing complete. If you wipe it off after only 30–40 seconds, you”ve only completed the cutting phase without the finishing phase, leaving holograms on the paint.
The full cycle from cutting to finishing takes approximately 2–3 minutes per section:
| Phase | Time | Particle State | Polish Appearance |
|---|---|---|---|
| Initial cutting | 0–30 sec | Intact, angular | White paste, thick |
| Transitional breakdown | 30–90 sec | Fracturing, shrinking | Thinning, lightening in color |
| Finishing complete | 90–180 sec | Fully fractured, rounded micro-particles | Clear/oily, thin film |
Give each section at least 2–3 minutes to let the abrasives complete the full cycle. DA machine on low speed — don”t rush it. Patience delivers better results.
4.3 IPA Panel Wipe — Verify the Result
After finishing polish, wipe the paint with an IPA panel wipe. This step verifies whether the “shine” you see is a true mirror finish or just filler hiding the scratches.
After the panel wipe, the paint is still glossy and the swirl marks are still gone — that”s genuine physical removal. The result is permanent. After the panel wipe, the swirl marks reappear — that”s silicone oil fillers fooling your eyes, not a real fix.
4.4 Step Two: Apply Protection
Once you”ve confirmed the finishing result, apply a protective layer immediately. The clear coat after polishing is bare — without protection, it will re-oxidize within days.
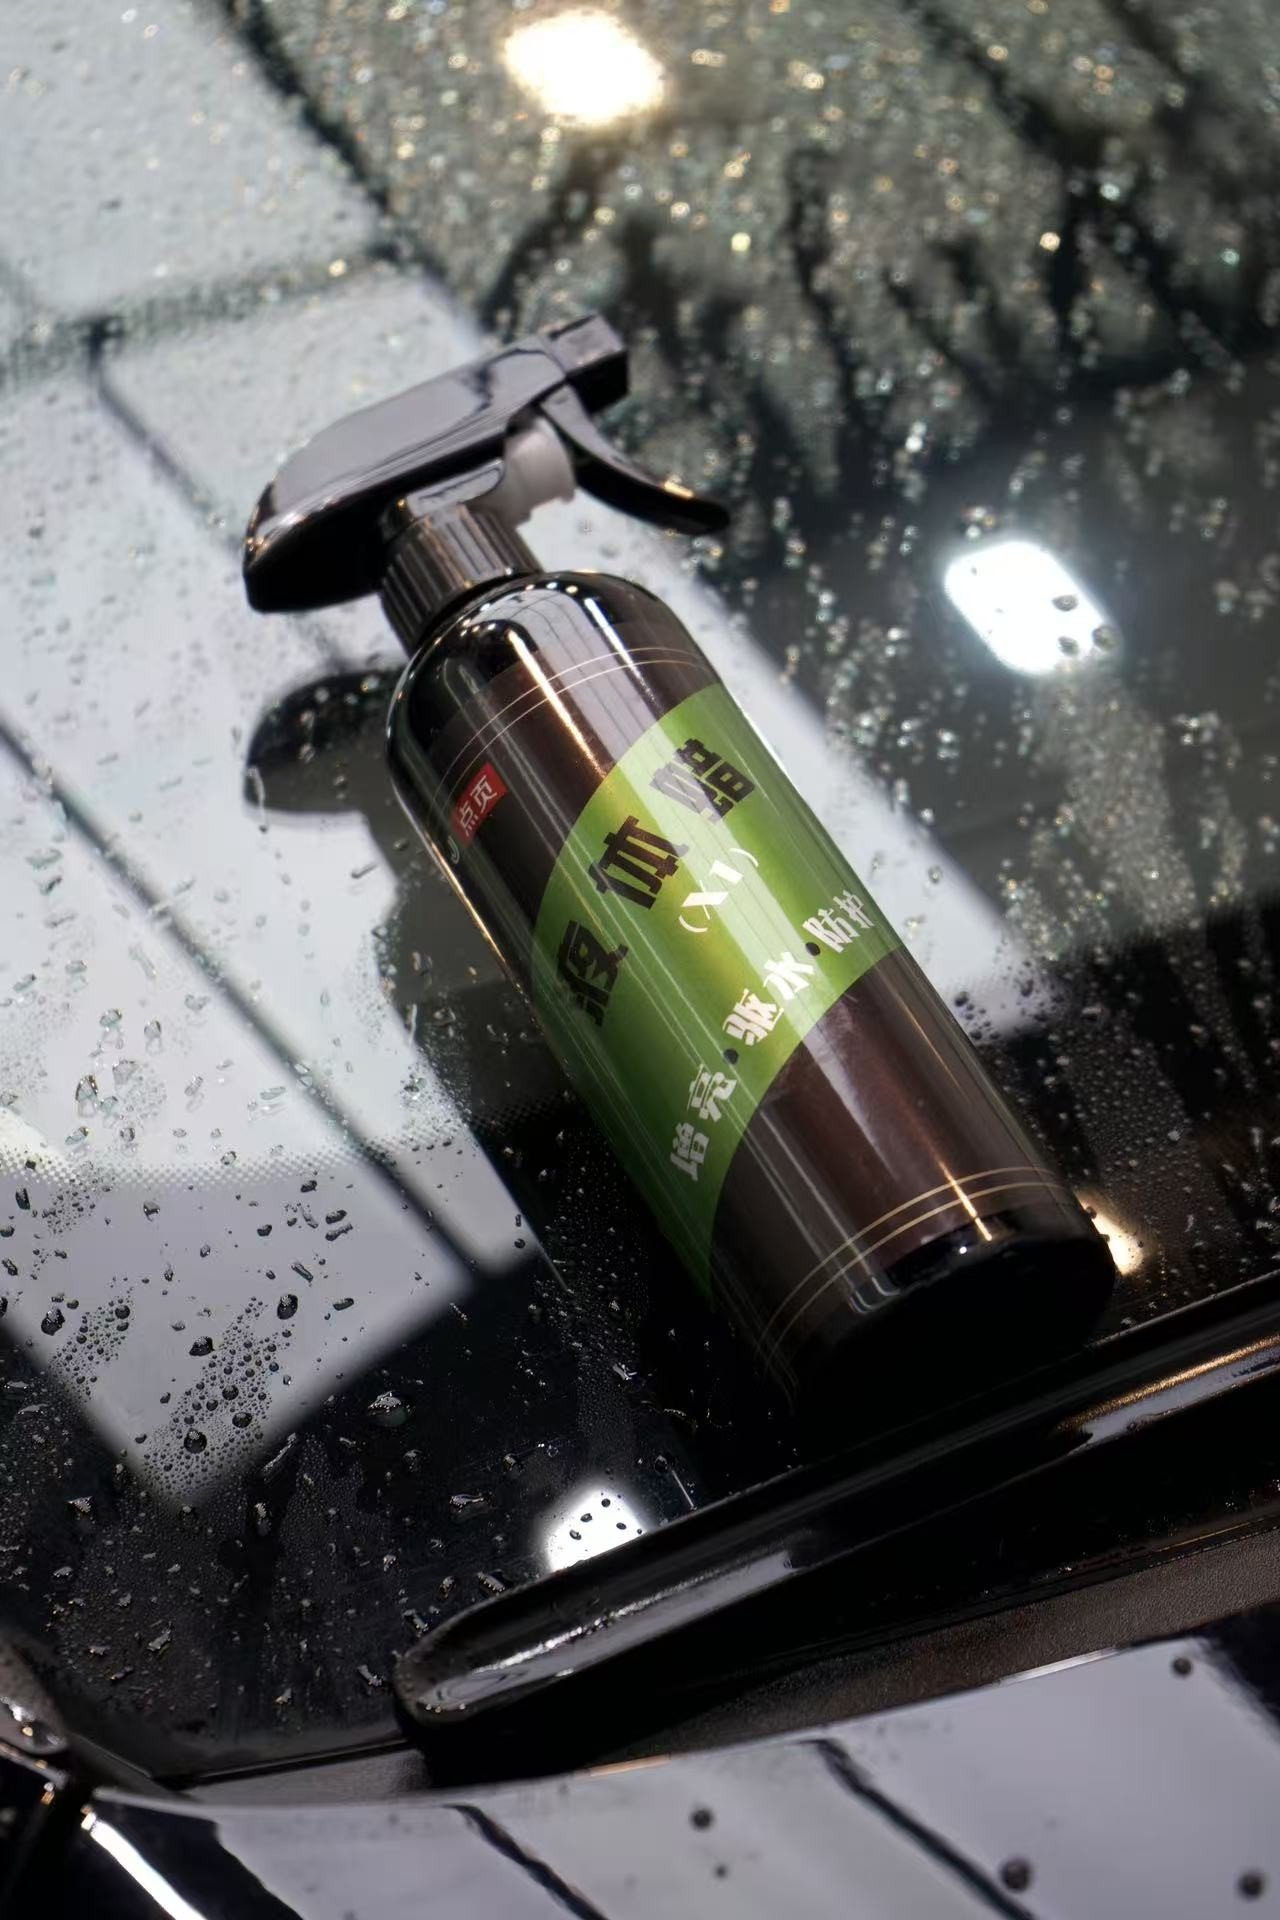
Recommended: DianYe X1 Quick Liquid Wax for protection. X1 is a quick-detail liquid wax — spray it on, wipe it even, no waiting required. Gloss and protection in one step. Extremely convenient for post-polish maintenance.
Note: X1 is a protective wax, not a corrective product. Its job is to add a protective film over the finished paint. It has no scratch-removal capability. If there are remaining scratches, continue polishing first — X1 cannot hide them.
5. Heavier Paint Condition? Add a Medium Polish Step
If the test spot shows J5 alone isn”t enough and swirl marks remain, add a medium polish step.
Product: DianYe J3 3-in-1 Polishing Wax (also called J3 Medium Cut Polish). Abrasive particles 3–10μm, water-based paste formula. Stronger cutting power than J5 but far gentler than a heavy compound.
Pad choice: Fine foam pad (orange or yellow). Medium hardness pairs perfectly with medium polish for swirl mark removal.
Operating parameters:
| Parameter | Recommended Value |
|---|---|
| Machine | DA dual-action polisher |
| Pad | Fine foam pad |
| Speed | 1500–2000 RPM |
| Pressure | Light pressure |
| Completion cue | Polish breaks down clear, swirl marks disappear |
After the medium polish step, follow up with DianYe J5 Mirror Finishing Agent + ultra-fine foam pad for a finishing pass to remove any minor pad marks left by the medium polish.
6. Pad and Polish Pairing Quick Reference
Based on DA dual-action polisher use, here are the recommended combinations:
| Paint Condition | Step 1 | Step 2 | Protection |
|---|---|---|---|
| Micro-scratches / very light swirls | J5 Finishing Agent + ultra-fine foam pad | — | X1 Quick Liquid Wax |
| Standard swirl marks + light oxidation | J5 Finishing Agent + ultra-fine foam pad | — | X1 Quick Liquid Wax |
| Heavier swirl marks / greyed paint | J3 Medium Cut Polish + fine foam pad | J5 Finishing Agent + ultra-fine foam pad | X1 Quick Liquid Wax |
| Swirl marks on body lines and edges | J3 Medium Cut Polish + 3” mini pad (fine foam) | J5 Finishing Agent + 3” mini pad (ultra-fine foam) | X1 Quick Liquid Wax |
The DA polisher is the go-to tool for light scratch correction. Its random orbital motion significantly reduces the risk of burn-through and buffer trails — even beginners can use it safely. A rotary polisher offers more cutting power, but using it on light scratches is like using a sledgehammer to crack a nut — the risk far outweighs the benefit.
7. Watch Out: Your “Scratch Remover” Wax Might Be Fake
Many “scratch remover” waxes and “swirl remover” products on the market look brilliant right after application, but after two or three washes, the swirl marks come right back. That”s because these products don”t actually “fix” scratches — they “hide” them.
Genuine Correction vs. Fake Fillers
| Comparison | Genuine Corrective | Fake Filler |
|---|---|---|
| How it works | Contains abrasive particles that physically level the scratches | Contains silicone oil / fillers that temporarily fill the scratches |
| Example products | J5 Mirror Finishing Agent, J3 Medium Cut Polish | Generic scratch removers, budget swirl removers |
| Result longevity | Permanent removal | Temporary — fillers wash out after 3–5 washes |
| IPA panel wipe test | Scratches still gone after wipe | Scratches fully return after wipe |
How to tell? If the ingredient list includes “siloxane” or “dimethicone,” it”s almost certainly a filler type. If it feels extra smooth with zero abrasive feel, that”s also a strong indicator of a filler product.
A genuine automotive polishing wax with real correction ability requires polishing time (2–3 minutes for diminishing abrasives to break down). The results are permanent.
This is exactly why the IPA panel wipe verification step is non-negotiable. You spend an hour or two polishing, and the results hold after the wipe — that”s a real fix. If the scratches come back after the wipe, your product was just “hiding” them.
8. Machine Polishing vs. Hand Polishing: How Big Is the Difference?
“No polisher — can I do it by hand?” You can, but the results are significantly worse. According to SAE International test data, machine polishing removes defects 2.5 times more effectively than hand polishing. A machine maintains consistent speed and pressure, while hand pressure drops over 30% after just 60 seconds, leading to uneven results.
Hand polishing works for: A few localized swirl marks, small areas of micro-scratches. Large-area swirl marks: A DA machine is mandatory. Hand work simply can”t cover enough area with consistent results.
9. Prevention Matters More Than Correction
Once you”ve removed the swirl marks, if you don”t change your washing habits, the next wash will add another layer of new ones. The core prevention rule is simple: minimize direct friction between abrasive particles and the clear coat.
Key habits:
- Two-bucket wash method: One bucket of soapy water + one bucket of rinse water (with a grit guard at the bottom). After each panel, rinse your wash mitt in the clean water bucket first.
- Straight-line wiping, never circular: Circular motions press abrasive particles into the paint in spiral patterns — that”s exactly how swirl marks form.
- Wipe from the roof downward: The lower panels carry the most dirt and grime. Don”t transfer it upward.
- Pre-soak to loosen dirt: Spray foam first and wait 2–3 minutes for dirt to soften and release. Wiping a dry car is the worst thing you can do.
- Avoid automatic car washes: The brushes are loaded with dirt and grit from previous vehicles. Every pass is essentially a full-car micro-abrasion.
- Apply protection regularly: DianYe X1 Quick Liquid Wax — just spray and wipe after each wash. Low effort, low cost, but the difference is clearly visible.
Final Thoughts
Swirl marks and micro-scratches are the most common paint defects — and also the easiest type of scratches to fix. Two steps (finishing + protection), the right automotive polishing wax, and one afternoon is all it takes to restore a mirror finish.
Key takeaways:
- Diagnose before you act: Fingernail test + water test to confirm light scratches. Don”t treat deep scratches like swirl marks.
- Test before you commit: A 30cm × 30cm test spot finds the minimum effective approach. Save your clear coat.
- Wait for the polish to break down: Diminishing abrasives need 2–3 minutes to complete the full cutting → finishing cycle. Don”t rush to wipe.
- IPA panel wipe to verify: Confirm genuine correction, not fake filler concealment.
- Change your wash habits: Two-bucket method + straight-line wiping + pre-soak. The swirl marks won”t come back.
After over a decade in automotive polishing products, here”s what we always want to say: most car owners over-worry about swirl marks. They don”t reach the anti-corrosion layer, they don”t reach the base coat — they”re just an eyesore. Fix them the right way, improve your wash habits, and they won”t come back.