
Chrome Trim Scratches — Can They Be Polished? With a 0.5-5μm Chromium Layer, Check This Line Before You Touch Automotive Polishing Wax
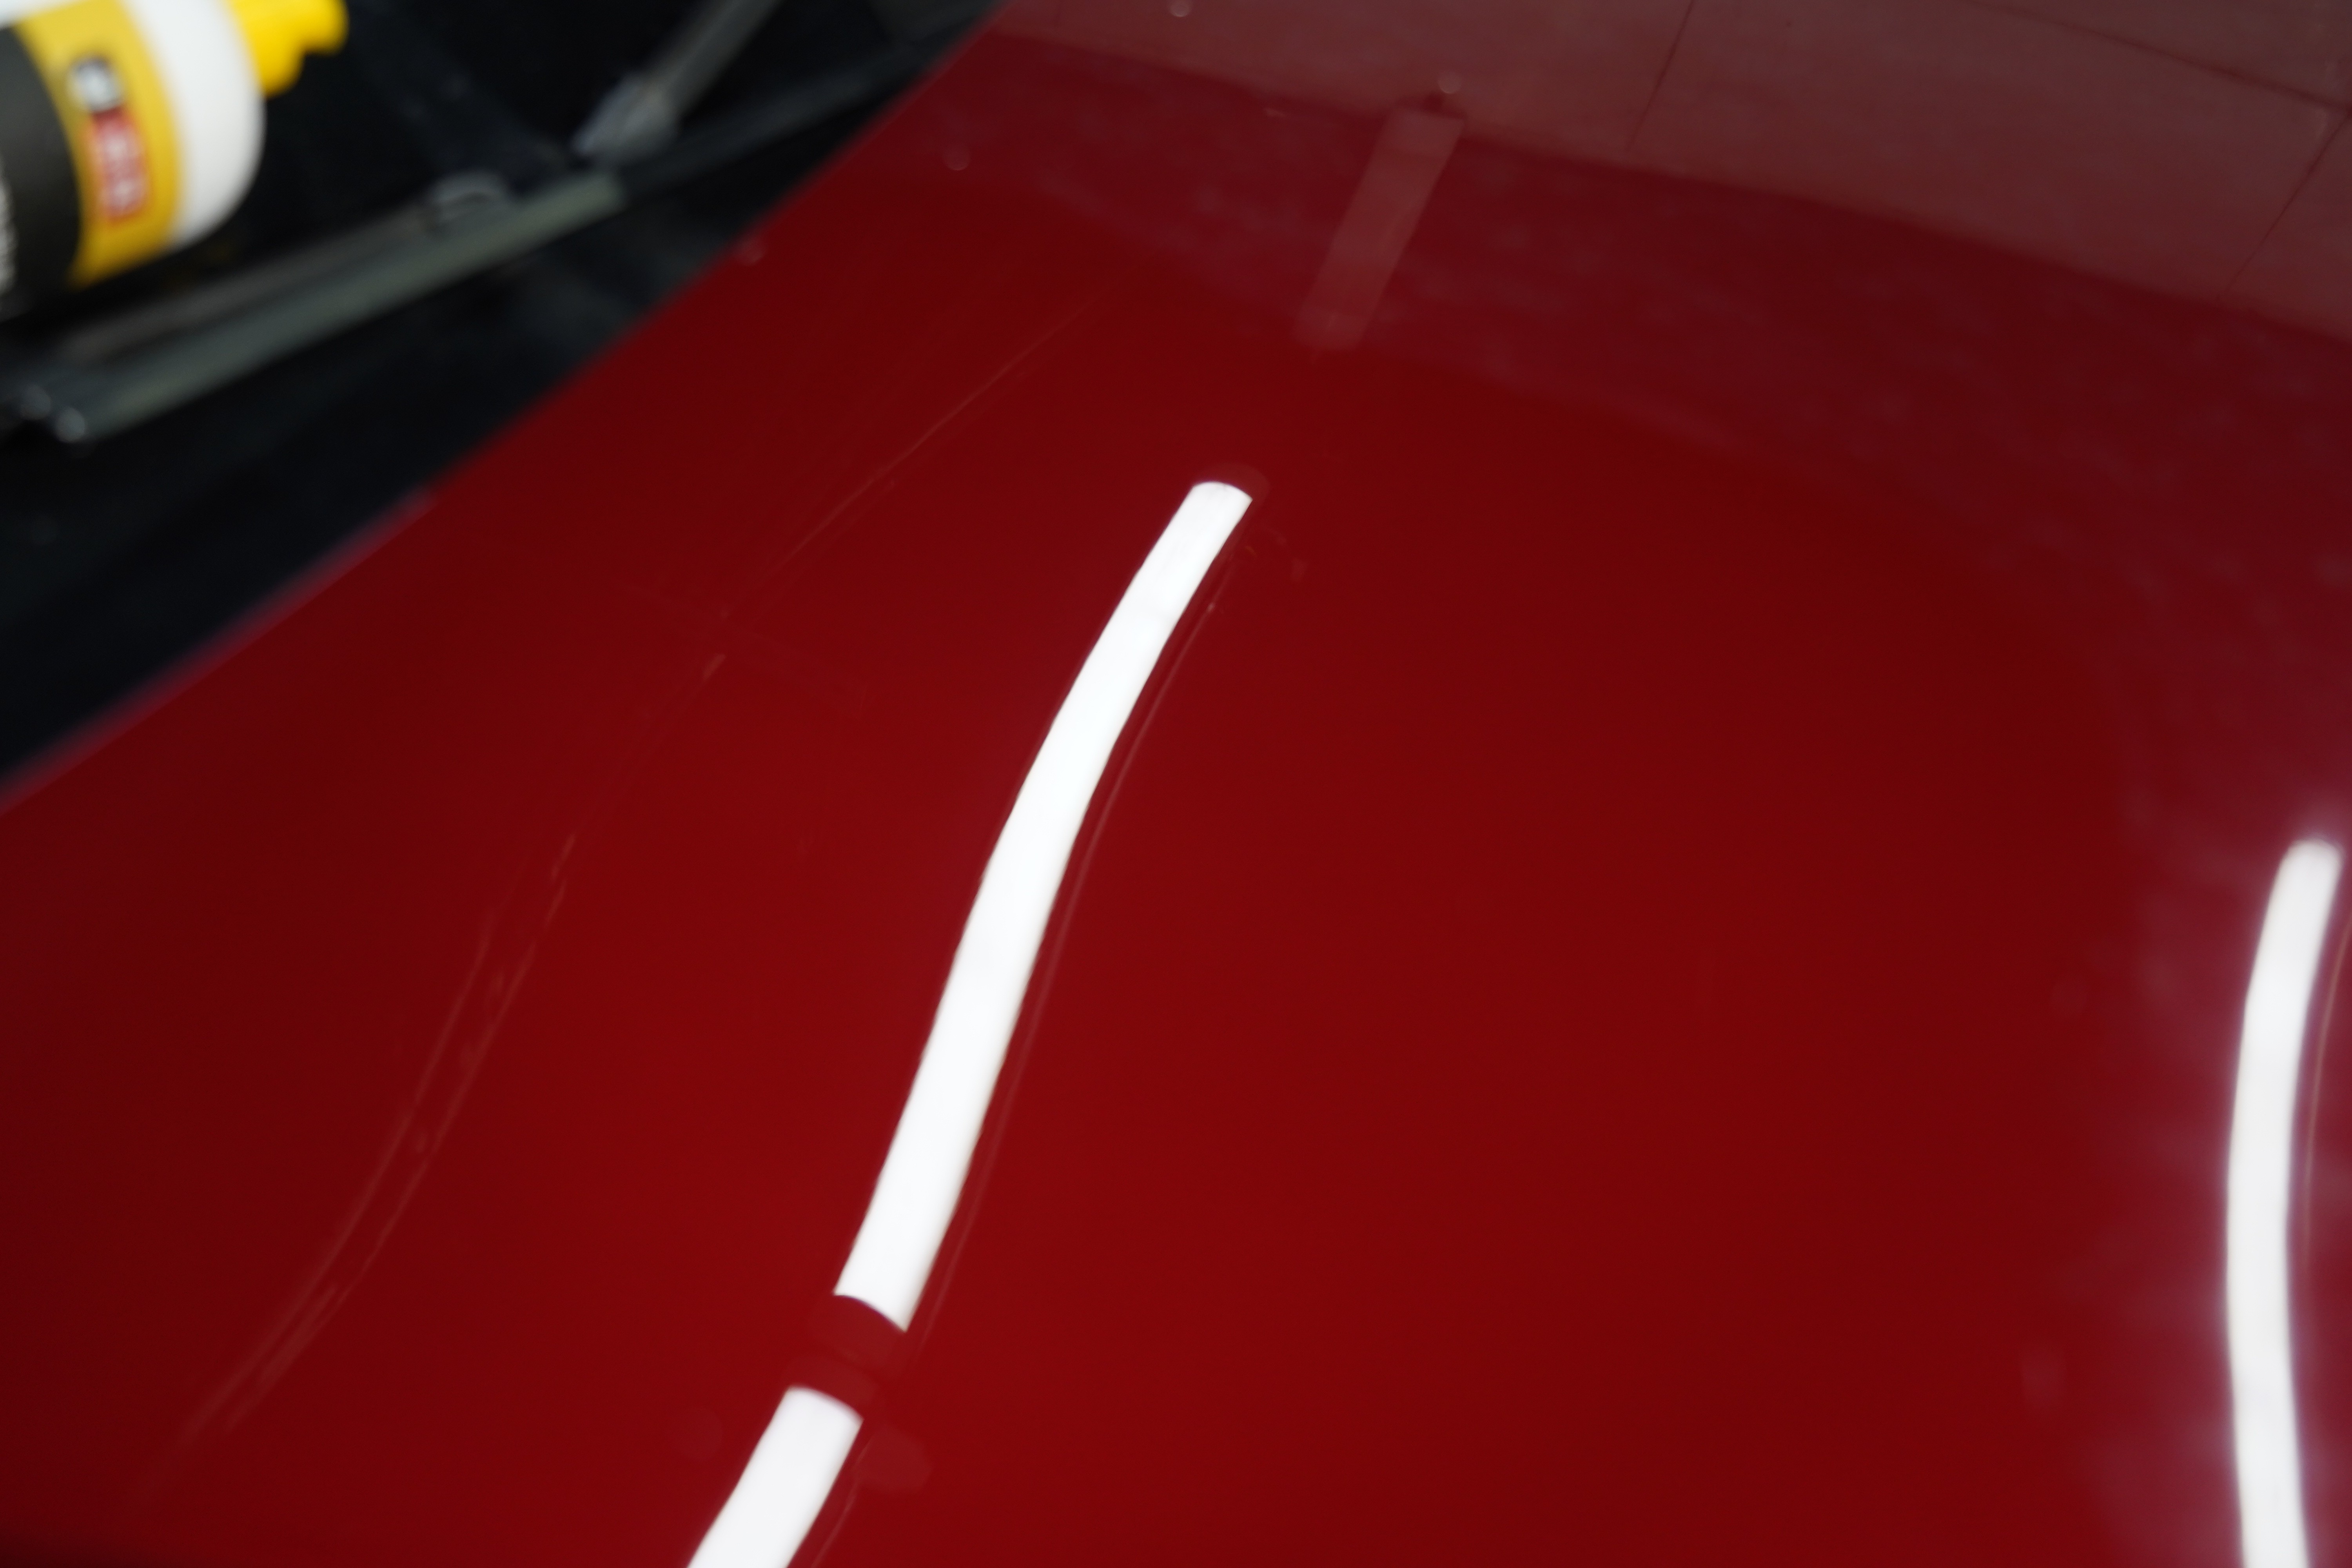 Whether chrome trim scratches can be polished depends entirely on which layer the scratch has penetrated — get this wrong, and the cost is full replating.
Yesterday a customer pulled into the shop with a visible scratch on the chrome strip of his right front door handle. He asked if automotive polishing wax could buff it out. I ran my fingernail across the mark — it caught.
I told him the truth: This scratch can”t be polished out. Don”t waste your time.
He wasn”t convinced. Said he”d seen people online use automotive polishing wax to make chrome trim shine like new. I explained: they were removing oxidation, not treating scratches — two completely different operations.
Chrome trim scratch repair is one of the most common mistakes people make. The impulse is always the same: see a scratch, reach for polish. But on clear coat you have 35-50μm of working depth — removing 5-10μm still leaves plenty of margin. The chrome layer is only 0.5-5μm — an entire order of magnitude thinner. Polishing wax on clear coat is precision work; on chrome, it”s a bulldozer on thin ice.
In this article I”ll walk through the complete chrome scratch assessment method, the threshold for what can and can”t be polished, and the alternative solutions when polishing isn”t an option. Whether you use DianYe polishing compounds or another brand, read this before touching chrome — it could save you hundreds on unnecessary replating.
1. First, Understand: Not All “Marks” on Chrome Are the Same Thing
The biggest misconception is lumping every chrome defect under the label “scratch.” Chrome surface marks fall into at least four categories, each requiring completely different treatment:
| Type | Depth Characteristics | Fingernail Test | Nature |
|---|---|---|---|
| Surface Oxidation Mark | Extremely shallow, affects only the passivation film | No catch | Not a scratch — oxidation |
| Surface Scratch | Depth <0.05μm, affects only the top of the chrome layer | Almost imperceptible | Can be safely polished |
| Shallow Scratch | Depth 0.05-0.1μm, into the chrome but not through it | Slight catch | Extremely cautious, high risk |
| Deep Scratch | Depth >0.1μm, penetrated through the chrome layer | Obvious catch | Cannot polish — repair or replating only |
The key diagnostic tool: your fingernail.
Lightly drag your fingernail across the suspect area. If you feel no catch — it”s most likely surface-level oxidation or a superficial scratch, and automotive polishing wax can handle it safely. If your fingernail catches distinctly — the scratch has penetrated or nearly penetrated the chrome layer. Do not polish.
Japan”s NAKARAI Electroplating Factory (40+ years specializing in automotive electroplating) has stated plainly: eliminating scratches on chrome plating is, in principle, nearly impossible. The abrasive wears through the extremely thin chrome layer rapidly, exposing the yellowish nickel substrate beneath, destroying the luster entirely — and the micro-scratches left behind are brutally visible on chrome”s high-mirror surface.
This sounds extreme, but the core principle is correct — the chrome layer is so thin that the safety margin is essentially zero.
2. The Critical Dividing Line: Has the Scratch Penetrated the Chrome Layer?
Whether a chrome scratch can be polished comes down to one question: Has the scratch penetrated through the chrome layer?
A previous article covered chrome trim construction: copper layer 6-8μm as base, nickel layer 8-12μm for protection, chrome layer 0.12-0.5μm on the surface. The total three-layer stack is barely a dozen micrometers — thinner than a sheet of paper. The chrome layer itself can be as thin as 0.02μm at its thinnest points.
So the assessment standard is straightforward:
Not penetrated (scratch stays within the chrome layer):
- The scratched area still shows blue-white metallic luster, though it may appear dulled
- Polishing can remove the damaged surface layer of chrome and restore shine
- A mild automotive polishing wax is appropriate
Already penetrated (exposing the nickel or copper layer):
- The scratched area appears yellowish (nickel) or reddish-copper (copper), with a clear color difference from the surrounding blue-white chrome
- Polishing will only widen the breach, removing more chrome
- Do not polish — pursue repair or replating instead
How to determine penetration?
Beyond the fingernail test, two supplementary methods:
- Check color: Observe the scratch under natural light (not LED). If it”s still silver with a blue-white tone, the chrome is intact. If it”s yellowish or dark copper, the chrome may be breached.
- Check luster differential: If the scratched area differs dramatically in gloss from the surrounding surface (one bright, one dull), the surface structure has been disrupted down to a different layer.
3. Chrome Polishing vs. Clear Coat Polishing — A Safety Margin Difference of Decades
Applying clear coat polishing techniques to chrome is one of the most dangerous mistakes you can make. Here”s a side-by-side comparison:
| Comparison | Clear Coat Polishing | Chrome Trim Polishing |
|---|---|---|
| Safe working depth | Clear coat 35-50μm, can safely remove 5-10μm | Chrome 0.5-5μm, removing 0.5μm may burn through |
| If you burn through | Exposes primer/base coat — touch-up paint, tens to hundreds of yuan | Exposes nickel/copper layer — cannot self-repair, replating required at 300-800 yuan per piece |
| Abrasive particle size vs. layer thickness | Clear coat 35-50μm vs. polish particles 3-10μm — particles far smaller than working layer | Chrome 0.5-5μm vs. polish particles 3-10μm — particles may be thicker than the chrome itself |
| Safety margin | Generous | Essentially none |
See the problem? The abrasive particles in automotive polishing wax (3-10μm) can be thicker than the entire chrome layer. Using clear coat polish on chrome is like sanding plastic wrap.
Chrome scratch treatment absolutely cannot follow the clear coat playbook. Product selection, application technique, and time control all need complete adjustment.
4. Polishing Safe Scratches — The Minimal Intervention Principle
If your chrome scratch passes the assessment (no fingernail catch, color still blue-white) and is confirmed as a surface-level scratch safe to polish, here”s the procedure:
Step 1: Thorough Cleaning
Wash the chrome surface with pH-neutral car wash soap to remove dust, grease, and iron particle residue. Never polish an unwashed surface — embedded particles will be ground into the chrome by the abrasive, creating secondary scratches. Dry completely with a microfiber towel.
Step 2: Select the Right Product
For surface scratches and light oxidation, J1 Cleaning Wax (DianYe Cleaning Wax) is sufficient. J1 uses mild abrasive particles ideal for removing oxidation and extremely shallow scratches from chrome. Application is simple: apply J1 to a microfiber cloth, wipe in one direction along the chrome strip — no back-and-forth rubbing. Work in 3-5cm sections at a time, moderate pressure for 45-90 seconds each, then wipe residue with a clean towel. J1 can be applied and wiped immediately — no waiting required.
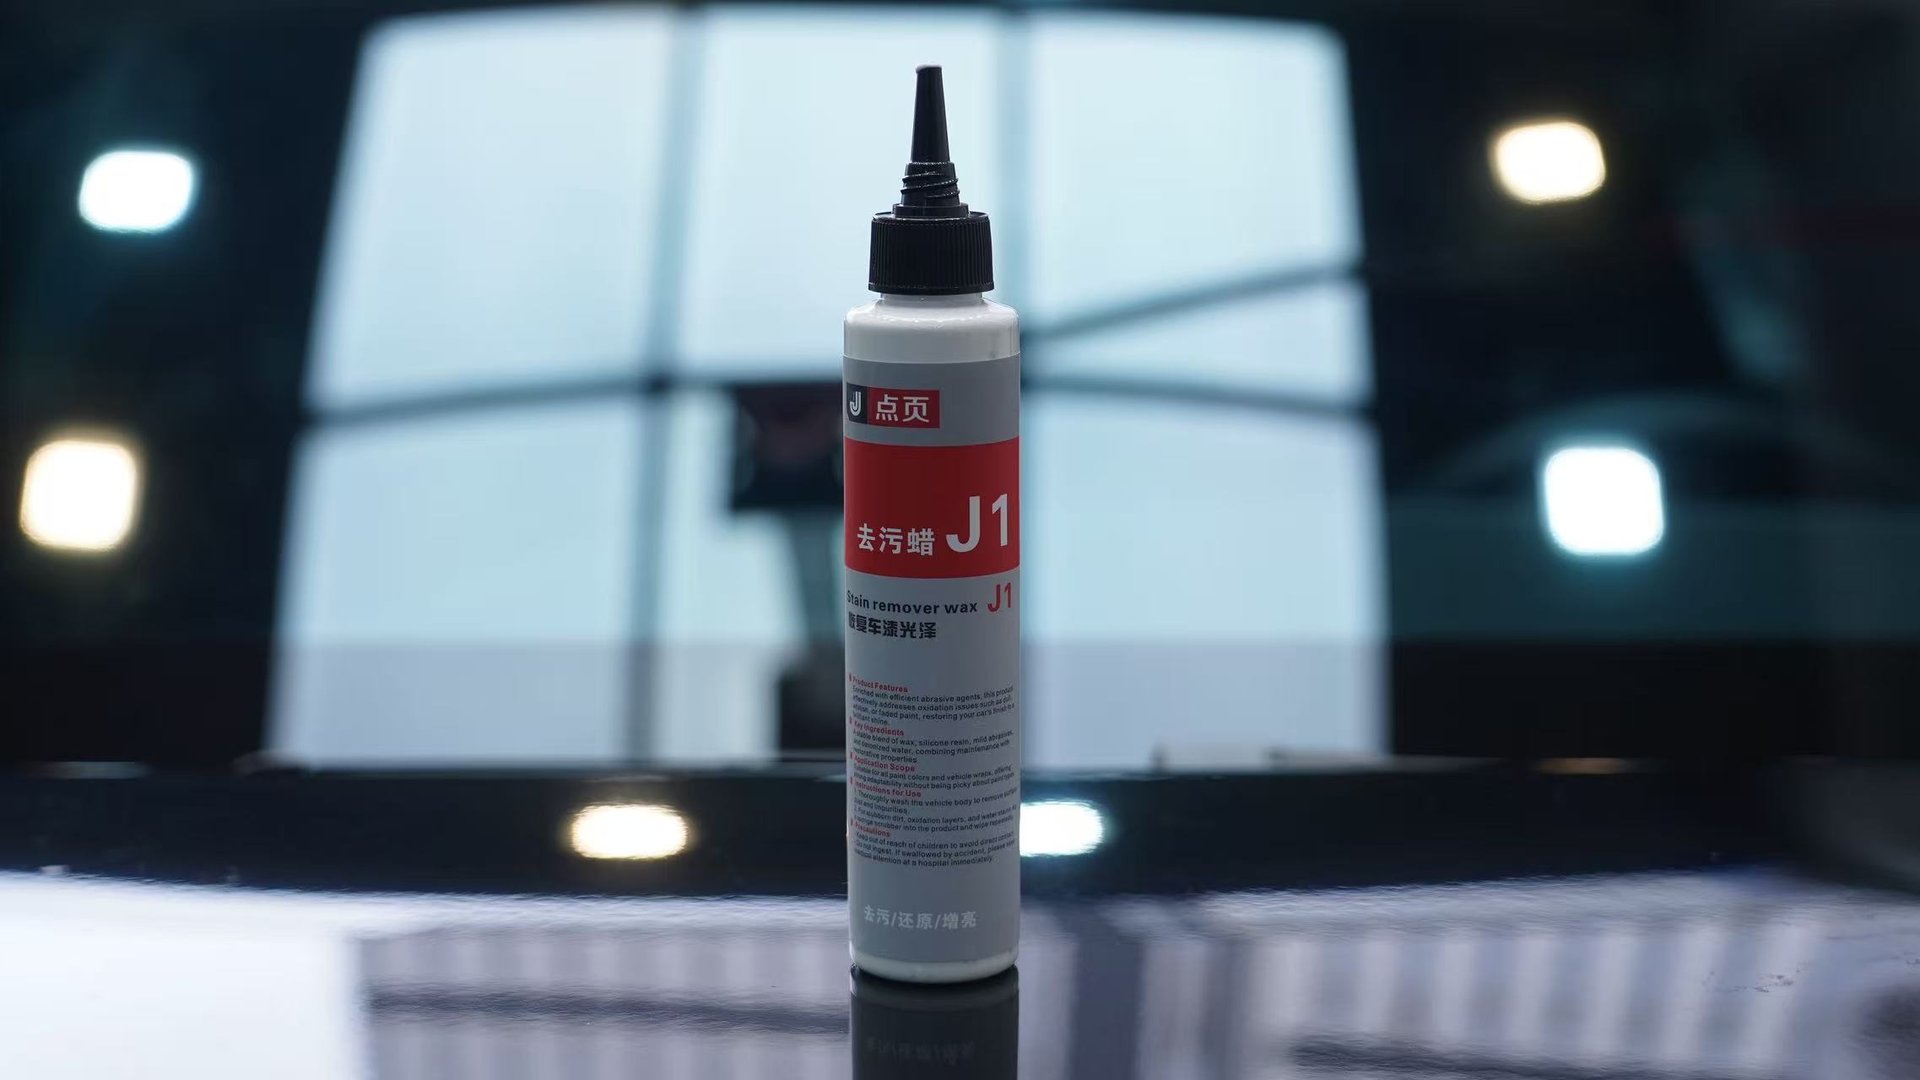 DianYe J1 Cleaning Wax — the go-to product for chrome trim surface scratches and light oxidation, hand application only.
For moderate oxidation (not scratches), use a chrome-specific polishing compound. Note: chrome-specific, not clear coat product. Chrome-specific polishing compounds typically use 0.5-3μm abrasive particles designed for thin chrome. Clear coat compounds use 5-15μm particles — completely uncontrolled on chrome.
Step 3: Control Pressure and Scope
- Hand polishing preferred: DIY users should avoid machines — maximum control comes from hand application
- Pressure equivalent to “writing with a pencil” — light to moderate
- Work in small sections (3-5 inches), 2-3 minutes per section
- After 2-3 sections, pause and feel the chrome temperature — if noticeably warm, wait for cooldown before continuing
- Heat is the biggest accomplice in burn-through: chrome and nickel have different thermal expansion coefficients; overheating causes inter-layer delamination
Step 4: Protect Immediately
After polishing, the freshly exposed chrome surface is at its most vulnerable state. Protection treatment must be applied within 24 hours.
Apply a thin coat of X1 Quick Liquid Wax (DianYe Quick Liquid Wax / protective wax) by hand. X1 is not a polishing compound — it”s a protective wax designed to isolate moisture and air, delaying the next oxidation cycle.
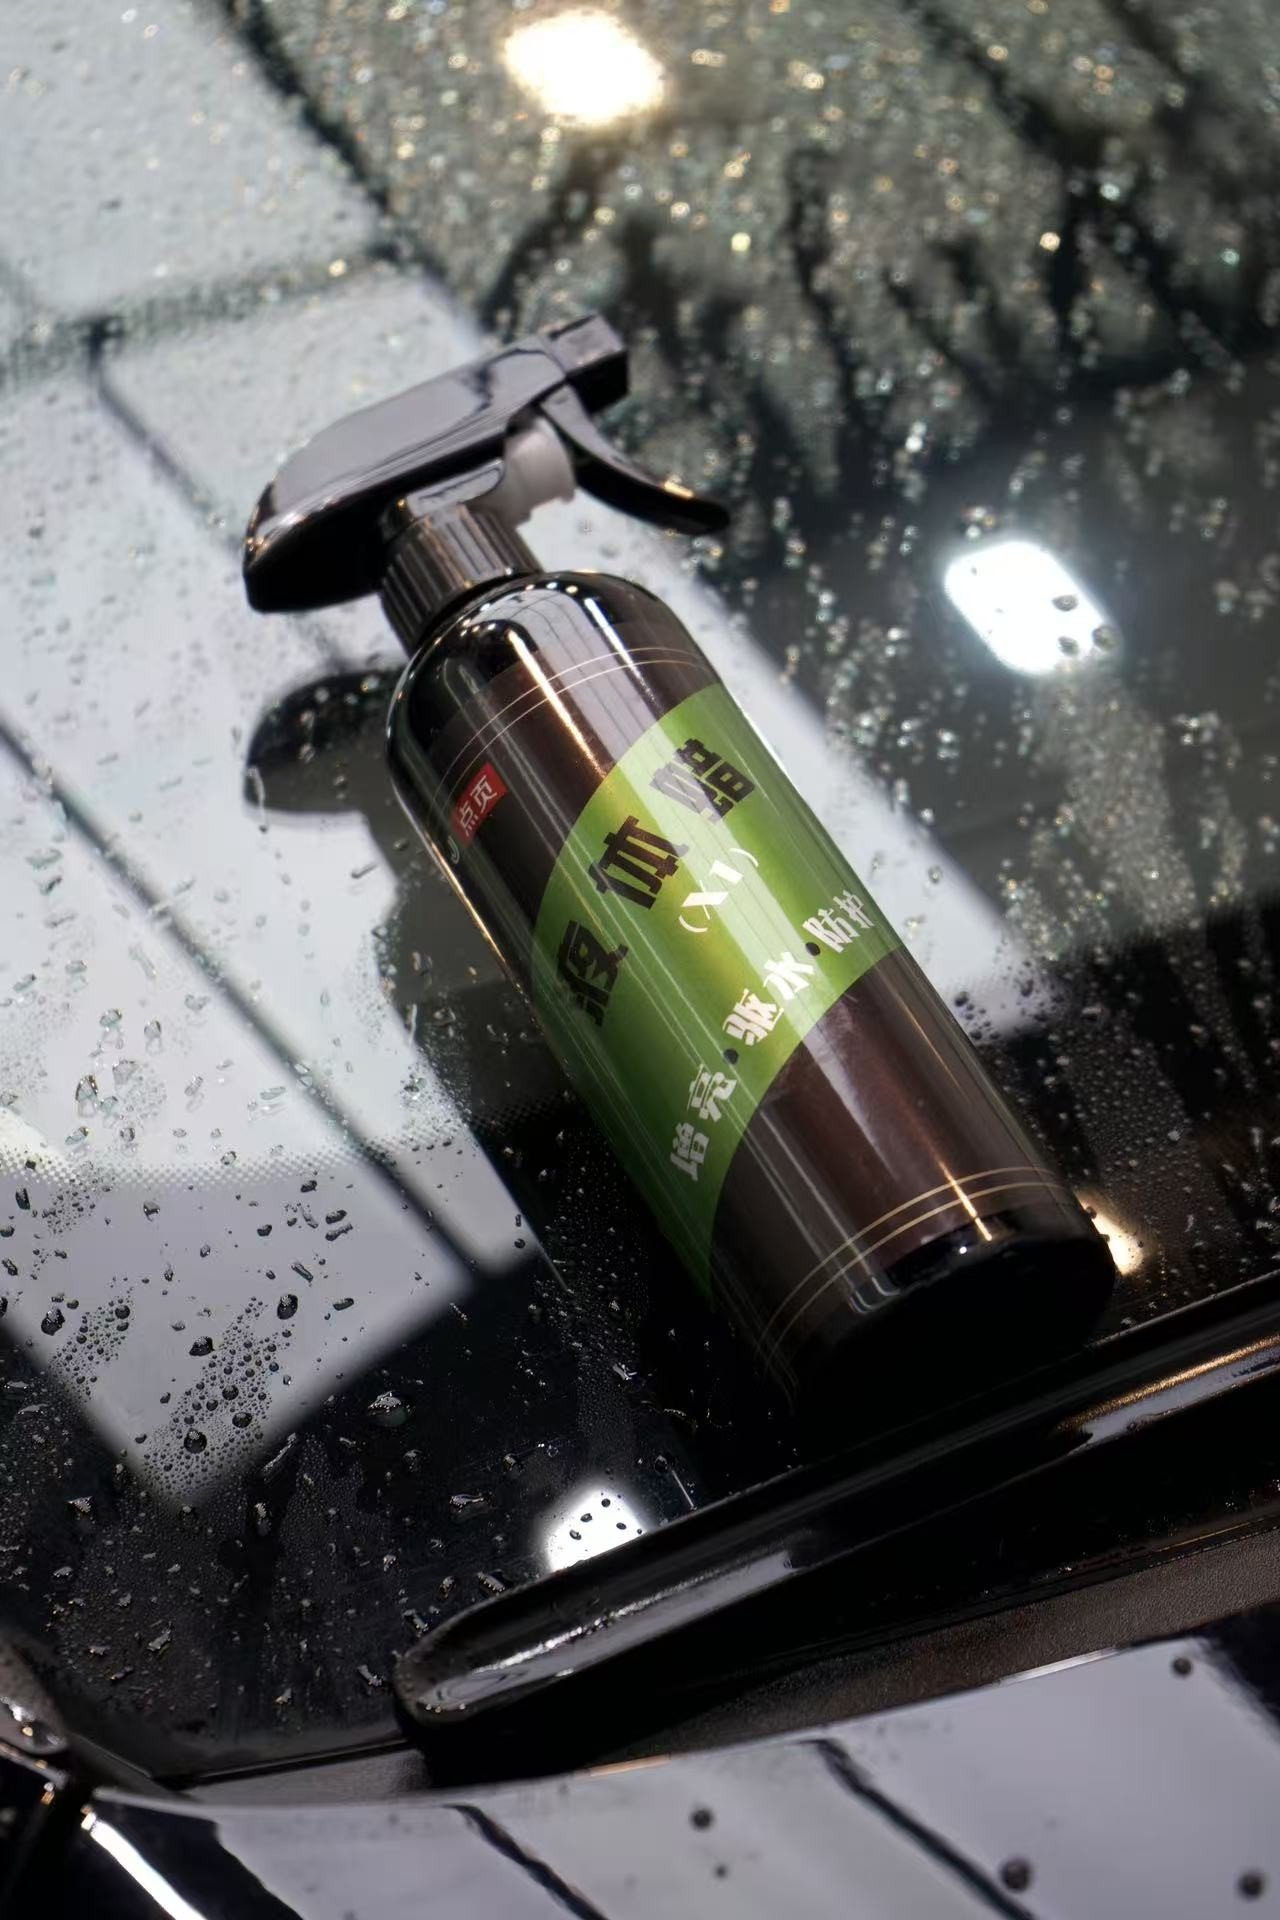 DianYe X1 Quick Liquid Wax — post-polish protective sealing for chrome trim, isolating moisture and air.
5. What to Do When Scratches Can”t Be Polished — Four Alternative Paths
If the scratch has penetrated the chrome layer (fingernail catches, color is yellowish), polishing will only make things worse. Here are four alternatives:
| Solution | Application Scenario | Result | Cost | Durability |
|---|---|---|---|---|
| Chrome Touch-Up Paint / Touch-Up Pen | Small spot damage | Cosmetic cover, not real chrome | 50-150 yuan | 6 months to 1 year |
| Nano Repair Spray / Repair Paste | Shallow surface defects | Chemical fill + gloss restoration | 30-80 yuan | Weeks to months |
| Replating | Severe damage / large-area penetration | Restore to factory condition | 300-800 yuan per piece | 5-10 years+ |
| Replace Part | Multiple damage points, repair not cost-effective | Most thorough | Varies by part | OEM quality |
My recommendation: if you”re not a professional electroplater, and the scratch has penetrated the chrome layer, prioritize replating or part replacement. Chrome touch-up paints and nano sprays are cheap but purely cosmetic — they don”t repair, and the results are short-lived.
Replating costs: small parts (door handles, emblems) 300-500 yuan, medium parts (grille trim) 500-800 yuan, large parts (bumpers) 800-2,000 yuan. Turnaround is typically 2-6 weeks — full process includes stripping → substrate repair → copper plating → nickel plating → chrome plating.
6. Methods That Must Never Touch Chrome Scratches
I”ve seen too many people destroy salvageable chrome trim with the wrong approach. Here are the most common traps:
❌ Clear coat coarse wax / rubbing compound directly on chrome: 5-15μm abrasive particles, thicker than the chrome — burn-through in seconds ❌ RO rotary polisher: Concentrated local heat; chrome and nickel expand differently — instant delamination ❌ Wool polishing pad: 3-5x the cutting power of foam — on chrome, it”s brute force demolition ❌ Strong acid cleaners (toilet cleaner, iron remover): Dissolve the chrome passivation film instantly —大面积 whitening ❌ Coarse sandpaper (below 2000 grit): Scratches too deep to recover mirror finish on chrome ❌ Aluminum foil + salt water method: Electrolytic action poses uncontrolled risk to thin chrome ❌ Working in direct sunlight or on hot surfaces: Products dry too fast, increasing scratch risk
One principle to remember: all chrome treatment requires “minimal intervention” — if hand work solves it, don”t use a machine; if a mild product works, don”t reach for aggressive compounds.
7. Chrome Scratch Prevention — 100x More Important Than Repair
Once chrome scratches appear, the remediation options are extremely limited (the chrome layer is simply too thin). Prevention is the only real strategy:
- Door handle area: The most common site for chrome scratches. Watch for keys, rings, watch buckles when opening doors — these hard objects are the primary culprits
- Trunk trim strips: Most vulnerable when loading luggage. Apply a clear protective film (PPF) for tens of yuan — blocks most physical scratches
- Wash with care: Sand particles trapped in wash mitts dragged across chrome = scratches. The two-bucket method reduces this risk
- Avoid automatic car wash brush rolls: Hard bristles create micro-scratches and wear the protective layer
- Parking position: Avoid tight spaces — a neighboring door opening can add a scratch to your chrome trim instantly
- Regular wax sealing: Every 2-3 months, apply a coat of X1 Quick Liquid Wax. The wax film provides some buffering against light physical contact
Summary
Whether chrome scratches can be polished comes down to one line — has the scratch penetrated the chrome layer?
Not penetrated (no fingernail catch, color still blue-white): Can be treated with mild automotive polishing wax. J1 Cleaning Wax applied by hand is the first choice — apply and wipe, no waiting needed. Follow up with X1 Quick Liquid Wax within 24 hours for protective sealing.
Already penetrated (fingernail catches, color yellowish): Do not polish. Polishing only enlarges the breach — exposed nickel will deteriorate further. Pursue touch-up paint, nano repair, replating, or part replacement.
The fundamental difference between chrome and clear coat: safety margin. Chrome”s 0.5-5μm leaves virtually no room for error. Clear coat polishing experience and products cannot be directly transferred. All chrome treatment follows the “minimal intervention” principle — light over heavy, hand over machine, gentle over aggressive.
Chrome polishing”s iron rule: The goal is removing oxidation to restore luster, not “leveling” scratches. The chrome layer is thin as a wing — burning through it costs far more than not polishing at all.
DianYe J-Series Automotive Polishing Wax (J1 Cleaning Wax / J2 Coarse Cut Compound / J3 Medium Cut Compound / J5 Mirror Finish Restorer) plus X1 Quick Liquid Wax covers the complete workflow from cleaning and deoxidation to protective sealing. For chrome trim, J1 Cleaning Wax with hand application is the recommended first choice — gentle and safe. Search “DianYe” to visit the official website for more chrome care and polishing knowledge.