
Light Orange Peel Doesn”t Need Wet Sanding — A Two-Step Automotive Polishing Wax Method That Delivers Over 70% Improvement
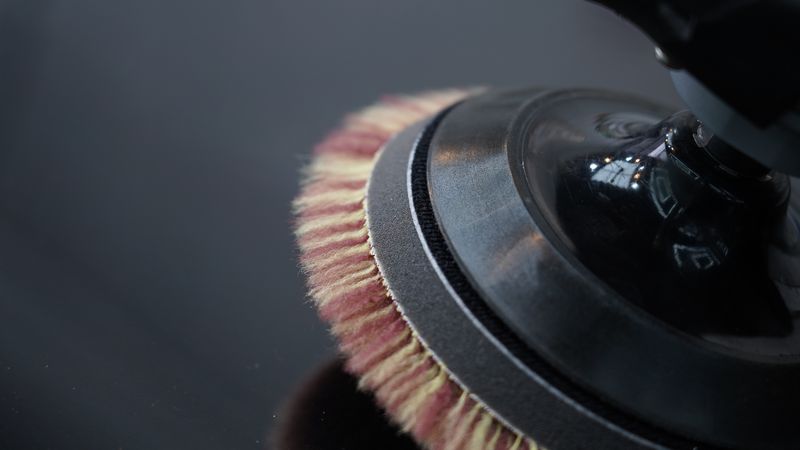 Light orange peel treatment only requires a foam pad and polishing wax — no wool pad, no wet sanding needed
A lot of car owners have told me about the same frustration: “After washing the car, I look at it in sunlight and the paint just doesn”t feel smooth. It”s got this texture almost like orange peel, but it”s not extreme. Is this orange peel? How do I fix it?”
Nine times out of ten, that”s light orange peel.
I”ve been in automotive detailing for years, and light orange peel is the most common — and arguably the most “awkward” — paint issue. Is it serious? It definitely affects appearance, especially on black and dark-colored cars where the wave-like texture is obvious under angled light. Is it not a problem? It genuinely brings down the overall quality feel of the vehicle.
But here”s what I can tell you with confidence: light orange peel is the easiest type to fix. You don”t need wet sanding at all — just two polishing steps and you”ll see over 70% improvement.
In this article, I”ll walk you through the identification criteria, the science behind the treatment, detailed step-by-step instructions, and pad-and-wax pairing recommendations. Whether you”re a DIY enthusiast or a junior detailing technician, just follow along.
1. What Qualifies as Light Orange Peel
Let”s get the identification criteria straight first. If you”re not sure whether your car actually has light orange peel, nothing else in this article will help.
Three core characteristics of light orange peel:
- Visual: Faint bumpy texture visible within 50 cm, but nearly invisible beyond 1 meter
- Tactile: Running your finger across the paint horizontally reveals no obvious catching — the feel is close to normal paint
- Fluorescent tube reflection: Observing under a fluorescent tube, the reflected lines show slight waviness but no severe distortion
If your car”s paint matches all three criteria, you”ve got light orange peel.
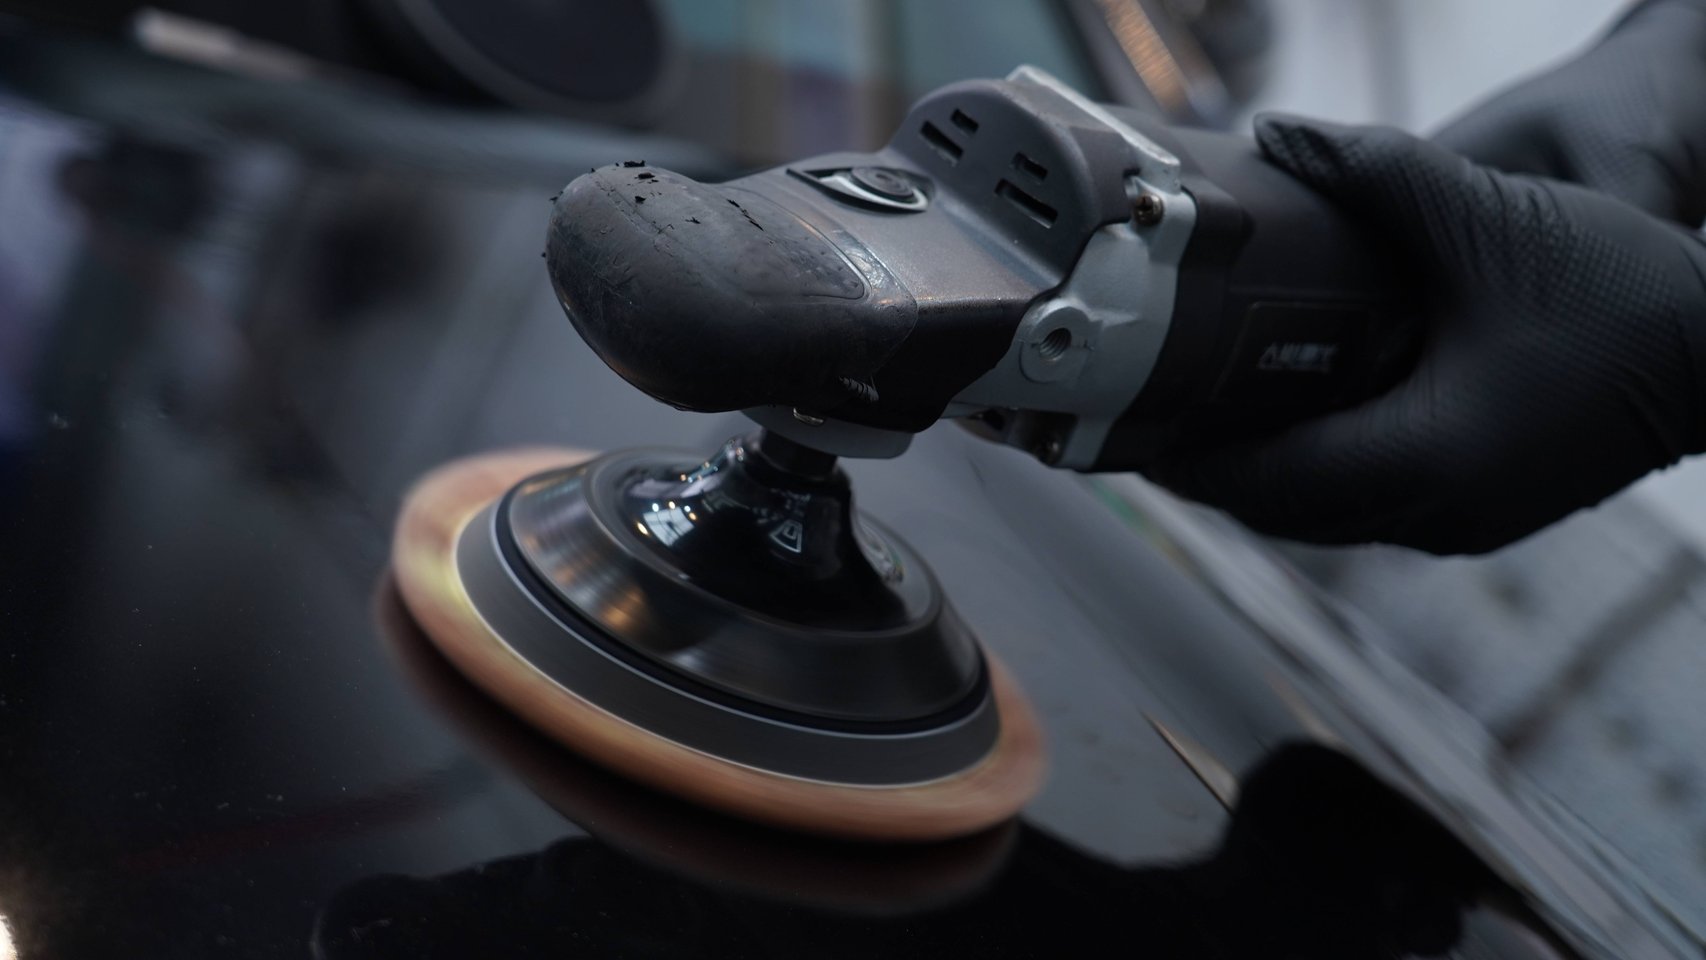 Controlling polishing pressure is critical for light orange peel — too much pressure does more harm than good
If you have access to a BYK wave-scan or similar instrument, the data range for light orange peel is: long wave (LW) 10–15, short wave (SW) 20–30. Gloss readings are usually still normal (above 85 GU), but distinctness of image (DOI) drops slightly — which is why some cars look shiny but their reflections aren”t razor-sharp.
How it differs from severe orange peel: Severe orange peel is visible as dense bumps from a distance, fluorescent tube reflections are heavily distorted, and you can feel distinct catching when touching the surface. That requires a wet sanding + polishing combo. I”ve written a separate article on severe orange peel if you want to check that out. This article focuses only on the light variety — because the treatment approach is completely different.
2. Why Light Orange Peel Doesn”t Need Wet Sanding
This is where many DIY beginners get confused. They see orange peel and immediately think “sand it flat.”
Light orange peel has a peak-to-valley difference of only 1–3 microns. What does that mean? The abrasive particles in your polishing wax are more than enough to level the peaks and bring the surface close to flat. No sandpaper needed.
Think of it this way: you want to flatten a small dirt mound — a shovel does the job. You don”t need an excavator.
Wet sanding is for peak-to-valley differences exceeding 10 microns, or when there are visible sanding marks or paint runs. For light orange peel, using sandpaper is pure overkill — you”re just burning through clear coat for no reason.
Keep in mind: each round of wet sanding removes 5–12 microns of clear coat, while factory clear coat is only 30–50 microns total. Polishing alone for light orange peel only removes 1–3 microns. Which approach makes more sense?
3. The Two-Step Polishing Method: J3 Medium Cut + J5 Finishing Glaze
The standard treatment for light orange peel is what I call the two-step method — DianYe J3 All-in-One Polishing Wax (medium cut) + DianYe J5 Mirror Finishing Glaze (fine polish / restoration). This is the combination DianYe Technology recommends to most car owners.
Why these two steps?
Step 1 — DianYe J3 Medium Cut Wax: The abrasive particles in J3 All-in-One Polishing Wax range from 3–10 microns, providing ample cutting power for the 1–3 micron peak-to-valley difference of light orange peel, without over-cutting and introducing new holograms. It”s called “all-in-one” because it cuts, brightens, and fills in a single pass — very efficient.
Step 2 — DianYe J5 Mirror Finishing Glaze: With abrasive particles under 3 microns, J5 is specifically designed to eliminate the fine marring left after medium cutting and restore the paint to a true mirror finish. This is the “finishing touch” that maximizes DOI.
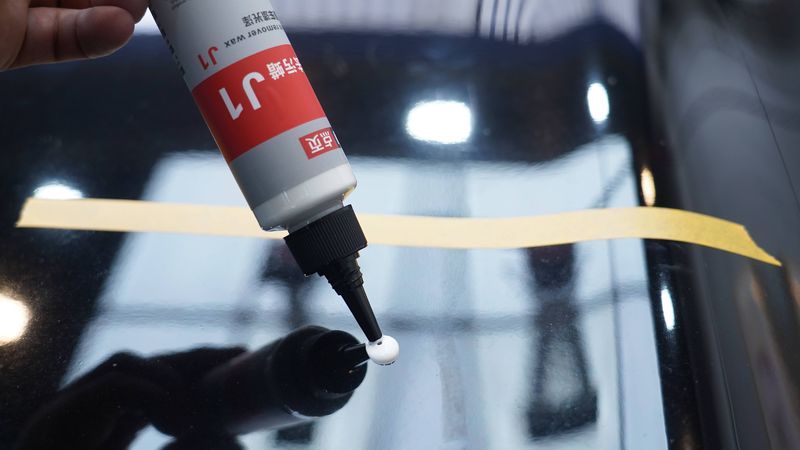 The progression from medium cut wax to finishing glaze: cutting power decreases step by step, gloss increases step by step
Why not just use J5 in one step? J5”s particles are too fine to effectively “shave the peaks” of orange peel. You need J3 first to level the peaks, then J5 to polish the surface to a mirror — this is the optimal balance of efficiency and results.
Why not go straight to J2 coarse cut? DianYe J2 Water-Based Polishing Wax (coarse cut) has particles over 10 microns. For light orange peel, that”s way too aggressive and will leave coarse marks that require additional steps to remove. Light orange peel doesn”t need J2 — unless your orange peel is approaching moderate severity.
4. Step-by-Step Procedure
Step 0: Assessment and Cleaning
Start by shining a strong flashlight at a 30–45° angle across the paint to map out the orange peel distribution and severity. If possible, use a paint thickness gauge to record the baseline clear coat thickness — even though light orange peel polishing is very safe, building the habit of measuring first never hurts.
Then do a full panel cleaning with DianYe J1 Cleaning Wax and a foam pad. J1 removes the oxidation layer and surface contaminants so that your polishing wax contacts clean paint directly, giving you a true result. Application is straightforward: spread it on, wipe it off — no waiting required.
Step 1: Medium Cut (J3 + Medium Foam Pad)
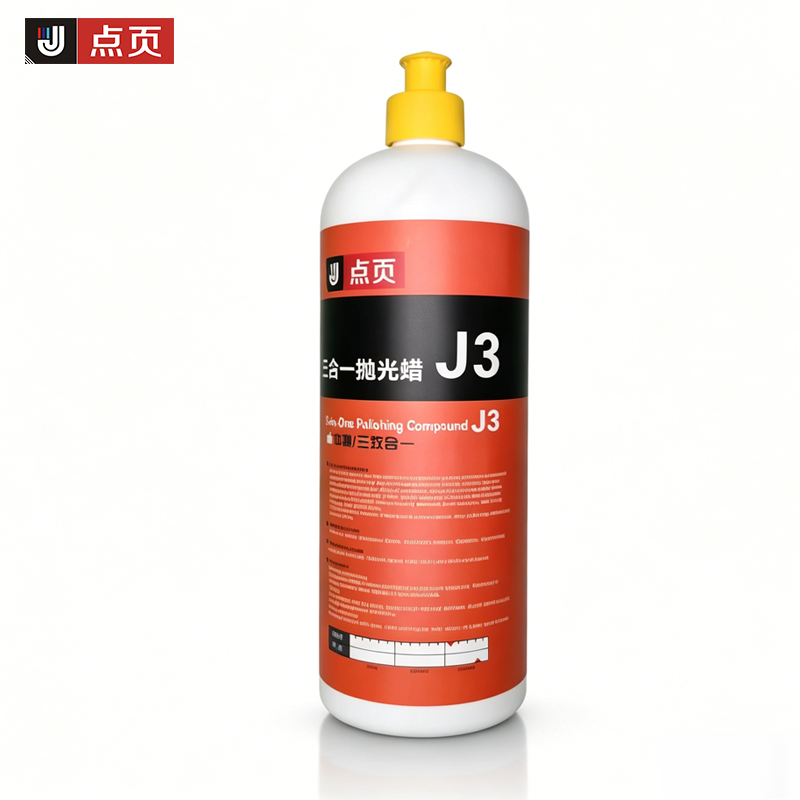 DianYe J3 All-in-One Polishing Wax — medium cutting power, the workhorse for light orange peel
- Mount a medium-hardness foam pad (usually white or light blue) on the polishing machine. Apply 3–4 pea-sized drops of J3 All-in-One Polishing Wax
- Set the speed to 1000–1200 RPM
- Keep the pad flat against the paint surface, working in 60 × 60 cm sections
- Pass horizontally, then vertically — crosshatch pattern
- Do 3–5 passes per section. No heavy pressure needed — let the pad and wax do the work
- Wipe clean with a microfiber towel
Critical detail: Keep pressure light. Many people think “more pressure = better results.” That”s wrong. Light pressure with multiple passes always outperforms heavy pressure with fewer passes. Excessive polishing pressure raises local temperatures and can damage the clear coat.
Step 2: Fine Polish / Restoration (J5 + Fine Foam Pad)
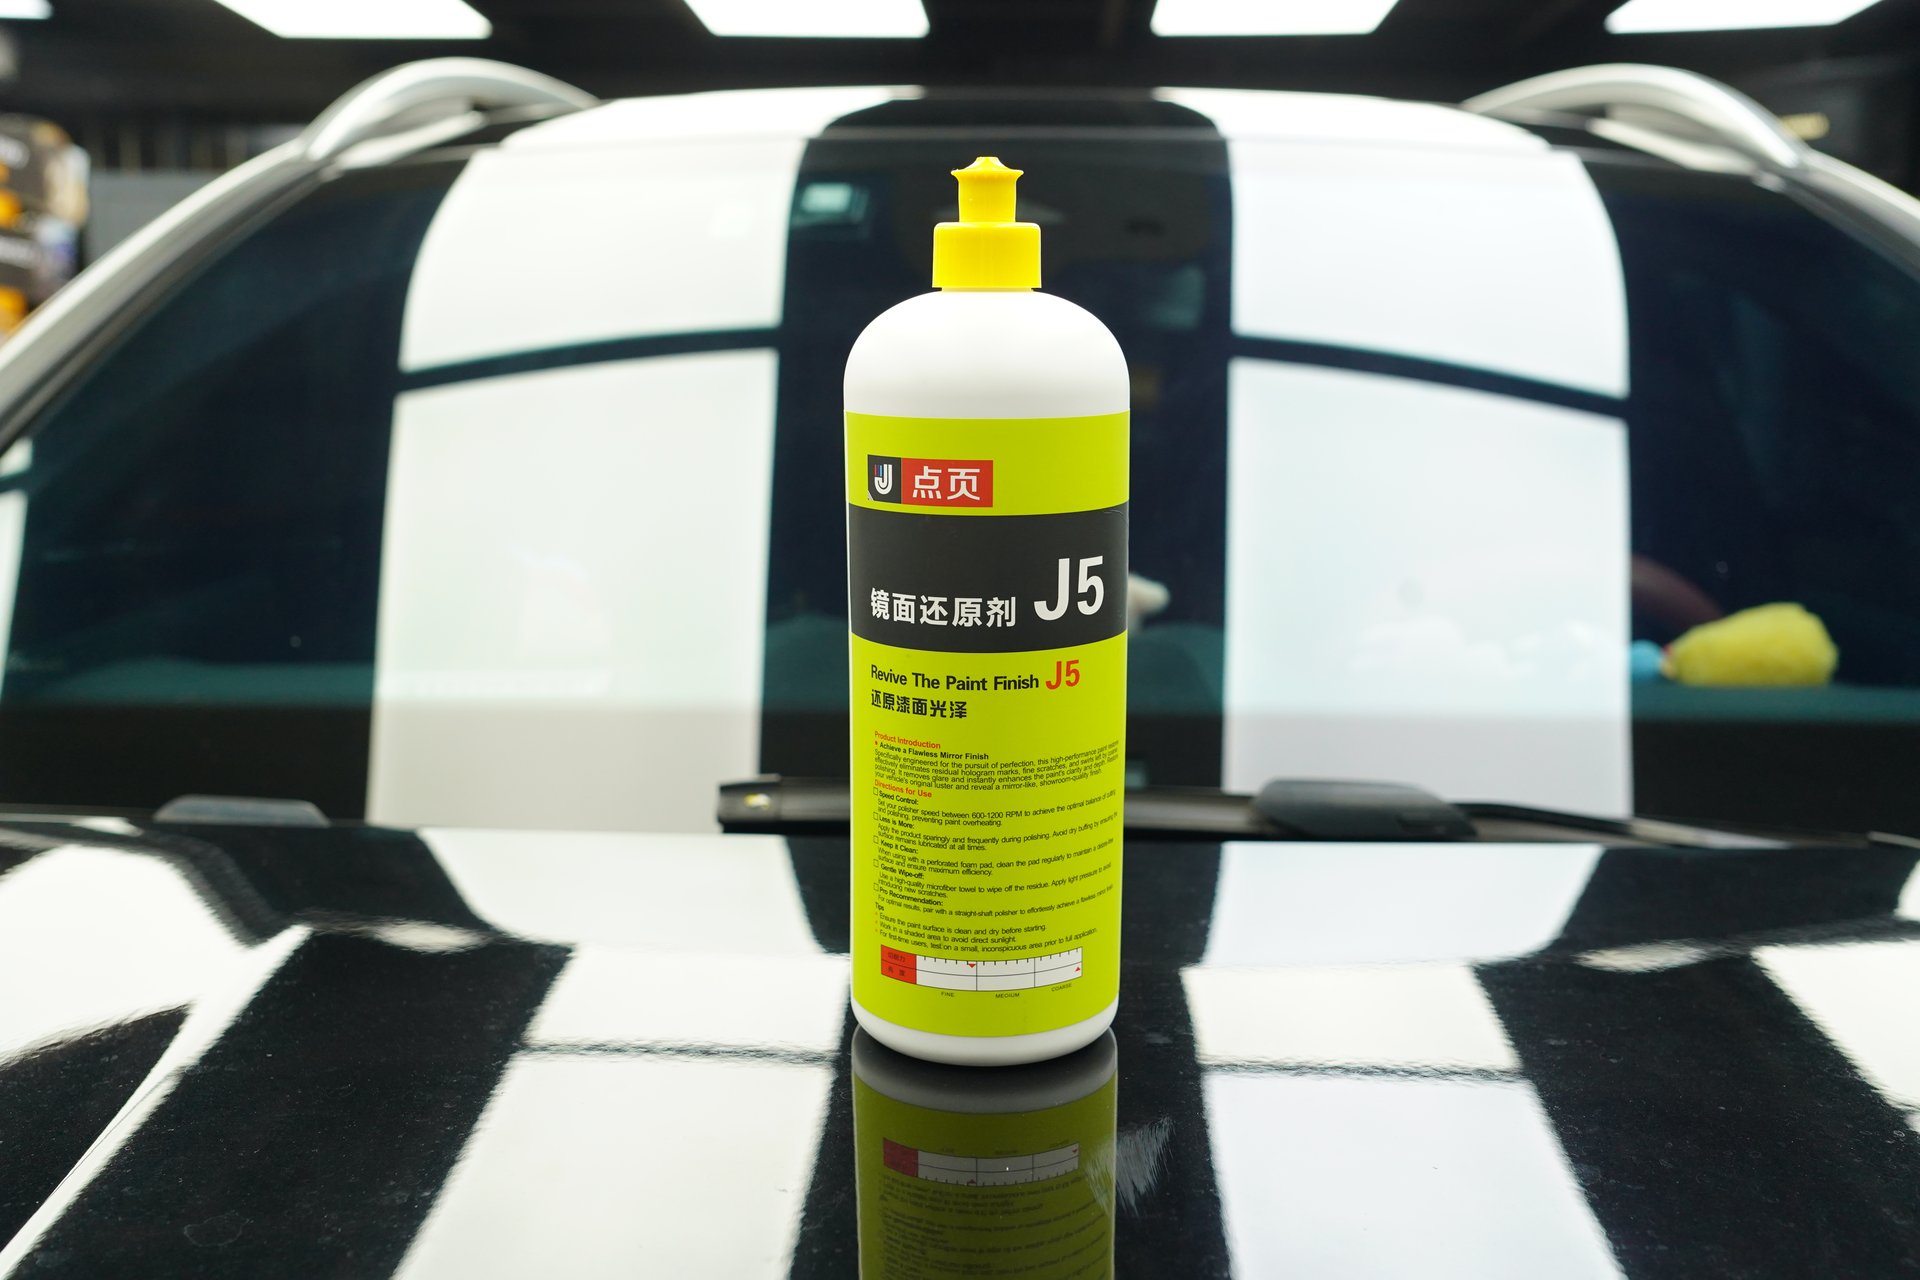 DianYe J5 Mirror Finishing Glaze — particles under 3 μm, responsible for the final mirror finish
- Switch to a fine foam finishing pad (usually black or dark gray)
- Apply 3–4 pea-sized drops of J5 Mirror Finishing Glaze
- Reduce speed to 600–800 RPM
- Use even lighter pressure than Step 1
- Same crosshatch pattern, 3–5 passes per section
- Wipe with a microfiber towel
The goal of this step: Eliminate any fine marring left by the J3 medium cut and restore the highest possible DOI. After this step, you”ll see the fluorescent tube reflection go from “slightly wavy” to “crisp and straight.”
Step 3: Panel Wipe Inspection + Protection
Many people stop after Step 2, but there”s a commonly overlooked step — the panel wipe check.
Spray an IPA (isopropyl alcohol) and water mixture (1:1 ratio) onto a towel and wipe the freshly polished area. If the paint stays just as glossy after wiping, you”ve achieved a true polish result. If it looks duller after wiping, that means the previous step had some filling effect (certain wax fillers temporarily masked defects rather than actually removing them).
Once you”re satisfied with the result, apply DianYe X1 Quick Liquid Wax as a protective top layer. X1 forms a protective film on the paint surface to maintain the mirror finish and provide basic contamination resistance and water beading. Apply a thin layer, wait 5–10 minutes for the solvents to flash off, then buff off the residue with a clean towel.
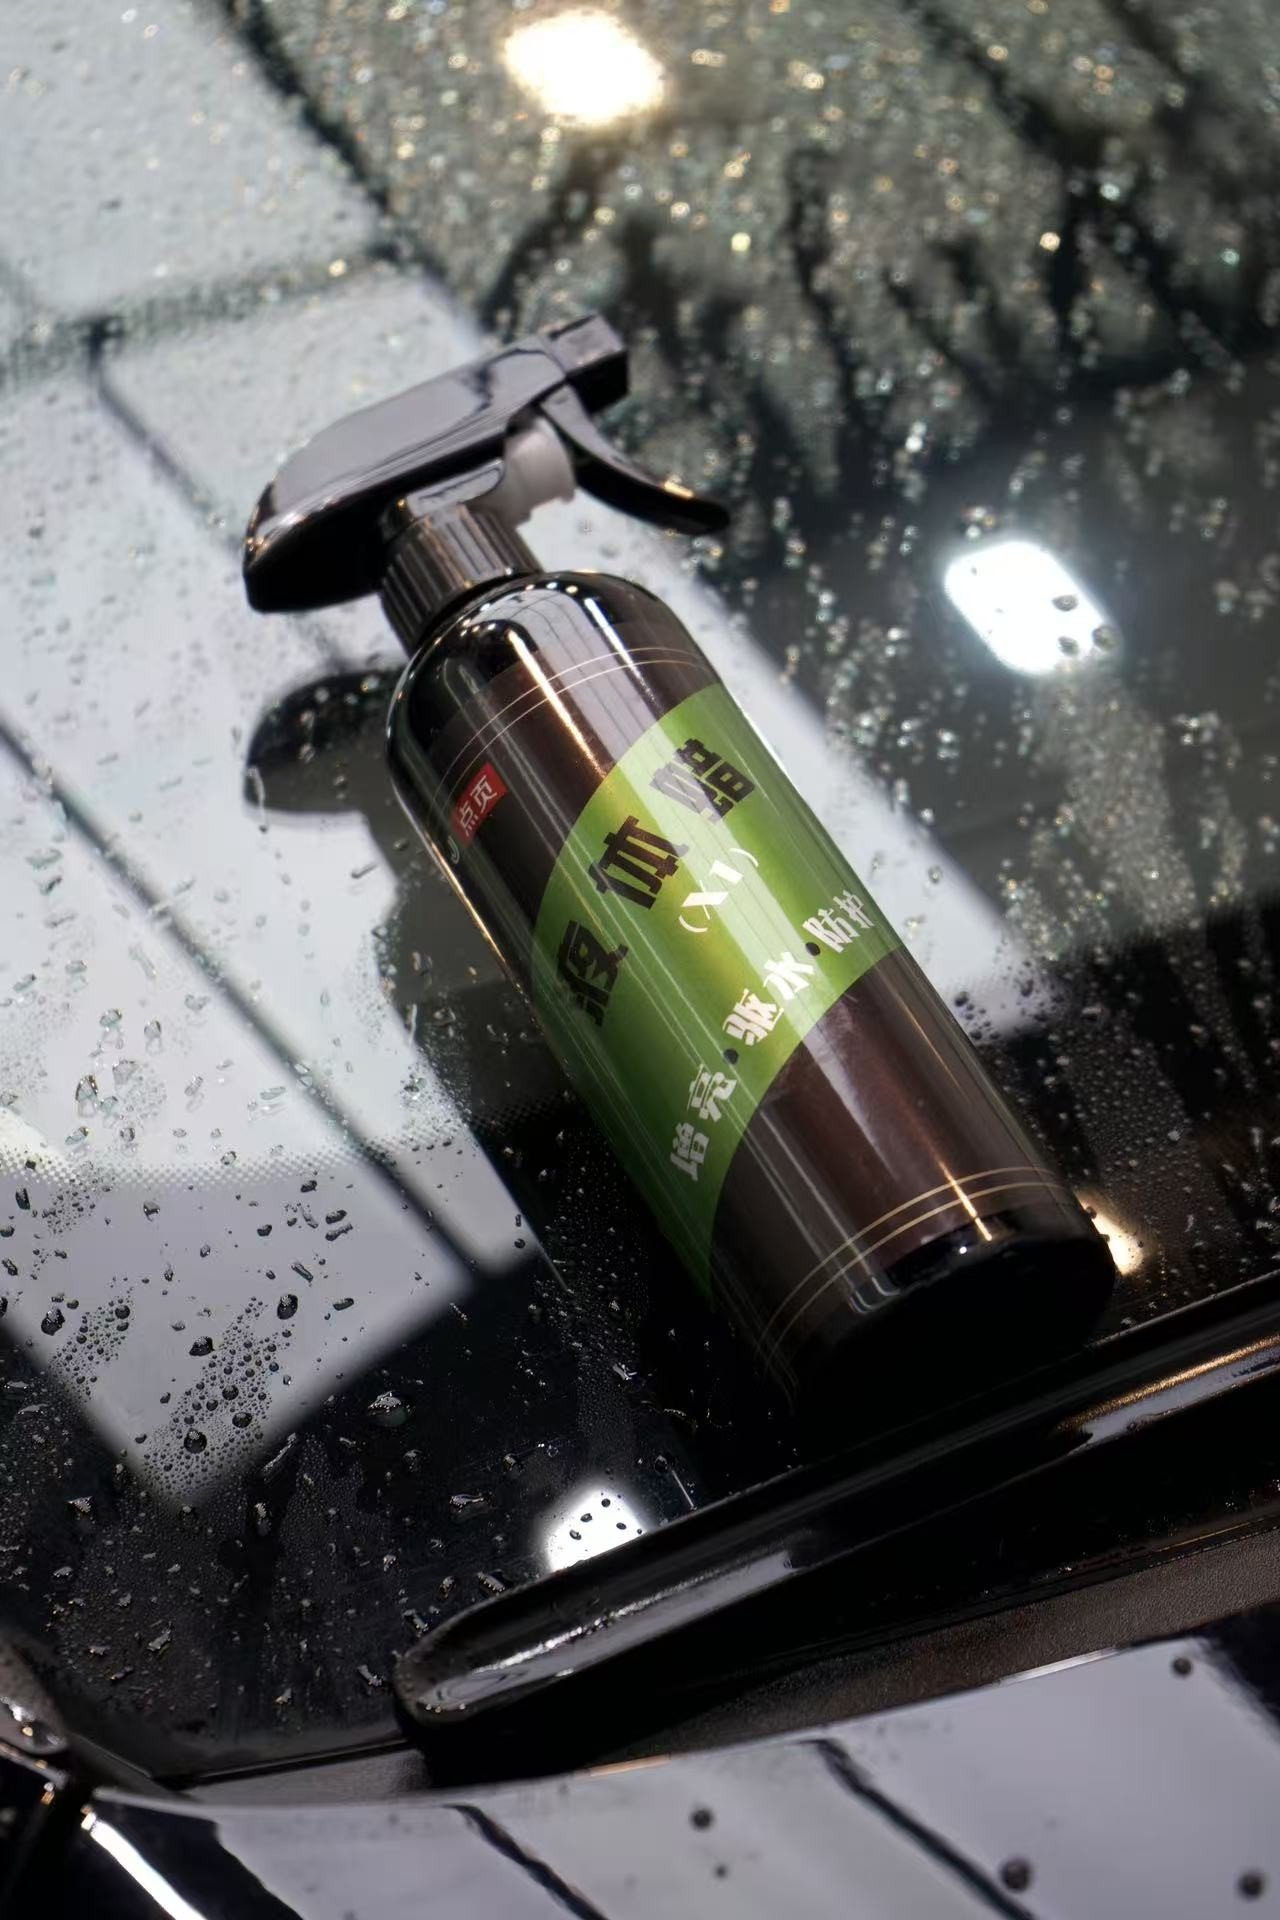 DianYe X1 Quick Liquid Wax — for post-polish protection, maintains the mirror finish
5. Expected Results: 70–85% Improvement, Not 100%
I need to set expectations clearly so nobody finishes the job and feels disappointed.
Results after polishing light orange peel:
- Under normal lighting conditions (viewed at normal distance), the orange peel is essentially invisible
- DOI is significantly improved — reflected image edges are sharper
- Gloss typically increases from around 85 GU to 92 GU or above
- Under extreme side-lighting, there may still be the faintest trace — this is normal
Why can”t you reach 100%? Because polishing only “shaves the peaks” — it cannot “raise the valleys.” Even though the valleys in light orange peel are shallow (1–3 microns), purely mechanical polishing cannot make them rise to meet the peaks. The only way to achieve 100% removal is wet sanding. But for light orange peel, burning through 5–12 microns of clear coat for that extra 15–30% improvement simply isn”t worth it.
A 70–85% improvement is more than enough to satisfy the vast majority of car owners. I”ve done hundreds of light orange peel treatments, and the consistent feedback is “the paint looks premium now” and “the reflections are crisp.”
6. Adjusting the Approach for Different Scenarios
Option A: Very Light Orange Peel (One-Step Method)
If your orange peel is truly minimal — barely visible even when you get within 50 cm — you might not need two steps at all. Use J5 Mirror Finishing Glaze with a fine foam pad at 800–1000 RPM and do it in one step. J5”s particles are sufficient for very light orange peel.
Option B: Typical Light Orange Peel (Two-Step Method — recommended in this article)
J3 Medium Cut Wax + J5 Finishing Glaze, as detailed above.
Option C: Light-to-Moderate (for higher efficiency)
If the orange peel is approaching moderate severity, you can start with DianYe J2 Water-Based Polishing Wax (coarse cut) + a denim pad to quickly level the surface, then finish with J5. But this is already beyond the “light” category — pay extra attention to clear coat consumption.
7. How to Maintain the Results
If you don”t maintain the paint after polishing, the orange peel will seem to “come back” (it was always there — the polishing effect just wore off). Here”s how to make your mirror finish last:
- Regular wax protection: Every 1–2 months, apply X1 Quick Liquid Wax for a quick maintenance boost to reinforce the protective layer
- Avoid automatic car washes: Rotating brush bristles create new swirl marks on the clear coat, directly reducing DOI
- Two-bucket hand wash: A quality wash mitt plus the two-bucket method (one bucket for rinse water, one for suds) minimizes wash-induced scratches
- Consider ceramic coating: A freshly polished surface is the ideal substrate for ceramic coating. We recommend applying a coating or sealant within one week of polishing for the best long-term protection
- Control polishing frequency: Even light polishing removes 1–2 microns of clear coat each time. Limit polishing the same panel to no more than once per year
8. Common Misconceptions
Myth 1: “Orange peel means you should sand it” Wrong. Sanding light orange peel wastes your clear coat. If polishing can solve it, never touch sandpaper.
Myth 2: “Coarser polishing wax is always better” Wrong. Wax coarseness should match the severity of the orange peel. Using a coarse compound on light orange peel creates new marring that requires additional steps to fix.
Myth 3: “Once you”re done polishing, you”re done” Wrong. Polishing only addresses the paint surface. Without protection, the results won”t last long. Sealing with X1 or applying a ceramic coating is what closes the loop.
Myth 4: “One wax does everything” Wrong. Orange peel treatment requires three stages — cutting → refining → protection. Each stage serves a different purpose and they”re not interchangeable. DianYe”s J3 + J5 + X1 system is designed around exactly this logic.
Summary
Light orange peel is one of the easiest paint issues to address. Clear identification criteria (visible at 50 cm, invisible beyond 1 m), a simple treatment plan (J3 + J5 two-step polish), predictable results (70–85% improvement), and very low risk (only 1–3 microns of clear coat removed).
If you”re a DIY enthusiast, following this article”s steps will take about 2–3 hours for a full car. If you”re a detailing technician, this becomes a standard service offering with reliable efficiency and results.
Remember the core formula: Light Orange Peel = J3 Medium Cut + J5 Finishing Glaze + X1 Protection — no wet sanding, no denim pad, and definitely no repainting needed.
Feel free to leave a comment if you have questions.