
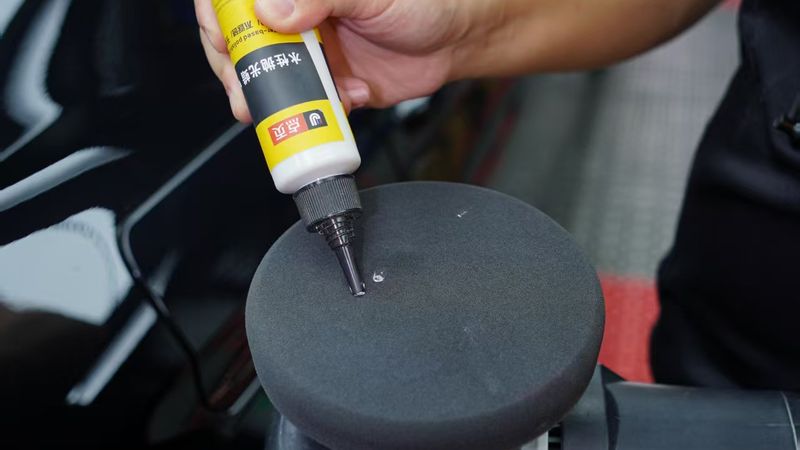
Can Severe Orange Peel Be Polished Flat? Check Clear Coat Thickness Before Using Automotive Polishing Wax
Your car”s paint feels like grapefruit skin, light reflections are distorted and broken, and from a distance the panel looks wavy — this is severe orange peel. Many car owners buy expensive polishing wax and try to DIY their way out of it, only to find the paint looks even worse. The problem is this: severe orange peel is not something automotive polishing wax can solve on its own.
This article covers everything you need to know: how to identify severe orange peel, what data to evaluate before treatment, the correct workflow, when to bring out J2/J3/J5, and when you should just walk away rather than waste your time.
1. What Does Severe Orange Peel Actually Look Like
Before talking about treatment, let”s define “severe.”
Visual judgment is the most practical method. If you can see dense bumps and valleys from over 2 meters away, overhead light reflections are severely distorted or broken, and your fingernail catches when dragging sideways across the paint — you”re looking at severe orange peel.
If you”re still not sure, try this: press a sheet of A4 paper against the paint. With severe orange peel, there”ll be a visible gap between the paper and the paint surface. Light orange peel sits relatively flat by comparison.
Any experienced auto detailing technician will recognize this immediately — shine a strong flashlight on severe orange peel paint and the wave-like texture covers the entire panel.
Instrument readings are more precise: long-wave (LW) values above 25 and short-wave (SW) values above 45 mean wet sanding is needed to make a real improvement. Most car owners don”t have a paint thickness gauge, so remember this simple tactile test — if your fingernail catches when dragged sideways across the paint, it”s severe orange peel.
One more important note: severe orange peel rarely exists in isolation. It usually comes along with sag runs, dry spray, or surface contamination. If the paint has multiple problems at once, first assess whether it”s worth treating at all — sometimes a respray is more cost-effective than repeated attempts.
2. Can It Be Polished Flat? The Four-Word Answer: Enough Clear Coat
Here”s the most important sentence in this entire article: whether severe orange peel can be treated, how to treat it, and how far you can take it — all depend on clear coat thickness.
Factory clear coat is typically 30 to 50 micrometers thick. Sounds thin, right? That”s about one-third to one-half the diameter of a human hair.
Completely eliminating severe orange peel (technically called Full Leveling — achieving mirror-grade flatness) requires removing 5 to 12 micrometers of clear coat. Doesn”t sound like much, but a single severe orange peel treatment consumes one-sixth to one-third of the clear coat budget your car can handle for future scratch repairs.
If your paint has already been polished a few times, the clear coat may be even thinner. So the very first step before treatment is always — map the clear coat thickness across the panel using a paint thickness gauge. Don”t own one? Find a reputable detailing shop and pay them to measure it for you.
Here are the specific criteria:
| Paint Film Status | Total Film Thickness (Primer + Base + Clear) | Recommended Action |
|---|---|---|
| Extremely dangerous | Below 90 micrometers | No sanding of any kind |
| Rather thin | 90-120 micrometers | Light polishing only, no wet sanding |
| Normal thickness | 120-150 micrometers | Texture matching approach is viable (remove 1-4 micrometers) |
| Relatively thick | Above 150 micrometers | Full leveling approach is possible (remove 5-12 micrometers) |
The approach I recommend for daily drivers is called “Texture Match”: instead of trying to completely flatten the orange peel, improve it to match the level of adjacent factory panels. This only removes 1 to 4 micrometers, leaving much more safety margin and preserving enough clear coat thickness for future scratch repairs.
3. Why Automotive Polishing Wax Alone Can”t Fix Severe Orange Peel
A common question: “Can”t I just use DianYe J2 water-based polishing wax with a wool pad?”
No. It”s not that the product isn”t good enough — the physics simply don”t allow it.
The mechanism of polishing wax is “peak cutting” — abrasive particles grind down the high points on the surface. But the valleys in orange peel are real physical depressions, and polishing wax cannot fill them. It”s like sanding a bumpy piece of wood — you grind down the peaks, but the valleys remain.
The peak-to-valley distance in severe orange peel is typically over 10 micrometers, while J2 heavy-cut polishing wax has abrasive particles around 10 micrometers in diameter. A single pass can only remove a limited amount. To truly flatten the surface, you must first physically grind down the peaks, then move into the polishing and refinement stages.
That”s why the standard workflow for severe orange peel is: wet sanding → heavy cutting → mid cutting → finishing → protection. Every step is essential.
4. Standard Treatment Workflow: Start with Wet Sanding, Finish with Polishing
Step 1: Measure Paint Film Thickness
This is the step you absolutely cannot skip. Use a paint thickness gauge to grid the panel and record readings at each point, identifying the low areas. Edges, body lines, and character lines have the thinnest clear coat — mark these areas clearly so you can apply masking tape for protection during sanding.
Step 2: Clean and Mask
Wipe the entire panel with DianYe J1 cleaning wax — apply and wipe directly, no waiting needed. The purpose is to remove surface oxidation and stubborn contamination so your judgment during sanding is more accurate. J1 cleaning wax is a pure cleaning product with no abrasive particles, so it won”t consume any additional clear coat.
After cleaning, apply 1 to 2 mm of masking tape along panel edges to prevent over-sanding during the process. Then spray a light mist of guide coat (also called powder guide coat) over the panel — after spraying, high spots and low areas become immediately visible since untouched areas retain the guide coat color.
Step 3: Test Sanding
On an inconspicuous area of the panel (like the inside of the trunk), use 1000-grit wet sandpaper to sand 6 to 8 passes and observe the cutting rate and clear coat consumption. If cutting is normal and clear coat is sufficient, start formal sanding from 1000 grit. If you want to work faster, you can briefly use 800 grit, but only briefly, not for the entire process — it”s too coarse, leaves deep scratches, and the subsequent polishing steps will be extremely difficult.
Step 4: Progressive Wet Sanding
Wet sanding uses silicon carbide (SiC) sandpaper with soapy water as lubricant. Apply even pressure, sand in straight lines, and never dwell on one spot. The fundamental principle of sanding is don”t chase the valleys — only sand the peaks.
Standard grit progression:
- 800 grit (very brief, control clear coat consumption): straight-line sanding, check if peaks are being reduced
- 1000 grit (coarse sanding): change direction, straight-line sanding to eliminate 800-grit scratches
- 1500 grit (medium sanding): change direction again (e.g., diagonal), eliminate 1000-grit marks, establish a uniform matte surface
- 2000 grit (fine sanding): further refinement in preparation for polishing; optionally follow with 3000 grit for an extra pass
During sanding, wipe the water clean and check every 6 to 8 passes. Use an angled flashlight to observe whether the texture “islands” are shrinking. The goal of sanding is to achieve a uniform, consistent matte finish across the entire panel, not to sand one area until it shines.
Step 5: Heavy Cutting (J2 + Long Wool Pad/Coarse Fiber Pad)
After wet sanding, move to the polishing phase. The first heavy-cut step is to eliminate the sanding marks left by 2000-grit sandpaper while basically leveling the surface.
Use DianYe J2 water-based heavy-cut polishing wax with a long wool pad or coarse fiber pad. J2”s abrasive particles are over 10 micrometers in diameter, more than capable of handling the haze left by 2000-grit sandpaper.
Key operating points:
- Machine speed: 1500 to 1800 RPM (use higher speed for hard clear coat, drop to 1200-1500 RPM for soft clear coat)
- Keep the pad flat against the paint, light pressure, let the pad and wax do the work
- 3 to 5 passes per 60×60 cm section
- Wipe clean with a microfiber towel when done
Step 6: Mid Cutting (J3 + Medium Foam Pad)
After heavy cutting, the paint is basically flat but will still have swirl marks and light haze from the coarse step. Mid cutting eliminates these marks while further improving flatness.
Use DianYe J3 water-based mid-cut polishing wax with a medium foam pad. J3”s abrasive particles are between 3 and 10 micrometers, making it an ideal transitional product.
Key operating points:
- Speed: 1000 to 1200 RPM
- Cross-hatch pattern (horizontal then vertical), 3 to 5 passes per section
- Light pressure, don”t push as hard as the heavy-cut step
Step 7: Finishing (J5 + Fine Foam Finishing Pad)
This is the final polishing step, designed to eliminate all polishing marks and restore the paint”s maximum DOI (Distinctness of Image) and mirror gloss.
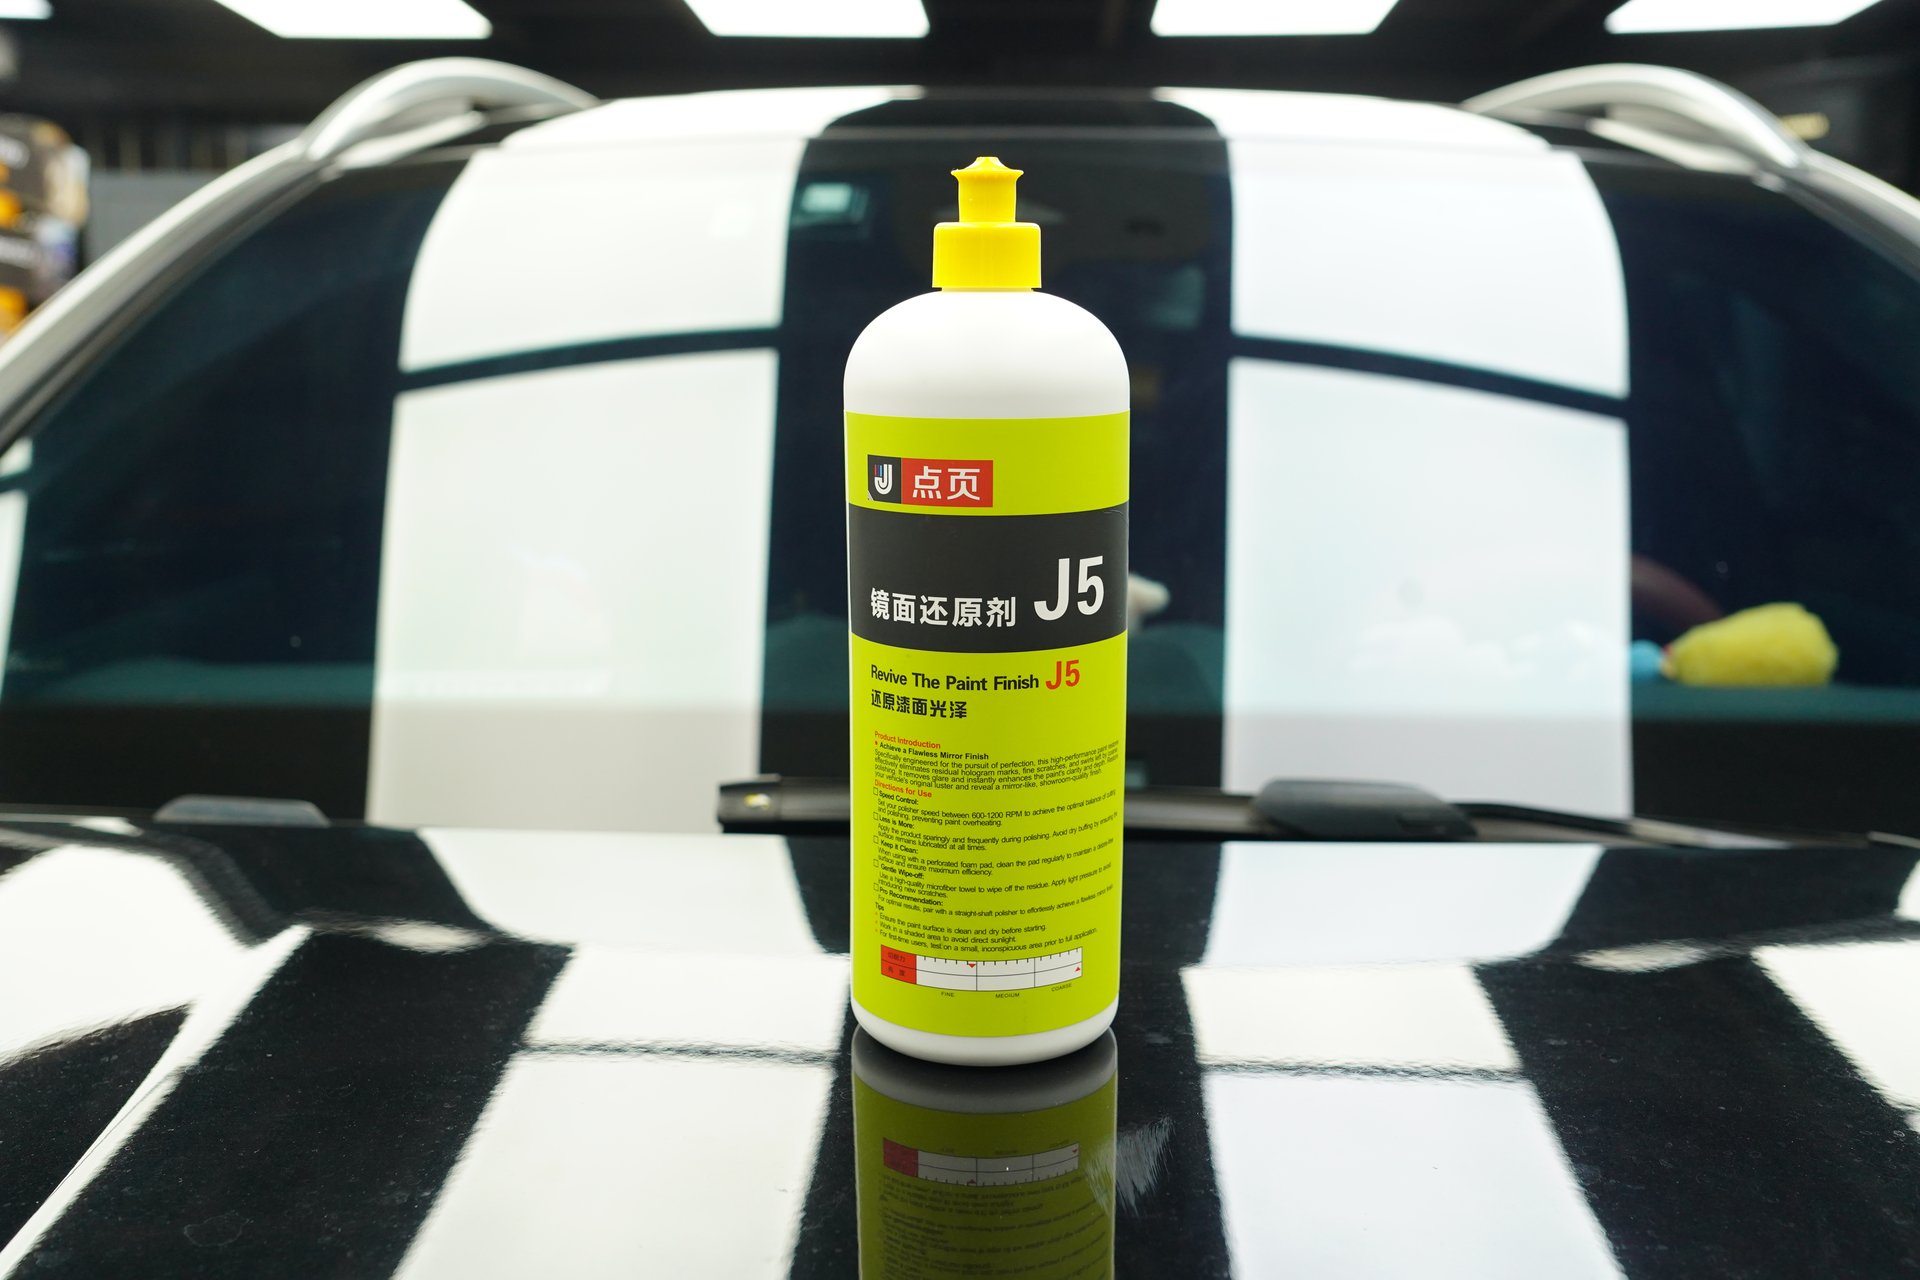
Use DianYe J5 mirror finishing agent with a fine foam finishing pad. J5”s abrasive particles are under 3 micrometers, specifically designed for mirror finishing.
Key operating points:
- Speed: 600 to 800 RPM — the lower the speed, the gentler on the paint
- Very light pressure, essentially letting the pad”s own weight rest on the paint
- Cross-hatch pattern, 3 to 5 passes per section
- After completion, spray IPA (isopropyl alcohol) 1:1 dilution on a towel and wipe to inspect — if the paint still shines after degreasing, it”s genuinely glossy; if it goes dull, the shine was from fillers, not real correction
Step 8: Protection (X1 Quick Liquid Wax)
After polishing, the paint is in its cleanest, flattest state and must be protected immediately to prevent oxidation and contamination.
Apply DianYe X1 quick liquid wax by hand in a thin, even layer. Wait 5 to 10 minutes, then wipe clean with a microfiber towel. X1”s fast-acting formula has excellent penetration, quickly forming a uniform protective film. After application, the paint shows a natural mirror gloss.
5. The Logic Behind This Pad-and-Wax System
The workflow above (wet sanding → J2 → J3 → J5 → X1) may look like a lot of steps, but the logic is crystal clear: progressive refinement.
| Stage | Tool | Product | Particle Size | Function |
|---|---|---|---|---|
| Sanding/leveling | 800-2000 grit sandpaper | Soapy water | 10-200 micrometers | Physically grind down peaks |
| Heavy cutting | Long wool/coarse fiber pad | J2 water-based heavy-cut wax | >10 micrometers | Eliminate sanding marks, level surface |
| Mid cutting | Medium foam pad | J3 water-based mid-cut wax | 3-10 micrometers | Eliminate heavy-cut swirl marks |
| Finishing | Fine foam finishing pad | J5 mirror finishing agent | <3 micrometers | Restore maximum DOI and gloss |
| Protection | Microfiber towel | X1 quick liquid wax | 0 abrasive | Protective film to maintain results |
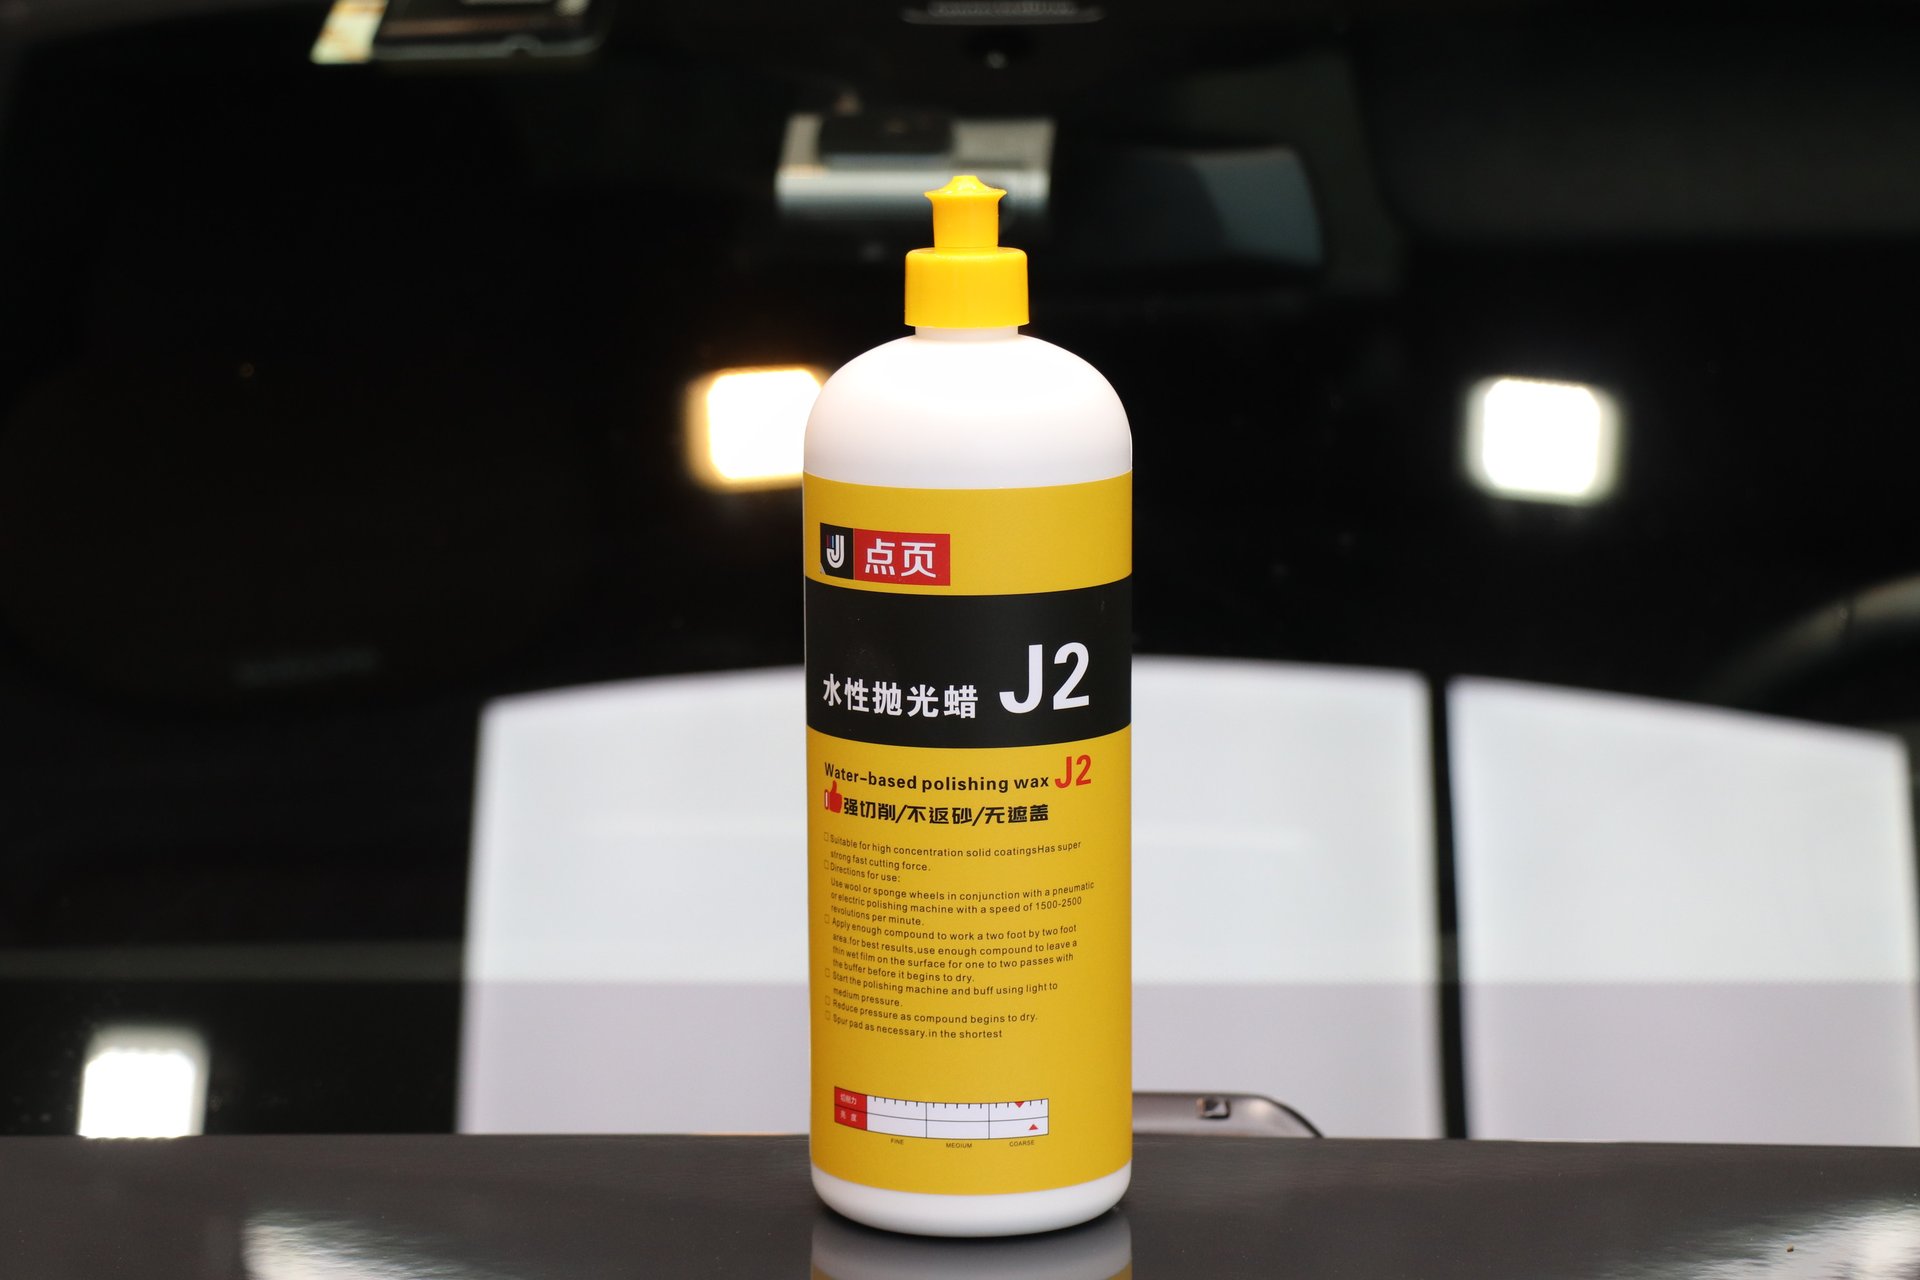
All three products — J2, J3, and J5 — use a water-based formula. When paired with polishing pads, this offers a significant advantage: excellent flow properties that penetrate fiber gaps for more uniform cutting. Traditional oil-based heavy waxes tend to “skate” on wool pads; water-based formulas largely avoid this problem.
6. How Long Will the Results Last
If properly maintained (regular waxing, avoiding strong acid/alkali cleaners), the results of severe orange peel treatment can last 2 to 3 years. But several things will accelerate deterioration:
Avoid automatic car washes. Rotating brush bristles create new swirl marks and fine scratches in the clear coat. These may be invisible at first, but they gradually degrade DOI and overall appearance. The two-bucket hand wash method is the gentlest cleaning approach.
Ceramic coating or paint sealant is the most recommended protection after orange peel treatment. A flat, mirror-finish paint surface is the ideal base for ceramic coating — application results in significantly improved gloss and protection. Apply about 1 week after polishing, when there”s no other contamination present. The key to paint care isn”t “do it once and forget it” — it”s ongoing protection. A quick touch-up with X1 after every wash delivers far better results than waiting months for a major reapplication.
Control polishing frequency. Even for severe orange peel treatment, every sanding pass consumes clear coat thickness. Don”t wet sand the same panel more than once per year.
7. When You Really Shouldn”t Bother
Now that we”ve covered how to treat severe orange peel, let”s talk about when you shouldn”t.
Clear coat too thin (paint thickness gauge shows clear coat below 25 micrometers, or total film thickness below 90 micrometers) — no form of sanding is recommended. Continuing to sand on this paint has an extremely high probability of burning through the clear coat, and once the clear coat is breached exposing the base coat, the only option is a respray. There”s no going back.
Japanese cars with thin paint (clear coat 25 to 35 micrometers) with severe orange peel require extra caution. Japanese car clear coats are already on the thin side, leaving very little safety margin for sanding. In this case, prioritize the texture matching approach rather than full leveling.
BMW and other vehicles using powder clear coat — the factory orange peel may be noticeable, but powder clear coat is specifically designed for durability. Sanding it off means sacrificing the core advantage of this paint system. Think carefully before proceeding.
Daily driver cars with factory orange peel — if it”s only affecting appearance and not the protective function, I generally don”t recommend treatment. Factory orange peel doesn”t affect rust prevention or durability, and treating it actually reduces the clear coat”s resistance to stone chips. The trade-off isn”t worth it.
Large-area severe orange peel requires extremely long labor hours — a single panel can take 1 to 2 hours, and treating the entire car approaches the cost of a respray. In this case, get a quote for respraying first; it may actually be more economical.
When repair paint covers more than 50% of a panel, sanding correction is also not recommended. Repair paint has different adhesion characteristics from factory paint, and problems can arise during sanding. A direct respray is the safer choice.
Summary
Can severe orange peel be polished flat? Yes, but you need more than just automotive polishing wax — you need a complete wet sanding plus polishing workflow.
Remember these three key numbers:
- Clear coat is 30 to 50 micrometers — that”s your “budget”
- Full leveling requires removing 5 to 12 micrometers — a significant expenditure
- Texture matching only requires 1 to 4 micrometers — this is the recommended approach for daily drivers
The correct workflow is: measure thickness → mask → wet sand (800→1000→1500→2000 grit) → J2 heavy cut → J3 mid cut → J5 fine finish → X1 protection. Every step has a clear purpose, and skipping any step reduces the final result.
The bottom line: measure thickness before you start. If the clear coat isn”t thick enough, even the best automotive polishing wax and the most standard workflow won”t save you.