
How to Choose Polishing Wax for Metallic Paint — 3-Step Grinding + Temperature Control to Avoid Aluminum Flake Damage
A customer dropped off a silver metallic paint car the other day with a few light scratches on the fender. I asked if he”d tried polishing it himself. He said he didn”t dare touch it. I was relieved — with metallic paint, leaving it alone is actually the best protection.
Metallic paint has the highest polishing difficulty of all paint types — not because it”s hard, but because it”s “sensitive.” The aluminum flake layer means every grinding pass must be precisely controlled. The same operation that”s fine on solid paint could be a disaster on metallic. Today I”m walking through metallic paint polishing from theory to practice, start to finish.
1. The Structure of Metallic Paint Determines What It Fears
Metallic paint has a three-layer coating structure: primer → basecoat (containing aluminum flakes) → clear coat. Compared to solid paint, there”s that extra layer with aluminum flakes — the source of metallic paint”s sparkle and the root of all polishing risk.
These aluminum flakes are ultra-thin plate-shaped metal particles, 5–20 microns in diameter. During spraying, they naturally lay flat and parallel to the paint surface. They act like thousands of tiny mirrors reflecting light directionally — that”s what gives metallic paint its deep, shimmering gloss.
What does polishing risk? Two things going wrong.
First, burning through the clear coat. The clear coat is the only protective barrier for the aluminum flakes, about 35–50μm thick. Each proper polishing pass removes 2–5μm. If over-grinding penetrates the clear coat, the aluminum flakes are directly exposed to air and moisture — they oxidize, turning white or black. This damage is irreversible.
Second, disrupting the aluminum flake alignment. The shear force and heat generated during polishing can make the originally flat-lying flakes stand up or change orientation. Upright aluminum flakes no longer reflect light toward the observer, creating patches of uneven brightness — “clouding” in industry terms. Once this happens, it”s basically unrecoverable. The flakes are still there, but you can”t “realign” them.
So the core logic of metallic paint polishing is: even grinding, strict control, never skip steps.

2. The 3-Step Grinding Process for Metallic Paint — Every Step Is Mandatory
Metallic paint polishing must strictly follow the cutting → refining → finishing sequence. Here”s what each step does and which pad and compound to use.
Step 1: Cutting — Remove Scratches, Level the Surface
The cutting step has one job: remove scratches and make the surface flat.
- Machine: DA dual-action polisher (recommended for safety)
- Pad: Short wool pad (high fiber density, strongest cutting power)
- Compound: DianYe J2 water-based cutting compound (grit size >10μm)
- RPM: 1500–1800
- Key points: Work in 40×40cm sections, 1–2 passes per section then move on, single-point dwell time under 3 seconds
After cutting, scratches should be significantly reduced or gone. The surface will still look hazy — that”s normal. The micro-scratches from coarse grinding will be removed in the next step.
A common mistake: seeing the scratches gone and calling it done. On metallic paint, this guarantees a hazy finish. The micro-scratches from the cutting compound are still in the clear coat. Without addressing them, light hits the surface as diffuse reflection — everything looks foggy.
Step 2: Refining — Eliminate Cutting Marks, Boost Gloss
The refining step bridges cutting and finishing. It removes the grinding marks left by the cutting step while bringing up the gloss level.
- Machine: DA dual-action polisher
- Pad: Fine foam pad or long fine wool pad
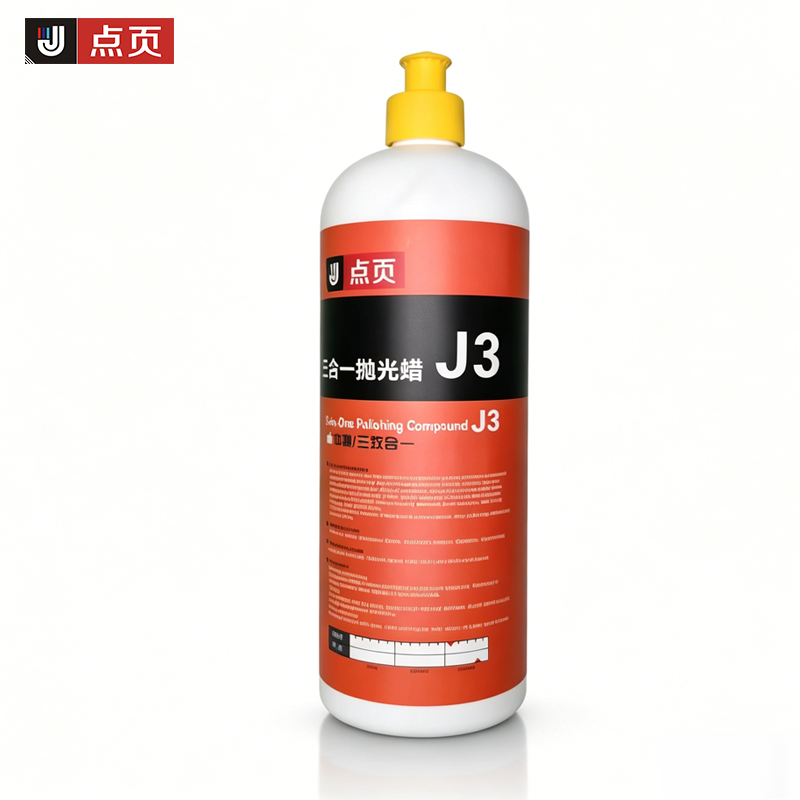
- Compound: DianYe J3 3-in-1 polishing compound (grit size 3–10μm)
- RPM: 1200–1500
- Key points: Light pressure, work evenly across the entire section, don”t skip around
Step 3: Finishing — Mirror Surface
The final step uses ultra-fine abrasive particles to push the paint to a mirror finish.
- Machine: DA dual-action polisher
- Pad: Soft foam pad
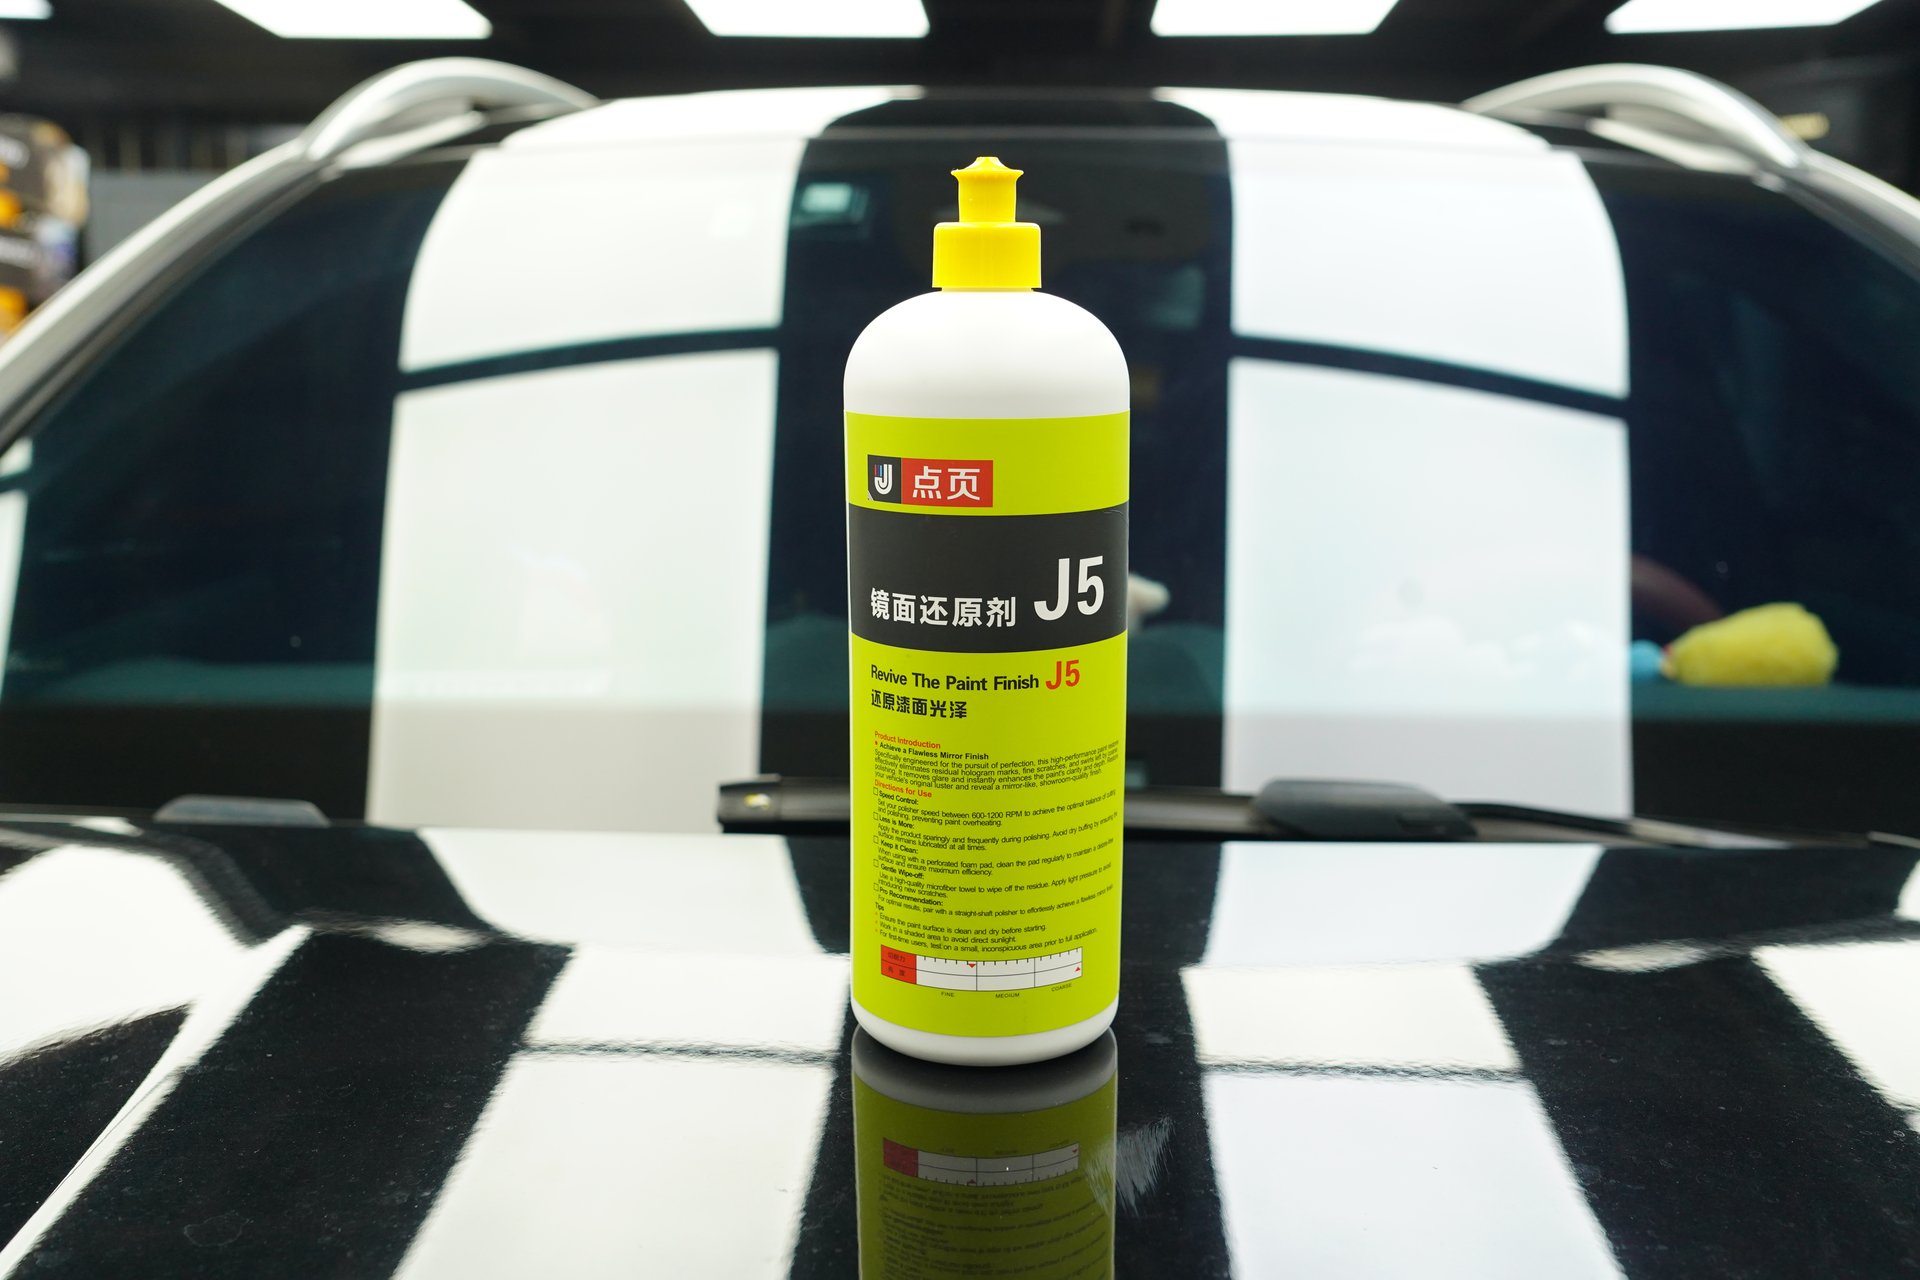
- Compound: DianYe J5 mirror finish restorer (grit size <3μm)
- RPM: 600–1000
- Key points: Minimal pressure — use the machine”s own weight only, no added force
Why can”t you skip steps? Metallic paint demands far more “grinding uniformity” than solid paint. Skip refining and go straight to finishing — the coarse grinding marks stay trapped in the clear coat micro-pores, and the finishing compound can”t cover them. Skip finishing and you”re done — the residual marks from the cutting compound show up as haze on the paint. Every step exists for a reason.
3. Why You Must Use Water-Based Polishing Wax on Metallic Paint
This isn”t a preference — it”s a safety decision.
Oil-based compounds create a smooth illusion through “filling” — the oils and fillers in the compound fill the micro-scratches in the clear coat. It looks polished, but the scratches are still there. You think the result is great right after polishing, but two days later the oil evaporates, the fillers fall out, and all the scratches come back.
Worse, oil-based products tend to “gum up” on metallic paint — high viscosity, poor flow, and localized temperatures spike during polishing, increasing the risk of aluminum flake damage.
Benefits of water-based compounds:
- Real cutting power — what you remove is removed, no filler illusions
- No oil content — doesn”t add extra thermal load to the aluminum flake layer
- Better heat dissipation — water-based formulas conduct heat faster, friction heat doesn”t build up
4. Temperature Control — The Most Overlooked Variable in Metallic Paint Polishing
Metallic paint is far more temperature-sensitive than you might think. Why? Because the aluminum flake layer sits underneath.
When polishing solid paint, the heat stays at the clear coat surface — it dissipates. Metallic paint is different — friction heat passes through the clear coat directly to the aluminum flake layer. The glass transition temperature (Tg) of the clear coat is around 180–200°C. Exceed that and the clear coat starts to soften or burn. Once the aluminum flake layer is disturbed, the orientation is ruined — the paint shows irreversible color mismatch and mottling.
Practical temperature control methods:
-
Work in small sections: Only treat 40×40cm areas at a time. After 1–2 passes, move to the adjacent section — give the already-polished area time to cool.
-
Hand-back temperature check: Hold the back of your hand 5cm from the paint surface. If you feel noticeable heat, stop immediately and wait for the temperature to drop.
-
Avoid compounded heat sources: Don”t polish while the engine is still warm. Don”t work in direct sunlight. Avoid metallic paint polishing when ambient temperature exceeds 30°C.
-
Choose the right environment: Underground garages or indoor bays are ideal. Work during early morning or late afternoon when it”s cool and shaded.
One thing I”ve learned from metallic paint work — at least half of all botched jobs come down to temperature runaway. It”s not that the compound is bad, not that the machine is bad. It”s that the temperature wasn”t controlled.
5. Pressure and RPM — The Core Formula for Metallic Paint
The cutting force formula for metallic paint polishing: Cutting Force = Pressure × RPM × Abrasive Hardness. All three variables must be adjusted in coordination.
| Polishing Stage | RPM | Pressure | Single-Point Dwell |
|---|---|---|---|
| Cutting | 1500–1800 | Medium pressure | ≤3 seconds |
| Refining | 1200–1500 | Light pressure | ≤5 seconds |
| Finishing | 600–1000 | Minimal (machine weight only) | ≤5 seconds |
Key details:
- During cutting, you want maximum material removal — high RPM + medium pressure, but single-point dwell must be short
- During refining, cut the material removal down — lower RPM + lighter pressure, focus on “evenness”
- During finishing, you”re not chasing material removal — you”re chasing mirror effect. Use machine weight only, no added force
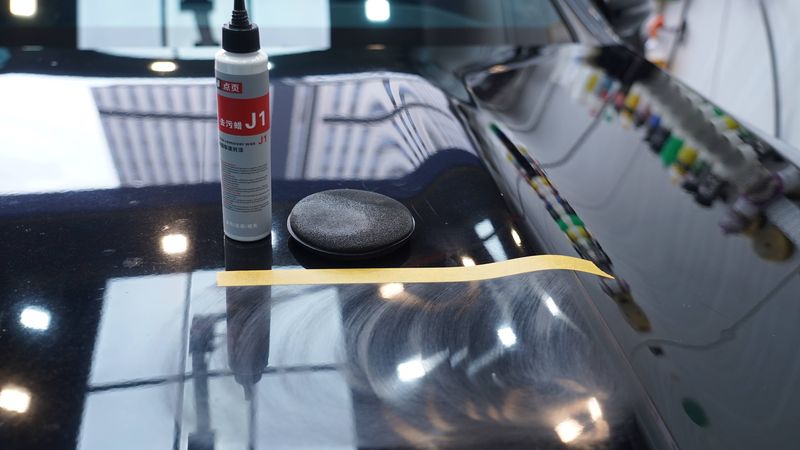
Edge areas must be slowed down: Bumpers, door handles, wheel arches — these areas have thinner clear coat (locally possibly <30μm), making them the most vulnerable part of the entire paint system. Drop to 800–1000 RPM uniformly, use a small polishing head or hand-finish. If edges have oxidation or stains, apply DianYe J1 cleaning wax and wipe directly — J1 is for cleaning, contains no abrasive particles, no machine needed. Just apply and wipe off.
6. Post-Polish Inspection — Four Steps, No Shortcuts
You can”t just hand back the car after polishing metallic paint. You might think “it looks pretty shiny,” but compound residue and oil fillers create a “fake mirror” — looks bright, but isn”t actually done.
1. Degreasing inspection (most important)
Wipe the polished area with IPA (isopropyl alcohol) degreaser to remove all oily fillers. The gloss after degreasing is the true state of the paint. If the paint noticeably darkens after degreasing or scratches reappear, the grinding isn”t complete — keep working.
2. Multi-angle light source inspection
Under LED work lights (5000–6000K color temperature) and natural light, check from front view, side view, and oblique view. Metallic paint has a flop effect (color shift by angle) — you must confirm the aluminum flake alignment is even from multiple angles, with no patchy color mismatch.
3. Flashlight raking light inspection
Hold a high-power flashlight at a very shallow angle against the paint surface. This angle magnifies any grinding marks — if you can”t see any marks, you pass.
4. Touch inspection
Run your fingers across the paint surface. It should feel smooth with no bumps. If you feel grit or drag, there”s compound residue or the surface isn”t level enough.
7. Metallic Paint vs. Solid Paint — Polishing Differences at a Glance
| Comparison | Metallic Paint | Solid Paint |
|---|---|---|
| Compound choice | Water-based formula preferred | Oil or water-based both OK |
| Starting cut | Don”t start with J2 — begin with J3 | Can start directly with J2 |
| RPM range | 200–300 RPM lower throughout | Normal range |
| Section control | 40×40cm, strict temperature monitoring | Can be slightly larger |
| Inspection method | Multi-angle, multi-light source required | Single angle sufficient |
| Error tolerance | Low — mistakes are basically irreversible | Relatively forgiving |
Metallic paint has low error tolerance — that”s a fact. But it doesn”t mean you can”t work on it. Use the right products, control the temperature, follow the process strictly, and the mirror finish you get from metallic paint — that depth and liveliness in the gloss — is something solid paint simply can”t match.
8. Post-Polish Protection — Don”t Skip This Step
After polishing, you must apply protection. The aluminum flake layer in metallic paint fears oxidation. Unprotected paint exposed to air — moisture and pollutants accelerate aluminum flake oxidation.
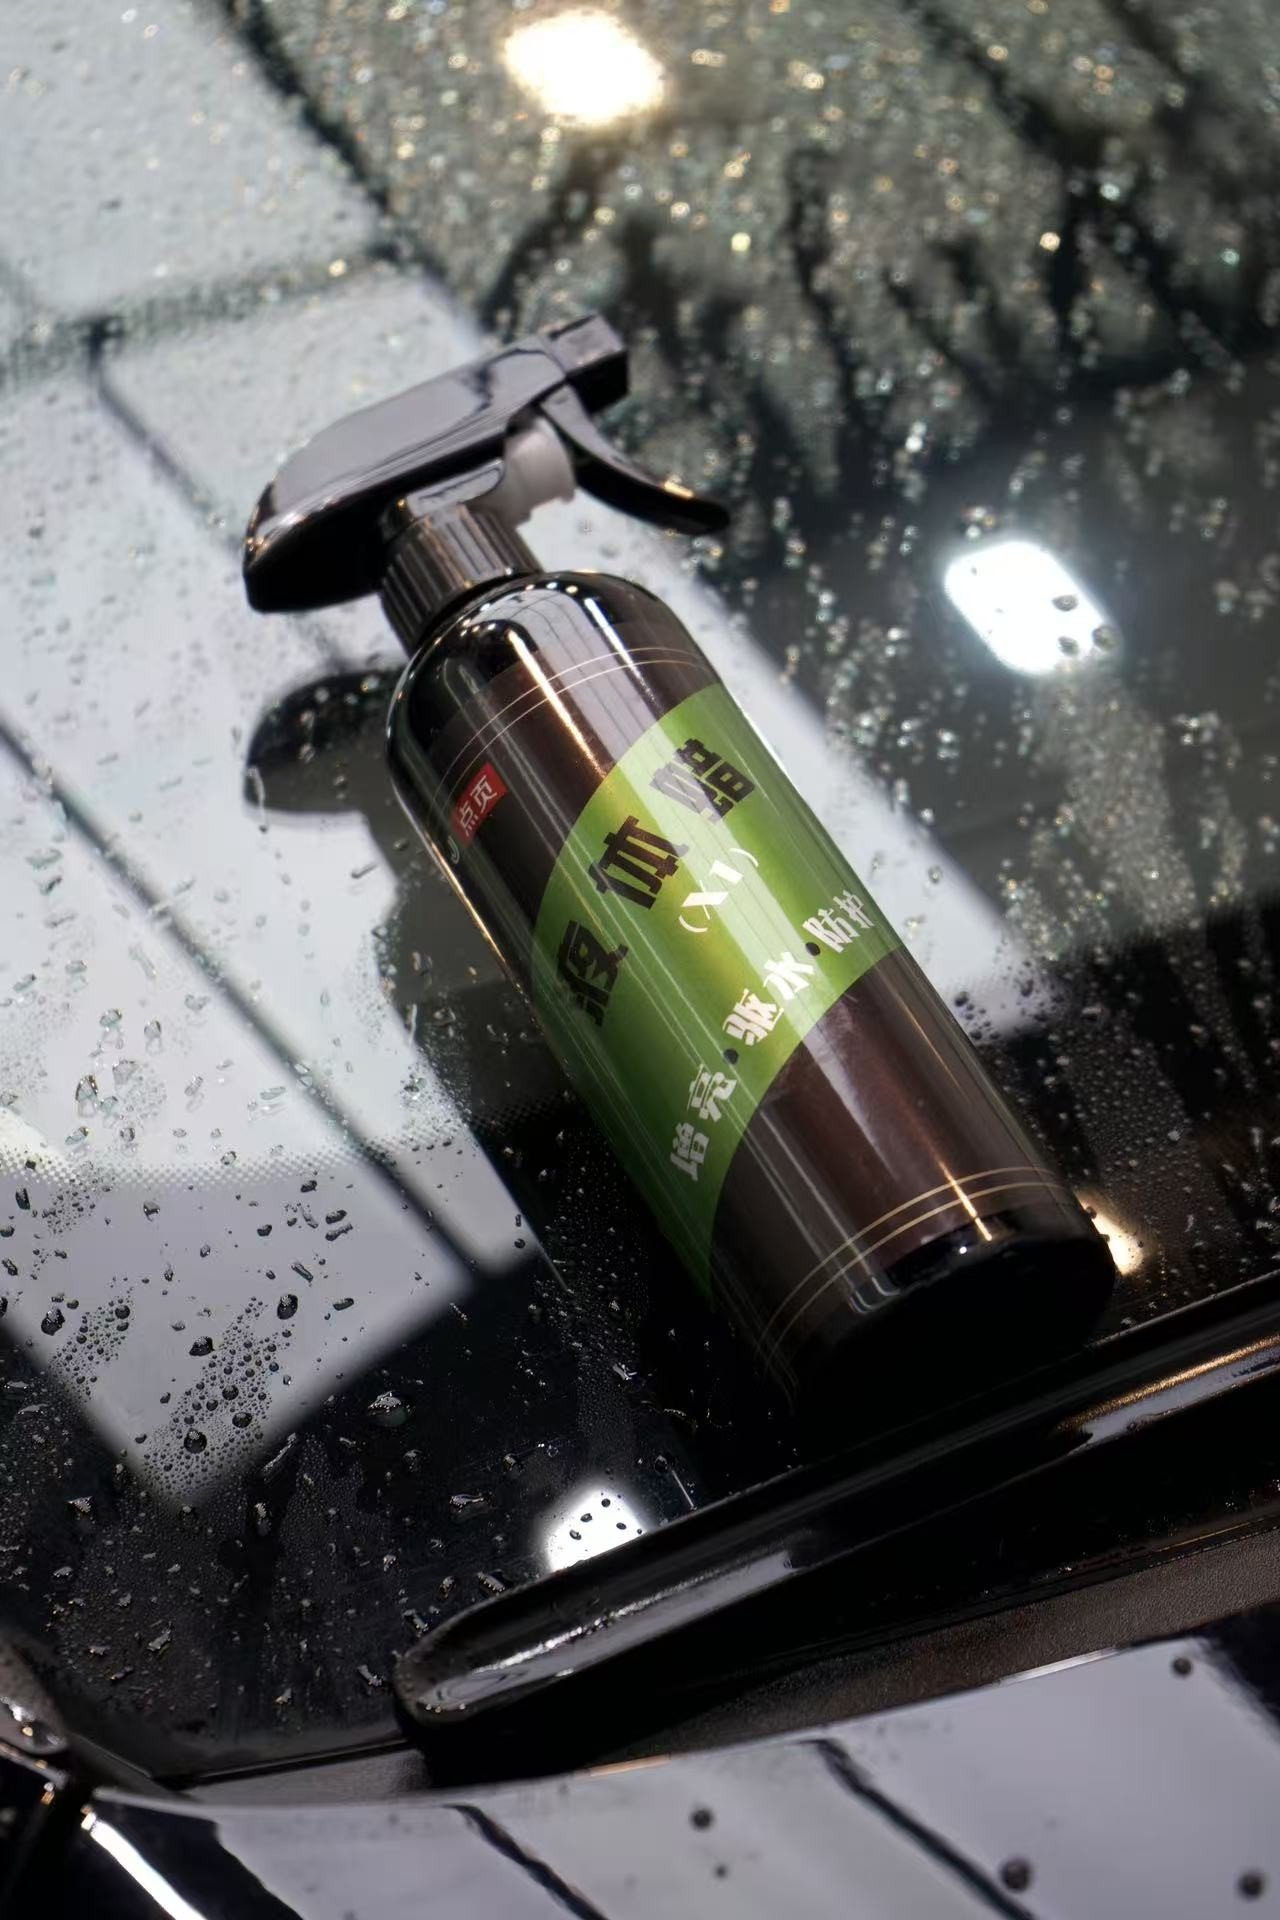
DianYe X1 quick liquid wax is a great choice for post-polish protection. Spray onto the paint, spread evenly with a foam wax applicator, wait 1–2 minutes, then wipe clean with a clean microfiber towel. X1 forms a thin, even protective layer that doesn”t mask the metallic paint”s gloss while sealing off air and moisture.
Metallic paint maintenance tips:
- Wax or ceramic coat every 3–6 months
- Park in a garage or shaded area as much as possible — reduce UV erosion of the clear coat
- Use a soft wash mitt when washing — never use hard sponges or rough towels
FAQ
Q: What if metallic paint comes out hazy after polishing?
Haze is usually caused by abrasive grit being too coarse or RPM too high, leaving micro-scratches in the clear coat that create diffuse reflection. The fix: re-do a finishing pass with a fine compound (J5 mirror finish restorer level) at low RPM to eliminate the haze. If the haze is severe enough that the aluminum flake layer is already exposed, unfortunately polishing can”t fix it anymore.
Q: What causes color mismatch after metallic paint polishing?
Color mismatch comes from disrupted aluminum flake alignment. Aluminum flakes are highly light-sensitive — even minor polishing differences cause uneven light distribution across the surface. If noticeable color mismatch has already occurred, it”s basically irreversible — the flake orientation has changed, and you can”t “reset” them. So with metallic paint, it”s always better to be conservative than aggressive.
Q: Can DIY enthusiasts polish their own metallic paint?
Honestly, it”s challenging. But if you have the right tools, the right products (water-based automotive polishing wax), and you”re willing to practice, it”s doable. The prerequisite: know your car”s clear coat thickness first (Japanese cars: 25–35μm, German cars: 40–60μm — big difference), use a DA polisher not a rotary (much safer), and strictly follow the 3-step process without skipping. If you”re not confident, start by practicing on a small, inconspicuous area to get a feel for it.
Metallic paint polishing is one of the most technically demanding paint types in automotive detailing. The aluminum flake layer means every grinding pass must be precise, even, and controlled. But once you”ve mastered the method, the deep, dynamic gloss that metallic paint delivers is unmatched by any other paint type.
Something I”ve always wanted to say: it”s not that the product doesn”t work — it”s that the method is wrong. Use water-based polishing wax, control the temperature, follow the 3-step process strictly, and metallic paint polishing isn”t as scary as people think.