
Foam Pads for Automotive Polishing Wax — How to Choose Coarse, Medium, and Fine? Don”t Be Fooled by Color
I”ve been in automotive polishing for over a decade, and I”ve seen too many people trip up on foam pad selection. Some spend hundreds on a pile of pads and can”t tell coarse from fine; others choose purely by color, only to discover their picks are completely wrong for the job. Today I want to share the mistakes I”ve made and the lessons I”ve learned — all in one article.
The Uncomfortable Truth: There”s No Unified Color Coding Standard
You”ve probably seen tutorials online teaching “black pad is for finishing, white pad is for medium, orange pad is for cutting.” Those descriptions come from certain brands” product lines — they don”t apply to all foam pads.
Here”s a real example. A colleague of mine used to use a certain American brand”s black pad for finishing and got used to it. Later he switched to another brand, bought a black pad out of habit — and was shocked when he put it on the machine. That black pad turned out to be a heavy cutting pad. It nearly ruined the customer”s paint.
That”s not a joke — it actually happened.
Different brands use completely different color systems. One well-known American brand uses black for finishing; another budget brand uses black for heavy cutting. The same color represents completely opposite grades across two brands. Blue is the same — some brands use it for finishing and wax application, others label it 40 PPI for cutting. White pads are even more chaotic — some position them as medium polish, others as coarse cut, a full grade apart.
Why? Because the polishing pad industry still has no mandatory color coding standard. Each brand defines its own, and even within the same brand, colors can vary across product lines.
So what should you look at instead? Keep reading.
PPI — The Real “Universal Language” of Foam Pads
After years in automotive polishing, I never judge a foam pad”s grade by color first — I look at the PPI rating.
PPI stands for Pores Per Inch — the number of pores per square inch. The higher the number, the finer and denser the foam pores, the softer the foam, and the weaker the cutting power. Conversely, lower PPI means larger pores, harder foam, and stronger cutting power.
Here”s a quick reference:
| PPI Range | Grade | Foam Feel | Typical Use |
|---|---|---|---|
| 40–50 | Cutting pad | Hard, large pores, instant bounce-back | Removing moderate scratches, swirl marks |
| 60–80 | Medium-cut pad | Medium elasticity, moderate pores | Transition from coarse cut, light oxidation |
| 90+ | Finishing pad | Soft, nearly invisible pores | Mirror restoration, wax sealing |
But PPI isn”t the only metric either. Two 80 PPI foams with different base formulations can differ by 10–15 Shore points in hardness. So when I select pads, I first check PPI for the approximate grade, then squeeze to feel the firmness, and finally confirm with the brand”s Cutting/Polishing/Finishing labeling. Three checks together, and you basically won”t go wrong.
When there are no specs available, here are some field methods:
- Thumb press test: Instant bounce-back = cutting pad; 2–3 seconds to slowly recover = finishing pad
- Light-through test: Clearly visible large pores = coarse cut; nearly no visible pores = finishing
- Water absorption test: After soaking, the pad that absorbs water quickly and heavily = open-cell cutting pad; slow absorption = closed-cell finishing pad
How to Actually Use the Three Foam Pad Grades — Operating Parameters Are Completely Different
Many people think switching pads makes no difference — same speed, same pressure, just swap and go. Completely wrong. The operating parameters for coarse, medium, and fine foam pads differ significantly. Get it wrong and you”ll not only get poor results — you might damage the paint.
Coarse Cutting Foam Pad — The Scratch Removal Workhorse
Coarse cutting pads are the densest and hardest foam pads, with Shore A hardness typically 85–90. Their job is to “grind flat” scratches, swirl marks, and other defects.
Key operating points:
- RO machine speed: 1500–1800 rpm; DA machine 4000–5000 OPM
- Pressure: Machine weight plus light downward force, total ~1.5–2 kg
- Travel speed: 20–25 cm per second, cross-hatch pattern
- Wax amount: 4–6 pea-sized drops of polishing compound
The core goal at this stage is cutting, so speed must be sufficient and pressure firm. But don”t over-press — excessive pressure just sends paint temperature soaring, risking swirl marks or even burn-through.
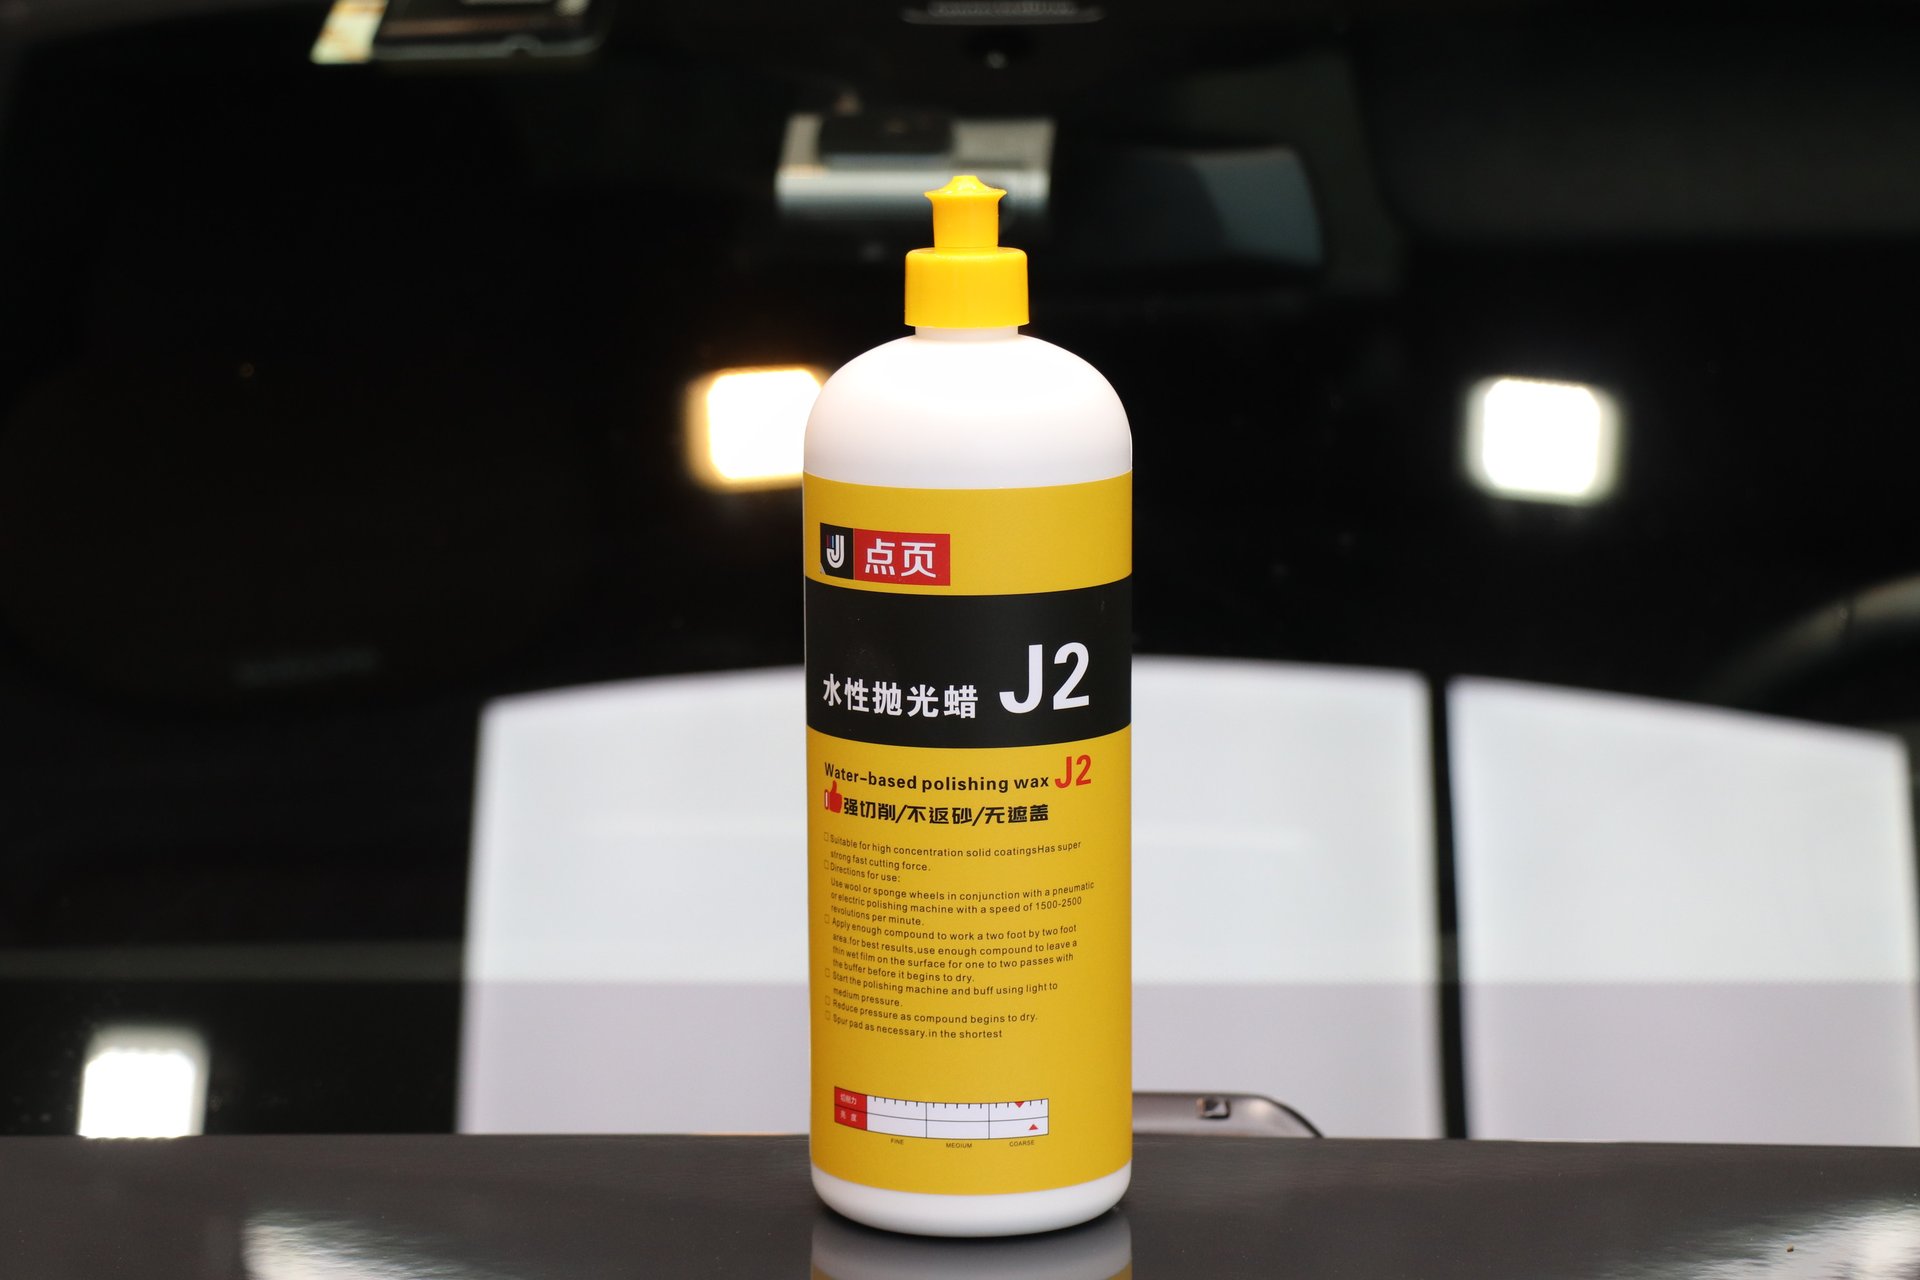
For automotive polishing wax pairing, coarse cutting pads work best with DianYe J2 Water-Based Polishing Wax. J2 is a water-based coarse cutting compound with fine, uniform abrasive particles that pair efficiently with high-density foam pads. The water-based formula also dissipates heat better than oil-based, reducing the risk of dry buffing. DianYe J2”s abrasives distribute evenly across the cutting pad — after one panel, scratch removal is clearly visible.
Medium-Cut Foam Pad — The Versatile Middle Ground
Medium-cut pads are my most-used type. Shore A hardness 70–80 — firm enough to continue refining from the coarse stage, yet gentle enough not to introduce significant new swirl marks.
Key operating points:
- RO machine speed: 1000–1200 rpm; DA machine 3000–4000 OPM
- Pressure: Machine weight only, ~1 kg — hands just guide direction
- Travel speed: Moderate pace, neither rushed nor slow
- Wax amount: About 30% less than the coarse stage
The medium pad”s core role is to refine the “rough marks” left by the coarse pad while beginning to restore gloss. Skip this stage and go straight to finishing — you”ll find the finishing pad can”t keep up. Too many coarse marks for it to clean.
Medium-cut pads pair excellently with DianYe J3 3-in-1 Polishing Wax. J3 is positioned as a medium-cut polish with finer abrasive particles than J2. Combined with a medium foam pad, it can simultaneously cut and begin restoration — saving time in a single step.
Finishing Foam Pad — The Final Gloss Depends on It
Finishing pads are the softest of the three, Shore A 60–65, with a foam texture like cotton candy. Cutting power is essentially zero — its job is purely “adding the cherry on top.”
Key operating points:
- RO machine speed: 600–800 rpm; DA machine 1500–2500 OPM
- Pressure: Machine weight or lighter, ~0.5–0.8 kg
- Travel speed: Slow! Finishing relies on time, not force — two light passes beat one heavy pass
- Wax amount: A small amount is sufficient
The finishing pad”s job is to eliminate all micro-marks from previous steps, pushing the paint to a mirror finish. Paired with DianYe J5 Mirror Finish Restorer, it”s the standard setup for the final stage. J5”s ultra-fine abrasive particles, combined with the finishing pad at low speed and light pressure, produce a level of gloss and depth that no earlier stage can achieve.
Another Overlooked Dimension: Flat Pad vs. Waffle Pad
Beyond coarse/medium/fine and PPI, there”s another foam pad selection dimension that often gets overlooked — pad surface structure.
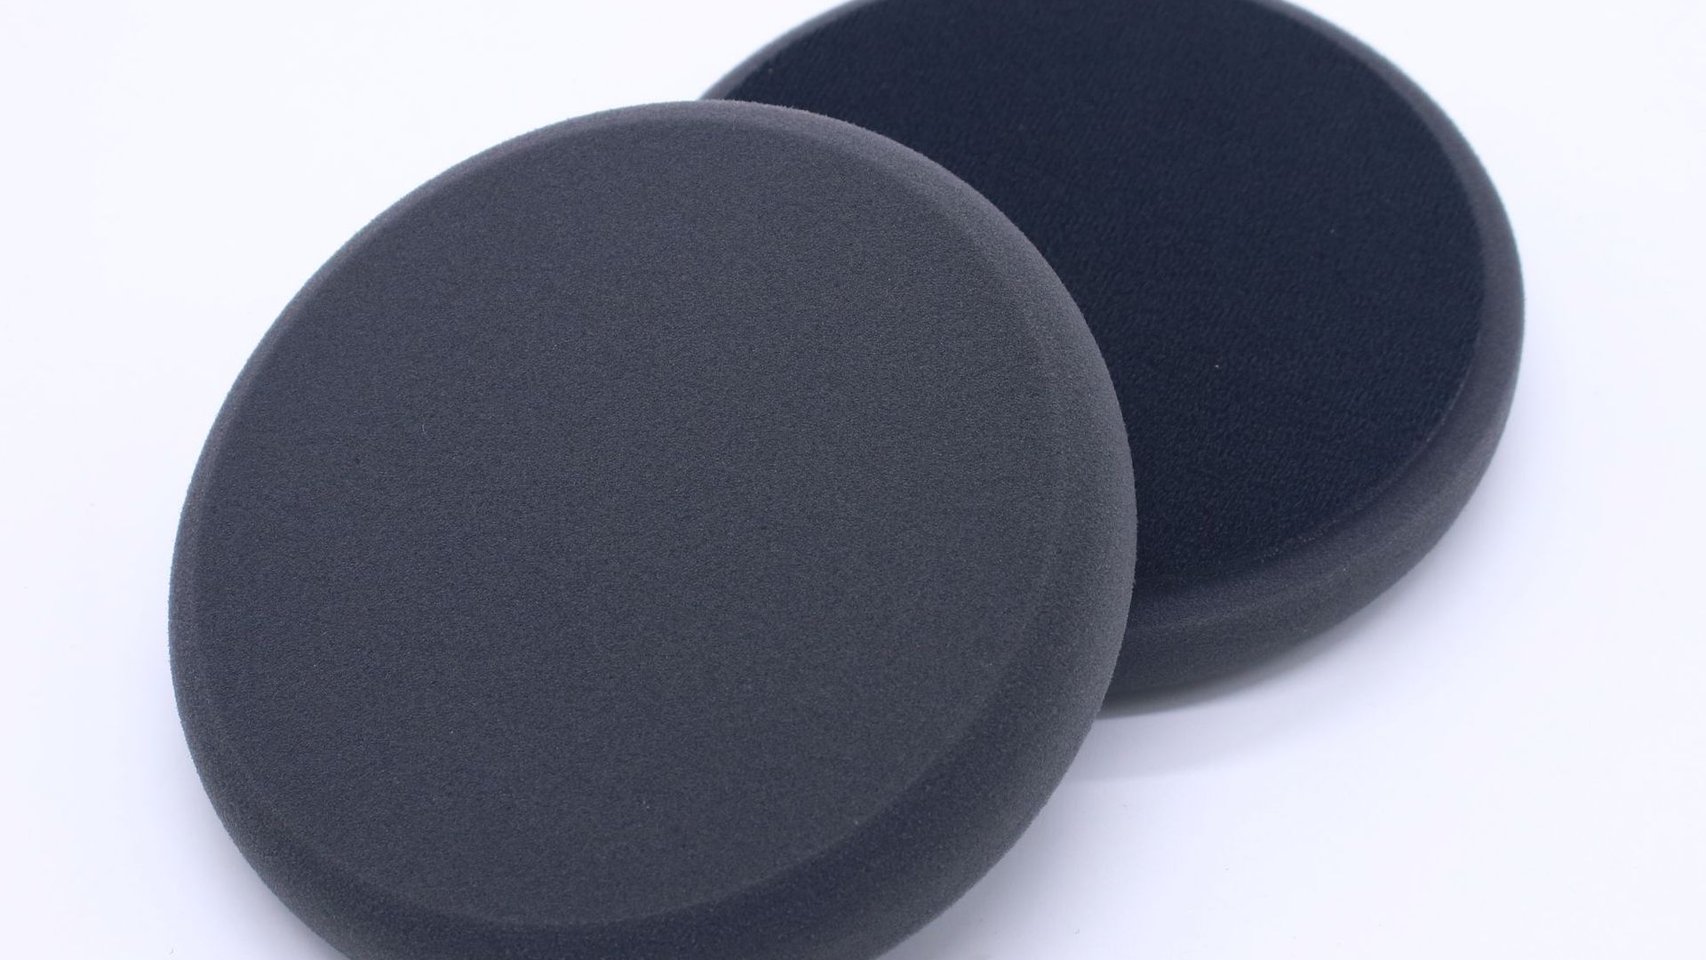
Foam pads come in two surface designs: flat and waffle (also called grid pattern).
Flat pads have 100% contact area — maximum cutting efficiency, but poor heat dissipation. Heat builds up at the contact surface, especially noticeable on dark cars in summer — pad temperature climbs fast.
Waffle pads have about 60–70% effective contact area — slightly less cutting efficiency, but the gaps between the waffle ridges act as natural cooling channels. During high-speed rotation, they generate micro-airflow that actively carries away friction heat. Tests show waffle pads run 8–15°C cooler than equivalent flat pads.
My selection habit:
- Coarse cutting: Flat pad preferred for maximum cutting efficiency
- Medium cutting: Either flat or waffle works; I choose waffle in summer and for dark cars
- Finishing / restoration: Waffle preferred — better heat dissipation, no new swirl marks
Foam Pad Maintenance and Replacement Indicators
Foam pads aren”t as delicate as wool pads, but they”re not indestructible either. With normal maintenance, a foam pad lasts about 30–50 cars.
Daily maintenance is simple: rinse with clean water after use, squeeze out — don”t wring, don”t sun-dry, don”t use a pressure washer. Just squeeze out the water and let it air-dry in a cool, shaded spot.
Deep cleaning: weekly or every 5–8 cars. Spray with warm water plus dedicated pad cleaner, wait 30 seconds, gently brush with a short-bristle nylon brush, rinse until water runs clear, air-dry for 24 hours.
When to replace? Watch for these signs:
- Edges deformed, no longer flat
- Slow bounce-back when pressed, feels “dead”
- Surface becomes abnormally smooth (called “glazing” in the trade) — compound won”t stick
- Cracks or holes appear
- Thickness reduced by 20%+ compared to new
- Hook-and-loop backing no longer grips
Coarse cutting pads wear fastest (used with abrasives); finishing pads last longest. Don”t wait until the pad is completely dead — cutting power decline already affects your results.
Summary: Three-Step Pad Selection
After working on so many cars, my foam pad selection comes down to three steps:
Step 1 — Check PPI: 40–50 is cutting, 60–80 is medium, 90+ is finishing. This is the most reliable grade indicator.
Step 2 — Check structure: Flat pads cut efficiently but trap heat; waffle pads dissipate heat well but cut slightly less. Match to your polishing stage and ambient temperature.
Step 3 — Check pairing: Coarse cutting pad + J2 Water-Based Polishing Wax for deep cutting; medium pad + J3 for transition refining; finishing pad + J5 for mirror restoration. Get the pad-and-wax pairing right, and results improve dramatically.
As for color? Take it with a grain of salt. Different brands use completely different color systems — cross-brand color-based pad selection is the biggest trap there is.
Automotive polishing is a craft. Choose the right pad and wax, and your skill can truly shine.
DianYe Auto Technology specializes in automotive paint care product R&D, providing complete solutions from coarse cutting to mirror restoration. For any automotive polishing questions, feel free to reach out.