
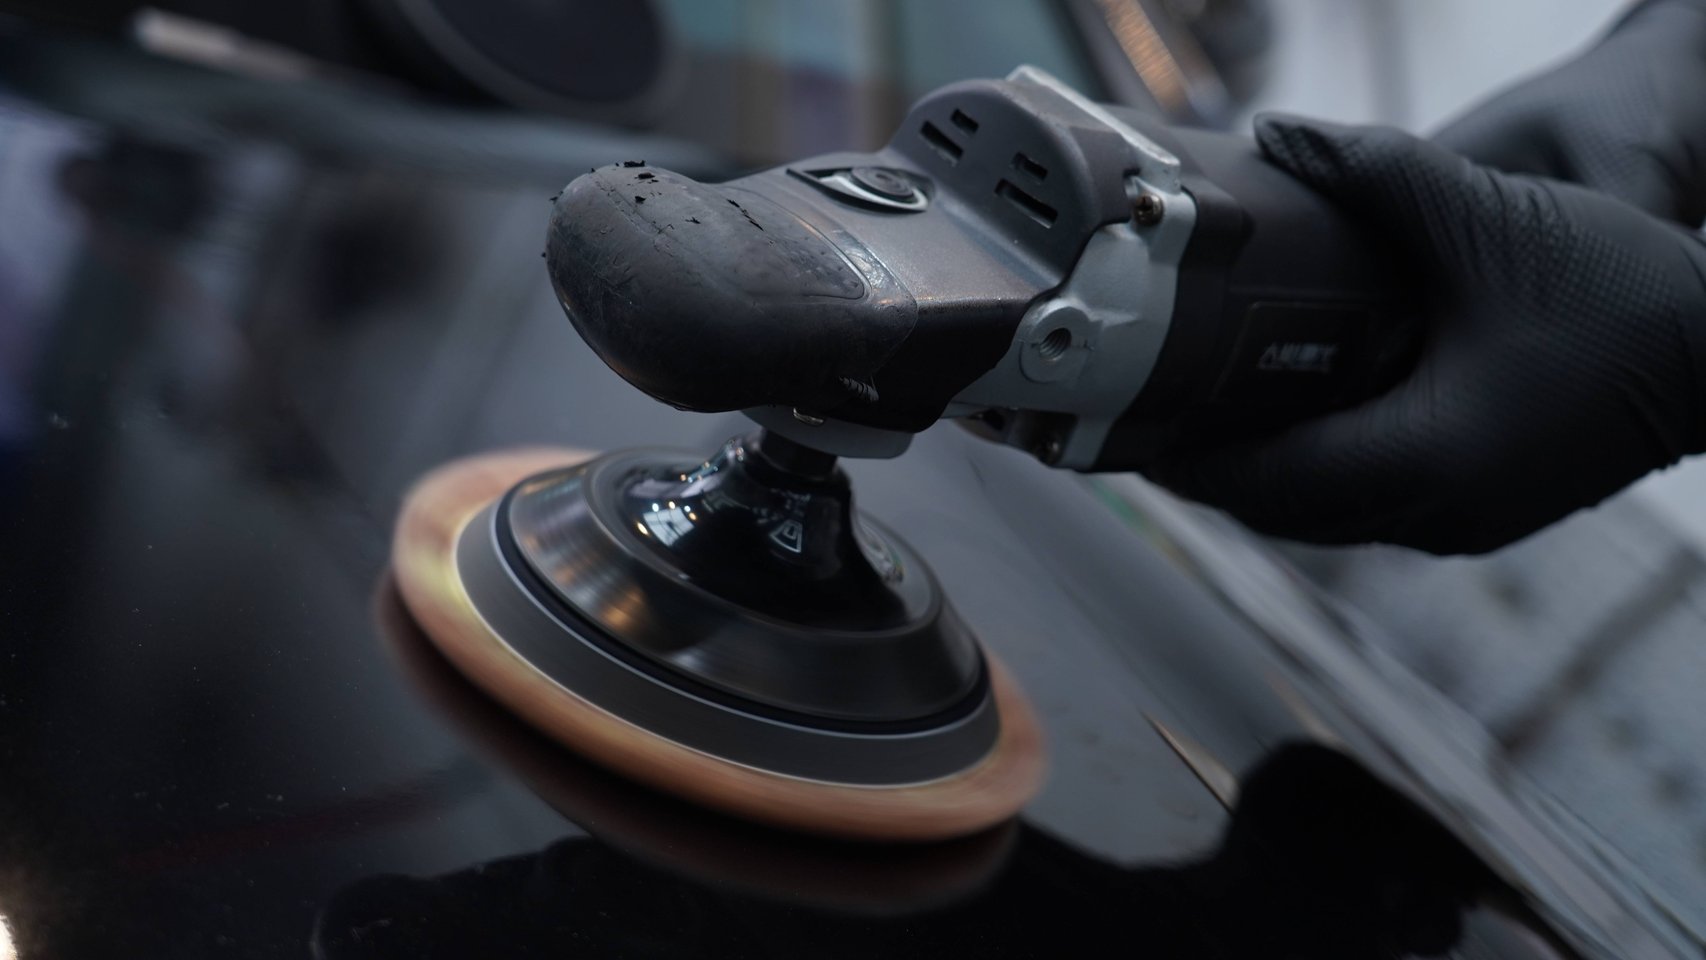
Car Paint Edges Are Most Likely to Burn Through — High-Risk Areas to Watch Out For
After years of doing paint correction work, the most heartbreaking botched jobs I’ve seen never happen on flat panels — at least when you burn through a flat area, the damage is small and relatively inconspicuous. The truly catastrophic failures always happen at the edges.
A bright white burn-through mark running along a door body line from the front door all the way to the rear; the entire clear coat strip burned off at the hood fold, exposing the grayish primer underneath; a hazy spot on the fender arch peak that no amount of polishing can fix — because there’s no clear coat left there.
Why does this happen? Because the clear coat thickness at edges and corners can be half that of the flat surface. On the same door, the flat center may have 63μm of clear coat, while the door edge has only 30μm. Removing 3μm on a flat panel is effortless, but the same amount at an edge could punch straight through to the base coat.
This article breaks down edge polishing from start to finish: which areas are most dangerous, how to determine whether an edge can still be polished safely, what to watch for during operation, and how the “5 minutes of taping equals zero burn-through” method actually works.
1. Why Edge Areas Are So Prone to Burn-Through
Edges are the single most dangerous position in any polishing operation, period. Three factors combine to make burn-through risk at edges far higher than on flat panels.
1.1 The Clear Coat Is Naturally Thinner
During the painting process, paint flows downward due to gravity. Flat panels accumulate sufficient paint film with normal thickness, while body lines, folds, and curved peaks shed the paint — the clear coat at these positions is naturally thinner.
Here are the actual measurements:
| Position | Clear Coat Thickness | Ratio vs. Flat Panel |
|---|---|---|
| Door panel center | 2.5 mils (≈63μm) | Baseline |
| Door edge | 1.2 mils (≈30μm) | Only 48% |
| Hood body line | 1.0–1.5 mils (≈25–38μm) | 40–60% |
| Fender arch peak | 1.3–1.8 mils (≈33–45μm) | 52–72% |
On the same door, the edge clear coat is less than half the thickness of the panel face. A polisher removes material at a uniform rate across the entire surface — removing 3μm on a flat panel goes unnoticed, but the same 3μm at a door edge can penetrate into the base coat.
1.2 Small Contact Area Means Dramatically Higher Pressure
The radius of curvature at body lines and folds is very small, so the polishing pad cannot conform to the surface the way it does on flat panels. The pad contact concentrates along a line or even a single point at the peak of the edge, causing the pressure per unit area to spike.
Higher pressure means faster cutting speed and more concentrated heat generation — three factors all pushing burn-through risk higher simultaneously.
1.3 Heat Cannot Dissipate
Flat panels have the entire sheet metal acting as a heat sink, conducting heat away efficiently. At edges, the contact area is so small that friction-generated heat accumulates in a tiny zone and cannot escape. High temperatures soften the clear coat, and softened clear coat is far easier to burn through — which is why sometimes it feels like “I barely touched it” and already it’s through.
2. Eight High-Risk Edge Locations — How Many Have You Hit?
In paint correction practice, burn-through accidents cluster at the following eight locations, ranked by risk level:
🔴 Level 1 — Highest Risk (Most Frequent Burn-Through)
① Door Body Lines / Character Lines
This is the number one burn-through killer. The raised character line running from the front wheel arch to the rear wheel arch has the thinnest clear coat at its peak, and the body line’s curvature is at its maximum — pad contact area is at its minimum. An RO rotary polisher passing over a character line can turn a safe zone into a burn-through zone in two seconds.
② Hood / Trunk Lid Edges
These are sheet metal fold positions where paint flow during application is at its worst. The front and rear edges of a hood often have only 40–50% of the clear coat thickness found at the center. On top of that, it’s difficult to control pressure at these positions, making burn-through extremely likely.
③ Fender Lips / Wheel Arch Edges
The fender’s surface transitions from horizontal to vertical, and the arch peak area has naturally thin clear coat. The large curvature prevents large pads from conforming — forcing a large pad here causes the pad edge to “bite” into the arch peak and burn through instantly.
🟠 Level 2 — Easily Overlooked Areas
④ Door Handle Recess
The recessed area between the door handle and the door panel has an irregular shape that a large pad simply cannot enter. Many people try to polish around the door handle with a large pad, and the pad edge inadvertently catches the sharp edges surrounding the handle.
⑤ Side Mirror Mounting Area
The junction between the side mirror base and the door panel has complex curves, plus the mirror glass and lighting elements that need protection. Operating space is tight — one careless moment and the pad catches something it shouldn’t.
⑥ Around Emblems / Badges
Emblems and lettering sit flush against the body with narrow gaps and sharp corners around them. When the polishing pad contacts an emblem edge, it either scratches the emblem or burns through the clear coat on the adjacent body line.
🟡 Level 3 — Conditional Risk
⑦ Fuel Door Hinge
The fuel door hinge position has an awkward angle with sharp edges. Many people overlook this area, but the body lines around the hinge have extremely thin clear coat.
⑧ Door Bottom Edge
The lowest edge of the door frequently gets kicked and scratched, and those scratches need treatment — but the edge angle at this position makes polishing very difficult. The wrong angle burns through; the right angle can’t reach the scratch.
3. Can You Polish the Edge? Check the Paint Thickness Gauge First
Many people handle edge scratches purely by feel — “if it looks thin, go easy” — that’s not operating, that’s gambling. I recommend using a paint thickness gauge to perform a “five-point measurement” on every edge panel before polishing. Let the data talk.
3.1 The Five-Point Measurement Method
On the panel being treated, measure the clear coat thickness at 5 points:
- Panel center (baseline reading)
- One point at each of the four edges/corners (minimum readings)
The flat panel center reading is your total film thickness baseline for that panel. The edge readings are the minimum values at those positions. The difference between the two numbers is your safety margin at the edges.
If the edge reading is below 1.5 mils (38μm), the recommendation is straightforward: tape it off, skip machine polishing, and accept that scratches at that position won’t be fully removed.
3.2 Three-Level Safety Thresholds
Once you have the thickness data, the judgment becomes clear:
| Safety Level | Clear Coat Thickness | Operating Requirement | Applicable Areas |
|---|---|---|---|
| ✅ Safe Zone | ≥2.0 mils (≥50μm) | Standard compounding and polishing both OK | Flat panels |
| ⚠️ Caution Zone | 1.5–2.0 mils (38–50μm) | Foam pad only, no wool pads, light pressure, reduced speed | Thicker edges / curved surfaces |
| 🔴 Danger Zone | <1.5 mils (<38μm) | Tape protection → no machine polishing → hand finishing only | Sharp body lines / sheet metal folds |
This threshold system is a standard we consistently follow in practice. Many detailers think “my technique is good enough to handle thin areas” — no amount of skill changes the laws of physics. Once clear coat is removed, it’s gone. No product can “backfill” it.
4. The Correct Operating Method for Edge Polishing
Once you’ve confirmed the edges are within the safety threshold, the specific operating method has four keys: small pad, low speed, float technique, and rotation direction away from the body line.
4.1 Pad Selection: 1–3 Inches Is the Minimum
Traditional 5–6 inch pads simply cannot work at edges. Forcing a large pad results in: edges don’t get polished, and flat panels get buffer trails.
| Pad Diameter | Application | Recommended Pairing |
|---|---|---|
| 1 inch (25mm) | Extremely narrow gaps, emblem edges, corner recesses | Ultra-soft foam pad + DianYe J5 Mirror Finish Restorer |
| 2 inch (50mm) | Door handle recess, side mirror edge, fuel door | Soft foam pad + J5 water-based polishing wax |
| 3 inch (75mm) | Door body lines, fender lip edges, large curved areas | Medium-soft foam pad + J3 medium-cut compound or J5 restorer |
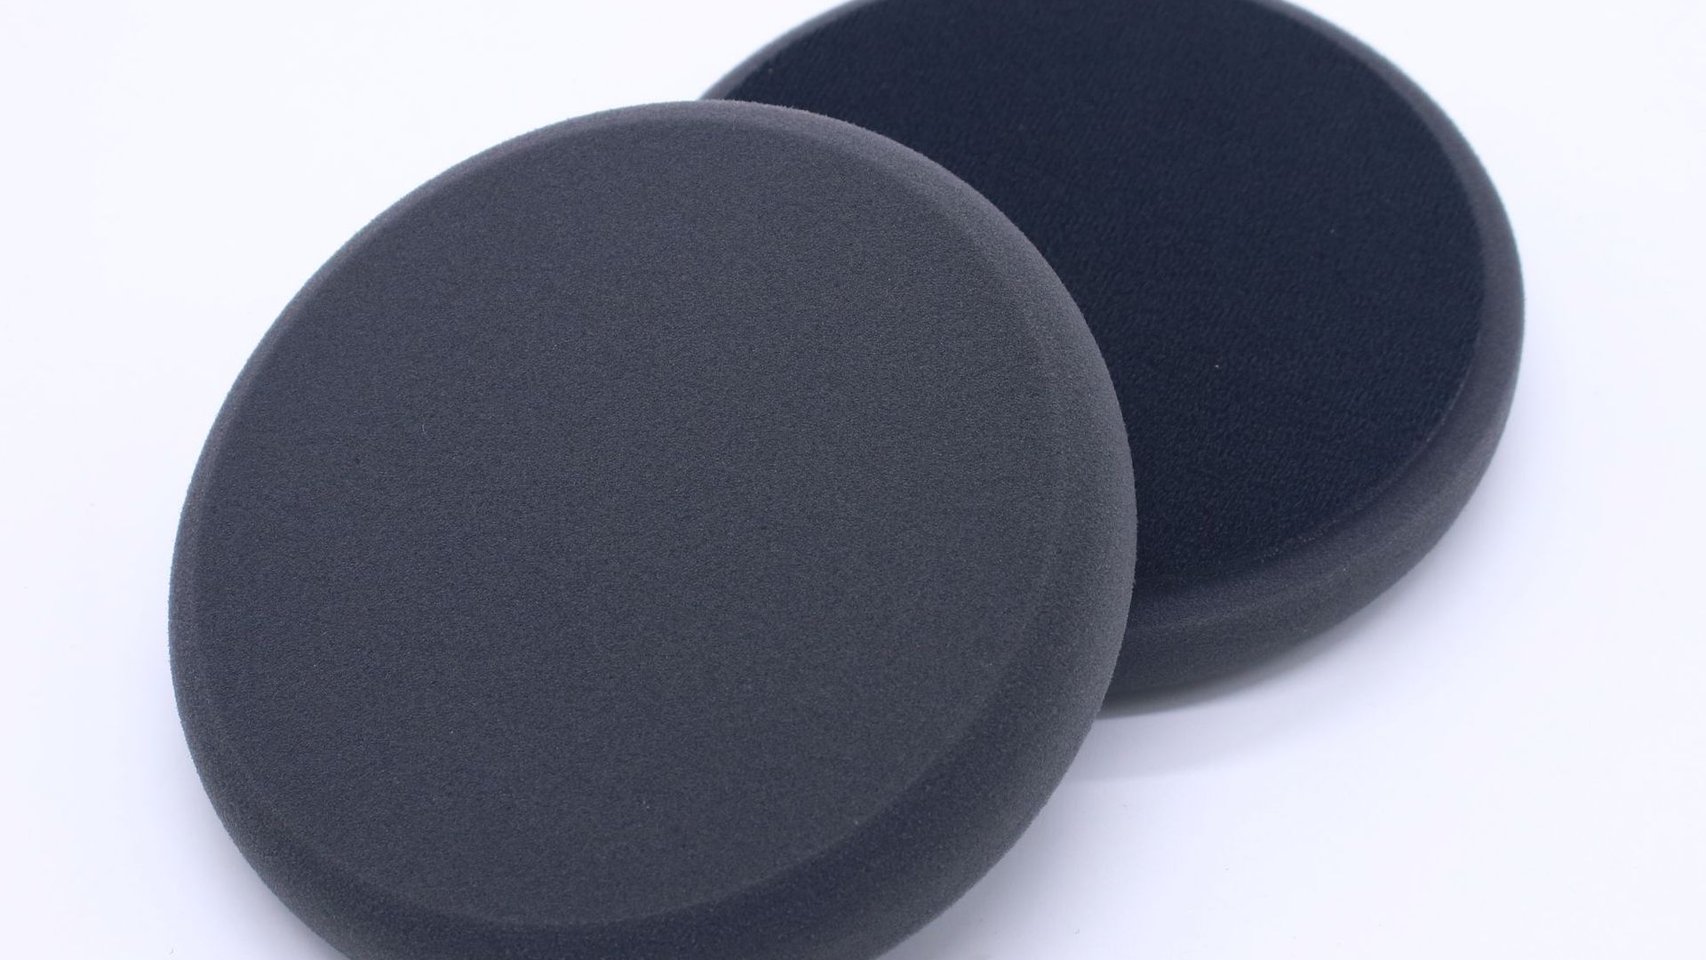 ▲ Fine foam polishing pad — for edge areas, use ultra-soft or soft foam pads only. Wool pads are strictly prohibited.
Use foam pads exclusively for edge work — wool pads are strictly prohibited. Wool pads have too much cutting power; what works perfectly on flat panels becomes over-cutting at edges. A fine foam pad paired with J5 Mirror Finish Restorer is the safe combination for edge scenarios.
4.2 Speed Control: 30–40% Lower Than Flat Panels
Edge areas heat up far faster than flat panels. Speeds must come down:
| Position | RO Speed | DA Speed | Pressure |
|---|---|---|---|
| Sharp body lines / folds | 800–1000rpm | 1000–1500rpm | Machine weight only, no added pressure |
| Door handles / curved surfaces | 1000–1200rpm | 1500–2000rpm | Extremely light pressure |
| Flat-to-edge transition | Reduce to 60% of normal | Reduce to 50% of normal | Ease off during transition |
DA dual-action polishers are far safer at edges than RO rotary polishers — the DA’s random orbital motion is less likely to create localized hot spots, making it especially friendly for beginners. For edge work, the recommended combination is DA polisher + small pad + J5 water-based polishing wax (mirror finish restorer).
4.3 The “Float Technique”: Precise Pressure Feel
Textbooks say “apply light pressure” and “let the machine’s own weight do the work” — but what does “own weight” actually feel like? Many beginners simply can’t gauge it.
In our training, there’s a benchmark called the “Float Technique”:
Relax your grip on the polisher handle. Let the machine naturally conform to the paint surface under its own gravity. Your arms only guide direction and speed — no additional downward force.
How do you know if you’re pressing too hard? If the polisher wants to “run away” — the pad pulling the machine sideways — you’re pressing too hard. The friction has become so great that the pad is grabbing the paint and dragging instead of gliding.
Adding arm pressure won’t speed up cutting — it only concentrates force at the contact point, accelerates heat buildup, and turns an edge from safe to burned through in 2 seconds.
Training method: Practice the “float feel” on a flat panel first. Place the polisher on the paint without turning it on, and feel its actual weight. Turn it on and use the same amount of force, letting the pad “float” across the paint. Once you have that feel, then move on to edges.
4.4 “Rotation Direction Away from the Body Line”: A Severely Overlooked Principle
This is a detail that 90% of technicians don’t know, and it’s something we emphasize repeatedly in our training.
When polishing near a body line / character line, adjust the machine angle so that the pad’s rotation direction moves away from the body line.
Why? If the pad rotates toward the body line, when the pad edge contacts the line, it creates a concentrated friction burst — enough to burn through the clear coat in a single pass. Conversely, if the rotation direction moves away from the body line, when the pad edge contacts the line, the rotational force “bounces” the pad off the line rather than “digging into” it.
RO rotary polishers have a fixed rotation direction, so you need to adjust which side of the body line you work from to ensure rotation moves away from the line. DA polishers, with their random orbital motion, carry far less risk here — but it’s still worth paying attention to direction.
There’s also a pressure-relief principle for body line peaks: When the machine passes over the highest point of an arch / body line, reduce pressure to near zero (pad merely touching the paint). An even safer approach is to skip the peak entirely and finish by hand — use a microfiber cloth with a small amount of J5 Mirror Finish Restorer, hand-buff for 30 seconds, eliminating any risk of machine burn-through.
30 seconds of hand work vs. 2 hours repairing a burn-through — the choice is obvious.
5. The “5 Minutes of Taping = Zero Burn-Through” Method
Beyond choosing the right pad, reducing speed, and mastering technique, there’s an even simpler burn-through prevention method: tape.
In our practice, we apply this method to every sharp body line — 5 minutes of taping buys you zero burn-through risk.
5.1 Choosing the Right Tape
| Tape Type | Safety Rating | Application |
|---|---|---|
| 3M 233+ Green Masking Tape | ★★★★★ Recommended | Body lines / character lines / sheet metal fold protection |
| Low-adhesion automotive masking tape | ★★★★ Safe | Chrome trim / rubber seals |
| Blue masking tape | ★★★ Basic safe | General masking, watch exposure time |
| Stationery tape / packing tape | ☆ Prohibited | Uncontrollable adhesion, may damage clear coat |
5.2 Pre-Tape Preparation — Ignored by 90% of People
Before applying tape, you must wipe the area with a 1:1 IPA-water solution to remove wax film and oils, ensuring uniform tape adhesion.
Skip the cleaning step? The wax and oils under the tape get ground into secondary contaminants by pad vibration. The cleanliness standard: when you drag your finger across the surface, you should hear a “squeak.”
5.3 Complete Operating Protocol
- Apply a layer of masking tape over all sharp body lines, character line peaks, and sheet metal fold edges
- The tape acts as a physical barrier — the polisher slides over the tape without contacting the thin clear coat underneath
- After machine-polishing the surrounding areas, carefully remove the tape
- Critical step: For the body lines / edges protected by tape, finish by hand — use a microfiber cloth with a small amount of J5 Mirror Finish Restorer (water-based polishing wax), hand-buff for 30 seconds
This protocol adds 5 minutes of taping time but achieves zero burn-through.
5.4 Proper Tape Removal Method
Many people apply tape fine but mess up the removal.
Don’t pull straight up. Pulling vertically leaves adhesive residue on the paint and can even tear the fragile clear coat edge.
Correct method: Pinch the tape end, fold it back 180° against the paint surface, and slowly peel at a low angle. Remove the tape immediately after polishing — never leave tape on the paint overnight or in direct sunlight. Sun and heat will bake the adhesive into the clear coat, making it extremely difficult to remove.
6. Visual Signals When Burn-Through Occurs
If burn-through does happen, you need to catch it immediately. Burn-through doesn’t happen silently — it gives clear visual signals:
The polishing mist suddenly changes color. While polishing, the hazy residue film from the compound suddenly darkens at the edge — this means the clear coat has been penetrated and the primer color is showing through.
The moment you see primer color, stop immediately. No product can “backfill” clear coat. The only repair is a full clear coat respray — 800-grit feathering → 2–3 layers of clear coat → drying → wet sanding → polishing — the entire process takes 2–3 hours.
Better to accept a partially remaining scratch than to risk burn-through by pushing hard. This is a principle we always emphasize. A scratch that isn’t fully removed affects appearance at most; a burned-through body line compromises the integrity and value of the entire panel.
7. Six Common Edge Polishing Mistakes
| Mistake | Consequence | Correct Approach |
|---|---|---|
| Using 5–6 inch pads for edges | Leaves buffer trails, can’t reach edges | Must use 1–3 inch pads |
| Setting speed too high | Rapid heat buildup → burn-through | RO ≤1200rpm / DA ≤2000rpm |
| Using wool pads on edges | Excessive cutting → over-cut | Foam pads only throughout |
| Skipping cleaning before polishing | Secondary scratches | Degrease first, then polish |
| Holding the pad stationary on a body line peak | Instant burn-through | Keep moving along the body line |
| No masking protection | Scuffs rubber / plastic trim | Mask with painter’s tape |
8. Complete Edge Polishing Workflow
Combining everything above, here is the complete edge polishing procedure:
Step 1: Measure Thickness Perform a five-point paint thickness measurement on the panel being treated. Confirm which safety level the edge clear coat falls into.
Step 2: Mask Apply masking tape over all sharp body lines and fold peaks. Wipe the taping area with IPA before applying.
Step 3: Select Pad and Compound Choose a 1–3 inch pad based on the edge position, paired with an ultra-soft or soft foam pad. For compound, use J5 Mirror Finish Restorer (water-based polishing wax) — aggressive compounds are not recommended for edge work, as the cutting volume is too unpredictable.
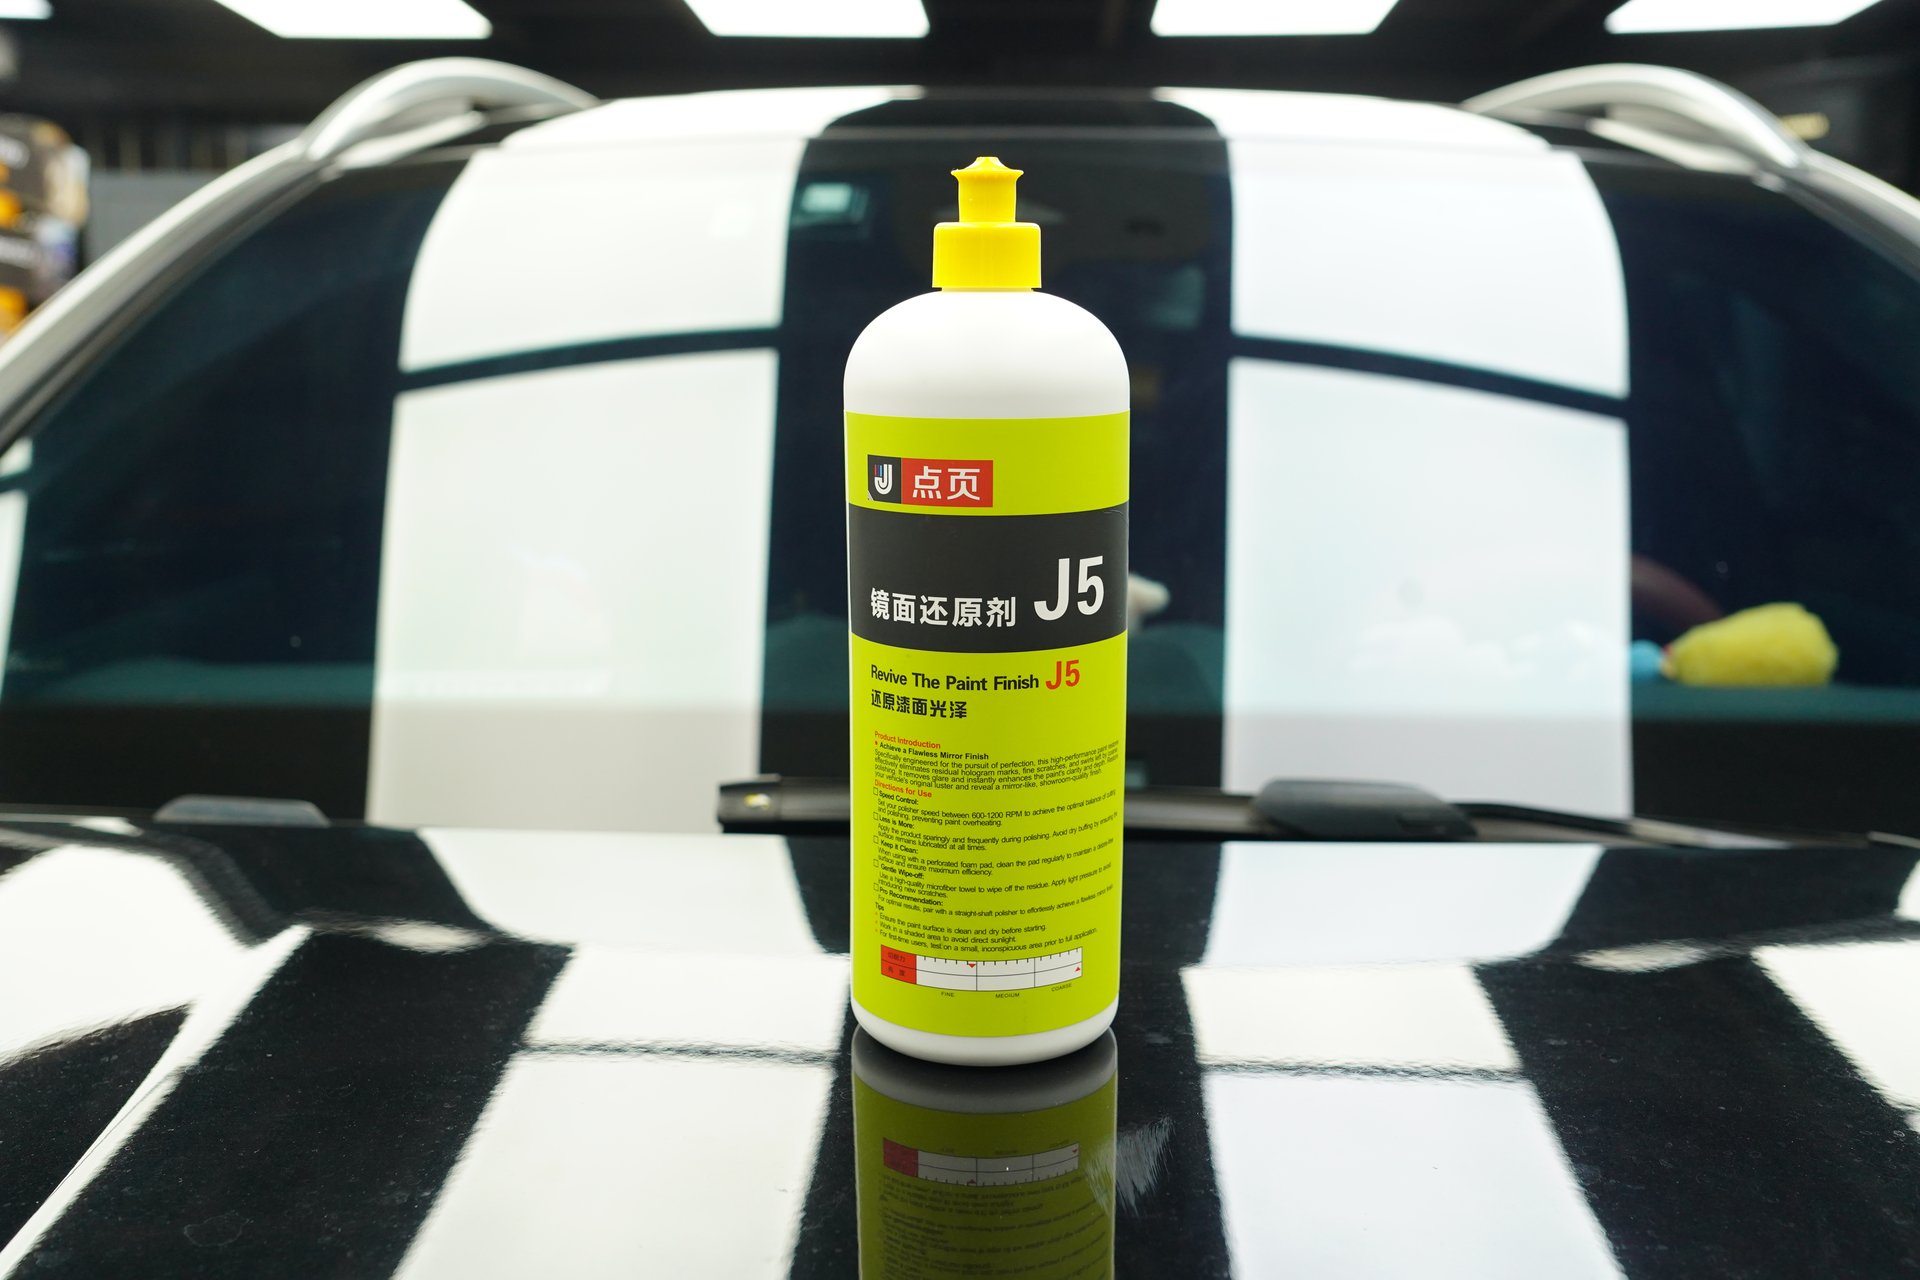 ▲ J5 Mirror Finish Restorer — water-based polishing wax formula, designed for use with ultra-soft foam pads and DA polishers in edge scenarios
Step 4: Polish DA polisher + small pad + J5, reduce speed to 60–70% of normal, use the “float technique” — machine weight only, no added pressure. Keep the pad parallel to the angled surface, using the pad’s side edge to distribute pressure. Rotation direction away from the body line. Move quickly along the body line, pausing every 30 seconds for heat dissipation. Work in 15–20cm sections at a time, wiping away residue after each section to check results.
Step 5: Finish Remove the masking tape (180° low-angle peel). For tape-protected body lines, hand-finish with a microfiber cloth and a small amount of J5, hand-buff for 30 seconds.
Step 6: Protect After the entire panel is treated, degrease with IPA, spray on X1 Quick Liquid Wax (protection wax), and wipe evenly with a clean microfiber cloth to form a protective layer.
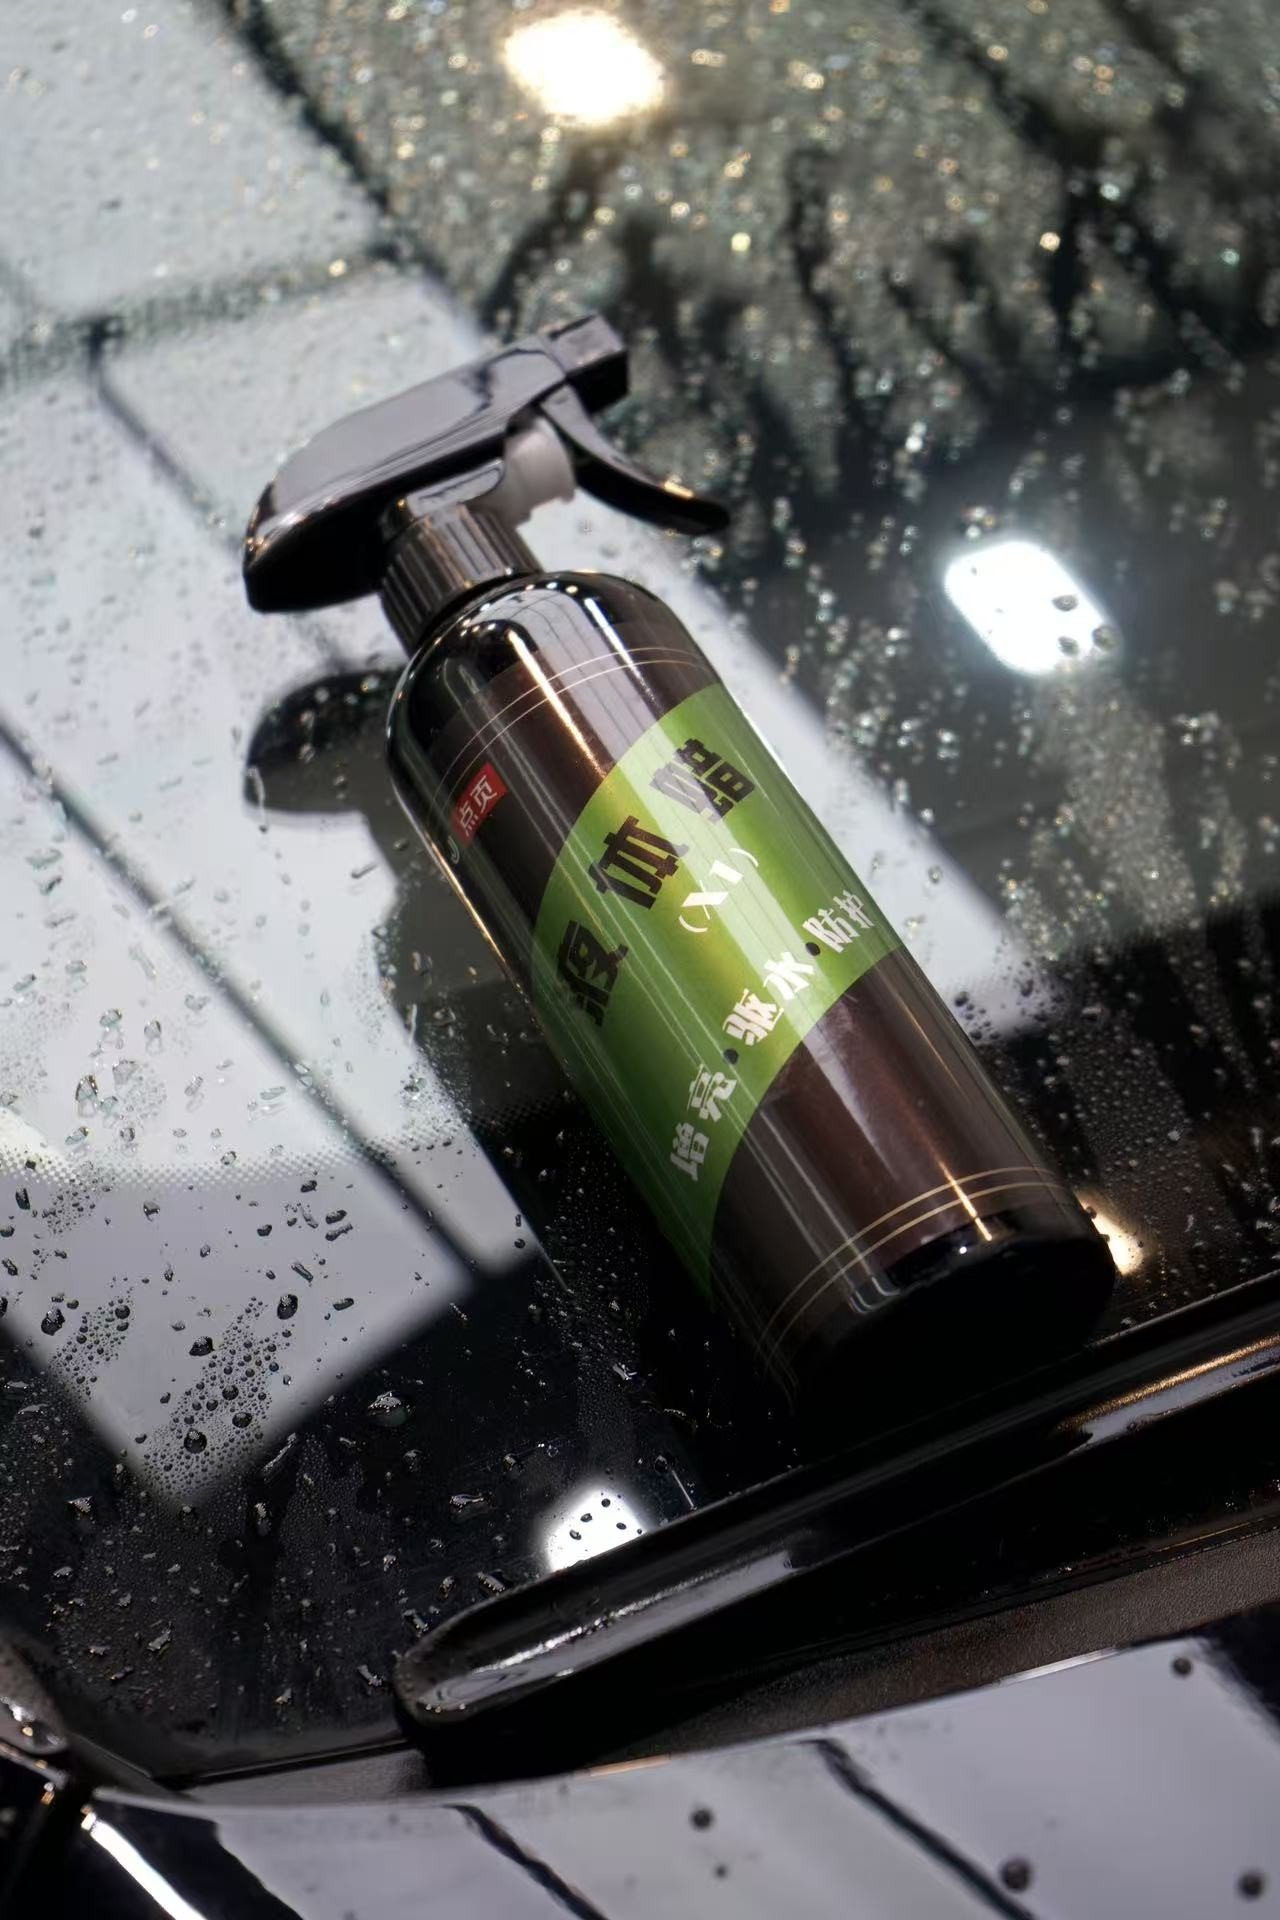 ▲ X1 Quick Liquid Wax — spray and wipe for instant protection. A protective layer is essential after edge polishing.
Final Thoughts
Edge polishing is the area of paint correction that tests your patience and fundamentals most. It doesn’t require brute force, high speeds, or aggressive cutting — quite the opposite. It demands that you slow down, lighten up, and get precise.
Remember a few key numbers: on the same door, edges are half as thick as the panel face; below 38μm, don’t machine polish; RO no more than 1200rpm, DA no more than 2000rpm; if the machine “runs away,” you’re pressing too hard; 5 minutes of taping equals zero burn-through.
The principle for edge scratch treatment is simple: if you can accept the scratch, leave it. If you can’t, handle it slowly by hand. Don’t burn through an entire body line’s clear coat just to remove a shallow scratch that barely affects the appearance.
At DianYe Auto Technology, after years of making car polishing wax, we’ve always told our users one thing: “Go fine rather than aggressive, two passes rather than three, hand work rather than machine when in doubt.” This is especially true at the edges.
This article was written by the DianYe Auto Technology team. For more car paint care knowledge, visit the DianYe Auto Technology official website. For product inquiries, follow our official account “DianYe Technology”.