
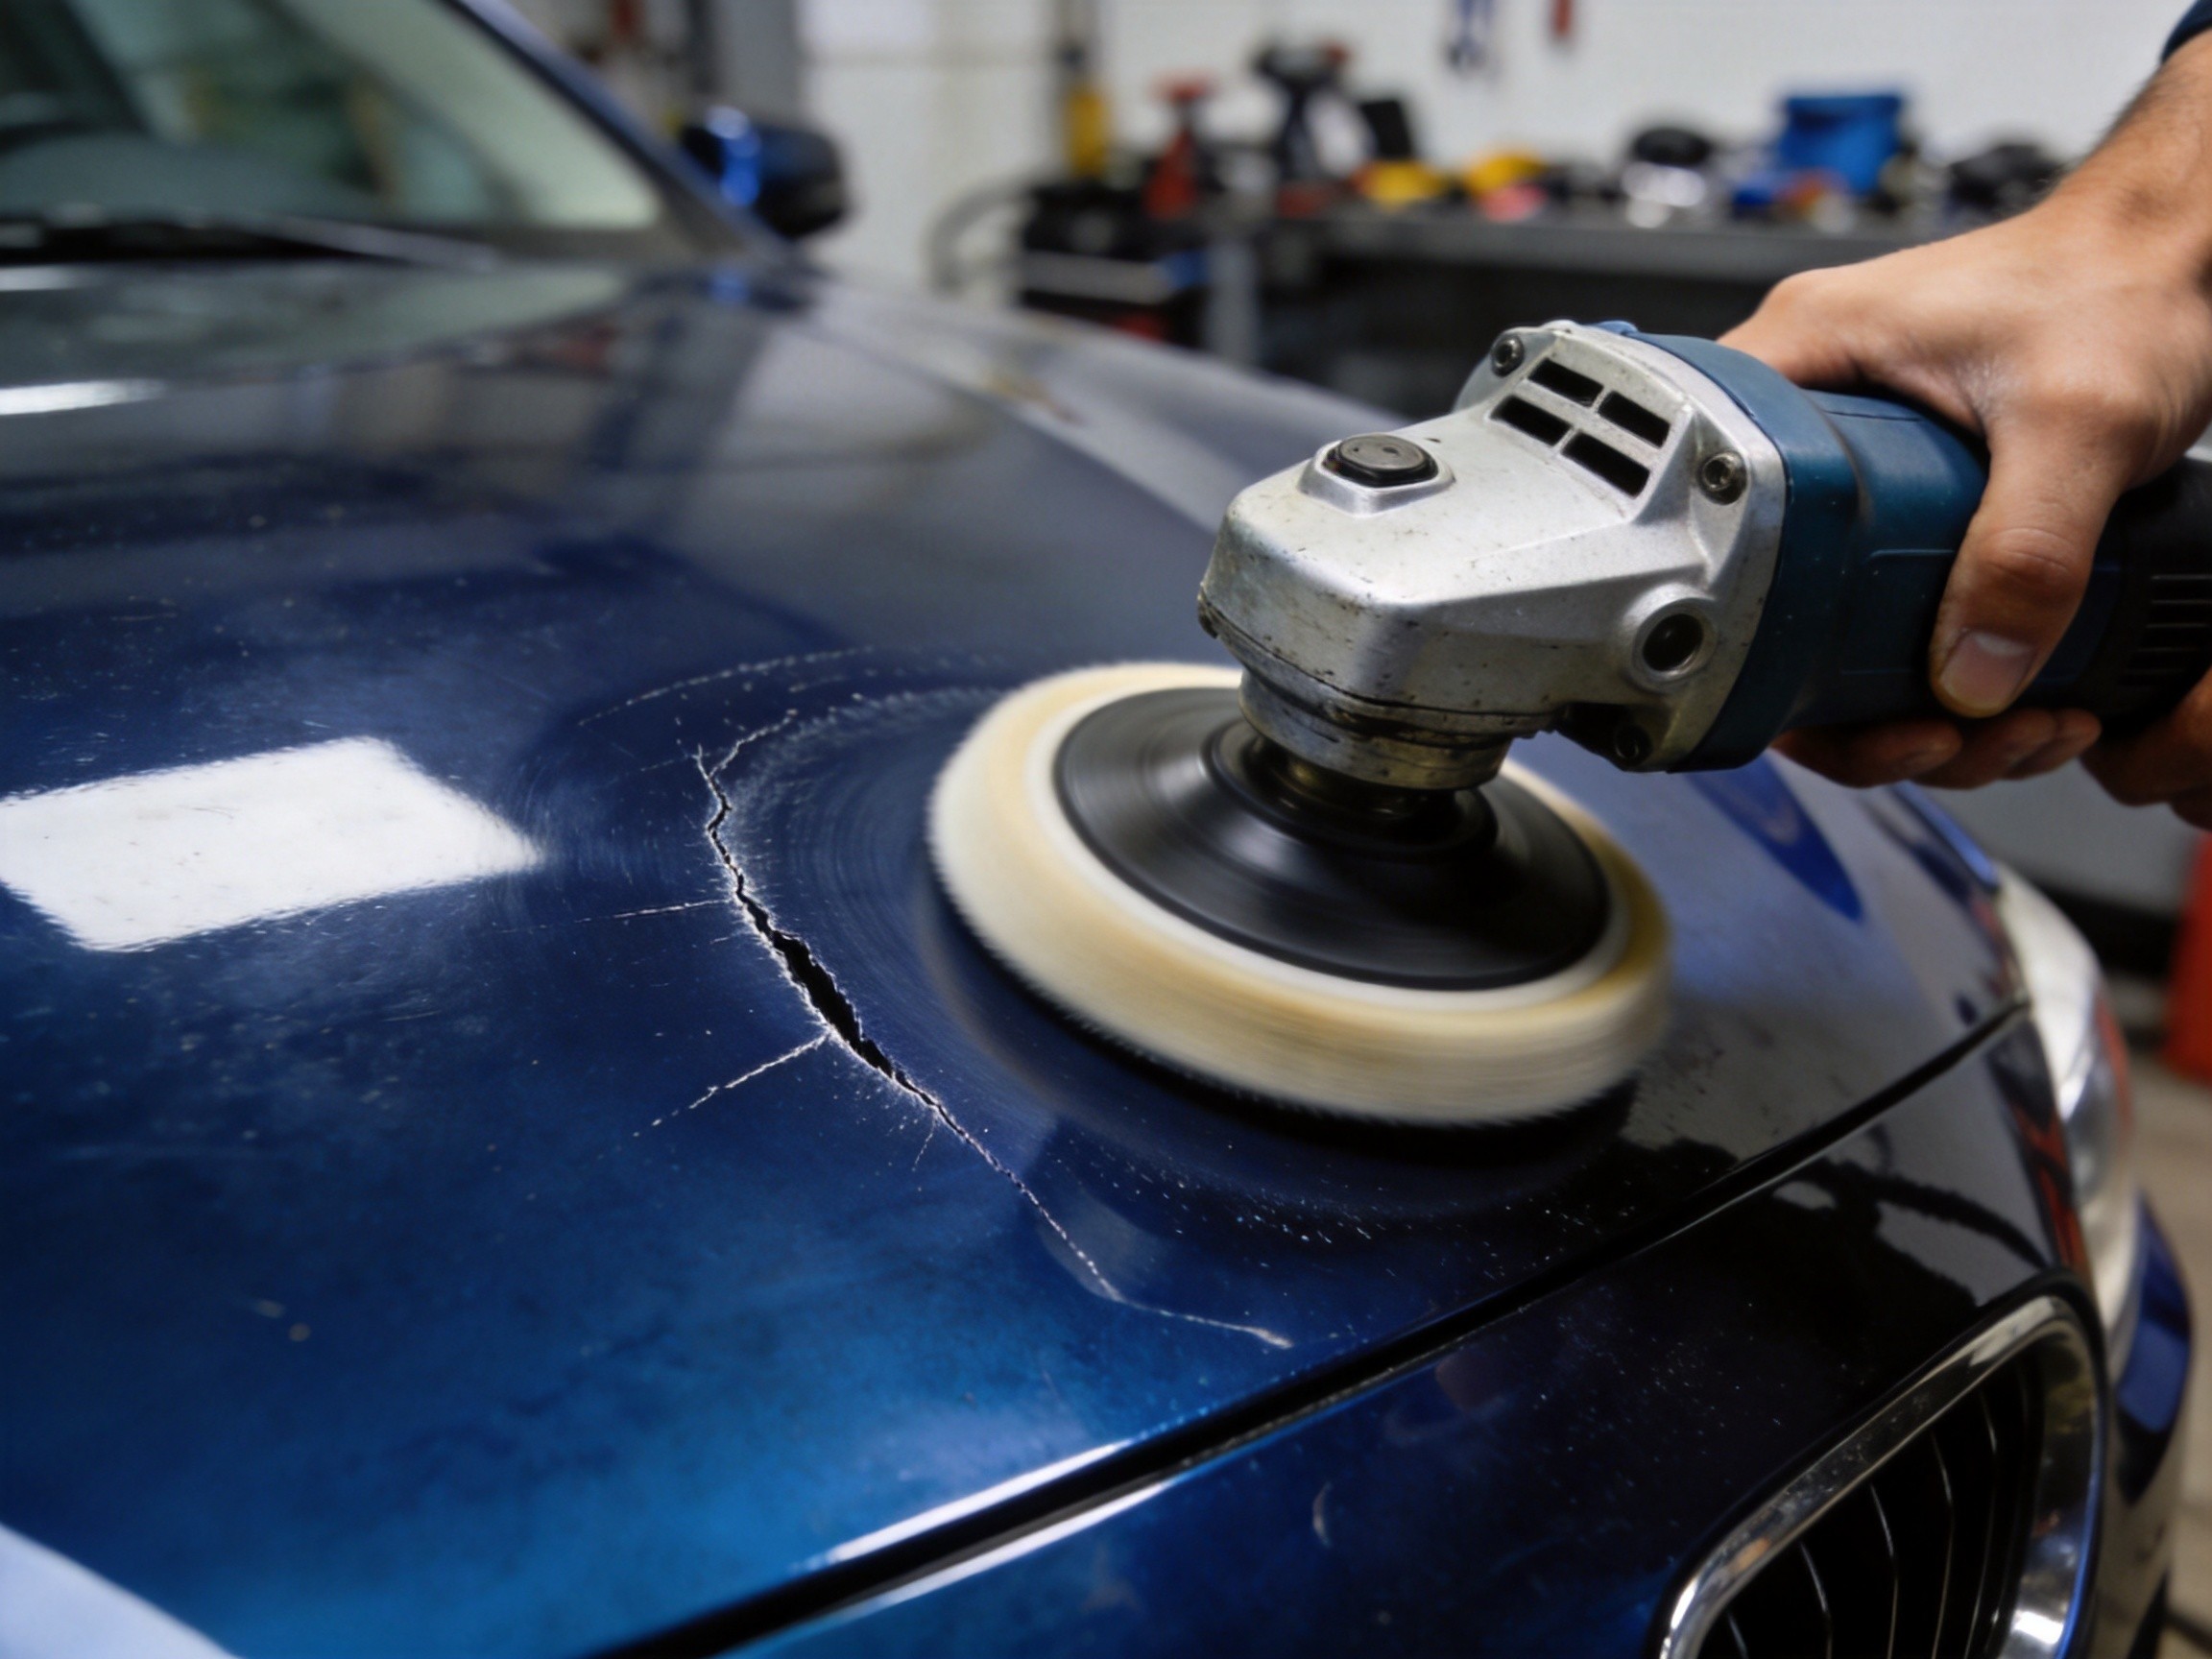
Don’t Rush to Repaint Deep Car Scratches — 3 Polishing Steps Can Save Them
Someone bumps your car and leaves a visible white mark on the paint. Most people’s first thought is “looks like I need a respray.” Not necessarily.
Scratches look alarming, but as long as they haven’t broken through the clear coat, there’s still a chance to fix them with automotive polishing wax. This article explains in detail how to judge deep scratches, how to treat them, and which steps you absolutely cannot skip.
1. First, Determine: Is Your Scratch Really a “Deep Scratch”?
Not every scratch that looks deep is truly deep, and not every deep scratch requires repainting. Get the diagnosis wrong, and your entire treatment plan goes off track.
1.1 The Fingernail Test
Drag your fingernail across the scratch (perpendicular to its direction):
- Smooth glide, no catch: Extremely shallow — swirl marks or hairline scratches. Fine polishing handles these.
- Slight resistance but no catch: Light scratches. Medium + fine polishing does the job.
- Slight catch: Deeper, approximately 10-20μm, approaching the clear coat limit. Requires a complete 3-step polishing process.
- Definite catch: Likely penetrated the clear coat, reaching the base coat or even metal. Needs touch-up paint before polishing.
1.2 The Water Test for Confirmation
Spray water on the scratch and observe:
- Scratch disappears or lightens significantly: The scratch is within the clear coat — polishing can remove it.
- Scratch remains clearly visible with no change: The scratch has penetrated the clear coat, possibly reaching the primer.
Tip: Using both methods together improves accuracy. If the nail doesn’t catch and the water test shows lightening, it’s almost certainly polishable.
1.3 Key Metric: Clear Coat Thickness
Clear coat thickness varies significantly between car models, directly determining how many polishing sessions the paint can withstand:
| Car Type | Clear Coat Thickness | Safe Polishing Limit |
|---|---|---|
| Japanese thin-paint cars | 25-35μm | 4-6 sessions |
| Medium thickness cars | 35-50μm | 6-8 sessions |
| German thick-paint cars | 40-60μm | 6-10 sessions |
Data source: Comprehensive industry testing data. If possible, use a paint thickness gauge to measure remaining clear coat before polishing. Build a record so you know your margins before starting.
Definition of a deep scratch: Depth of 10-20μm or more, still within the clear coat but approaching its limit. A noticeable fingernail catch, water test showing lightening but not disappearance, and a tactile step edge are typical characteristics of deep scratches.
Note: If the scratch reveals primer color (gray/white/black) or metallic sheen, it has penetrated the clear coat. Touch-up paint is needed first — this is outside the scope of this article.
2. What Happens If You Ignore Deep Scratches
Leaving deep scratches untreated has more serious consequences than you might think.
First, corrosion risk. The clear coat is the outermost protective layer of the paint. Once breached, moisture and acidic substances in the air directly contact the base coat. Over time, the metal substrate begins to rust from within. Corrosion spreads internally, and repair costs multiply several times over.
Second, accelerated oxidation. Where the clear coat is broken, gloss protection is lost. The surrounding paint gradually oxidizes and loses shine, creating a visible color difference against adjacent panels. This oxidation is irreversible — the sooner you address it, the better.
Third, doubled repair costs. A deep scratch left to corrode may require spot touch-up at best, or full panel respray at worst. A problem solvable for a few dollars initially can escalate to hundreds later.
So once you spot a deep scratch, first judge whether it can be polished; if it can, don’t wait.
3. Deep Scratch Polishing Standard Process: Three Steps
Polishing deep scratches differs from light scratches. Light scratches may only need medium + fine polishing, but deep scratches require the complete three-step process — skipping any step leaves visible remnants.
3.1 Step 1: Clean and Assess (Never Skip)
Deep cleaning:
- Wash thoroughly with neutral car wash soap to remove surface dirt and grease.
- Use a clay bar or decontamination clay to remove embedded contaminants like iron particles and tar.
- Wipe with IPA degreaser (isopropyl alcohol 1:1 mixed with water) to remove old wax and oil film.
Polishing without proper cleaning means dirt particles cause secondary scratches during grinding — worse than the original scratch.
Scratch assessment:
- Confirm depth range with the fingernail test.
- Use a bright flashlight at a 45° angle to observe scratch characteristics.
- If available, use a paint thickness gauge to check remaining clear coat and calculate safe material removal.
Determining if wet sanding is needed: If the scratch is extremely deep (nail catches firmly, water test still shows clear marks), coarse polishing alone won’t remove it. You’ll need to wet sand with 3000-5000 grit sandpaper using a DA machine first, leveling the clear coat around the scratch to match the scratch bottom, then polish flat.
⚠️ Wet sanding is a high-risk operation. Not recommended for DIY car owners unless necessary. Even professional shops must strictly control the sanding area to the immediate vicinity of the scratch.
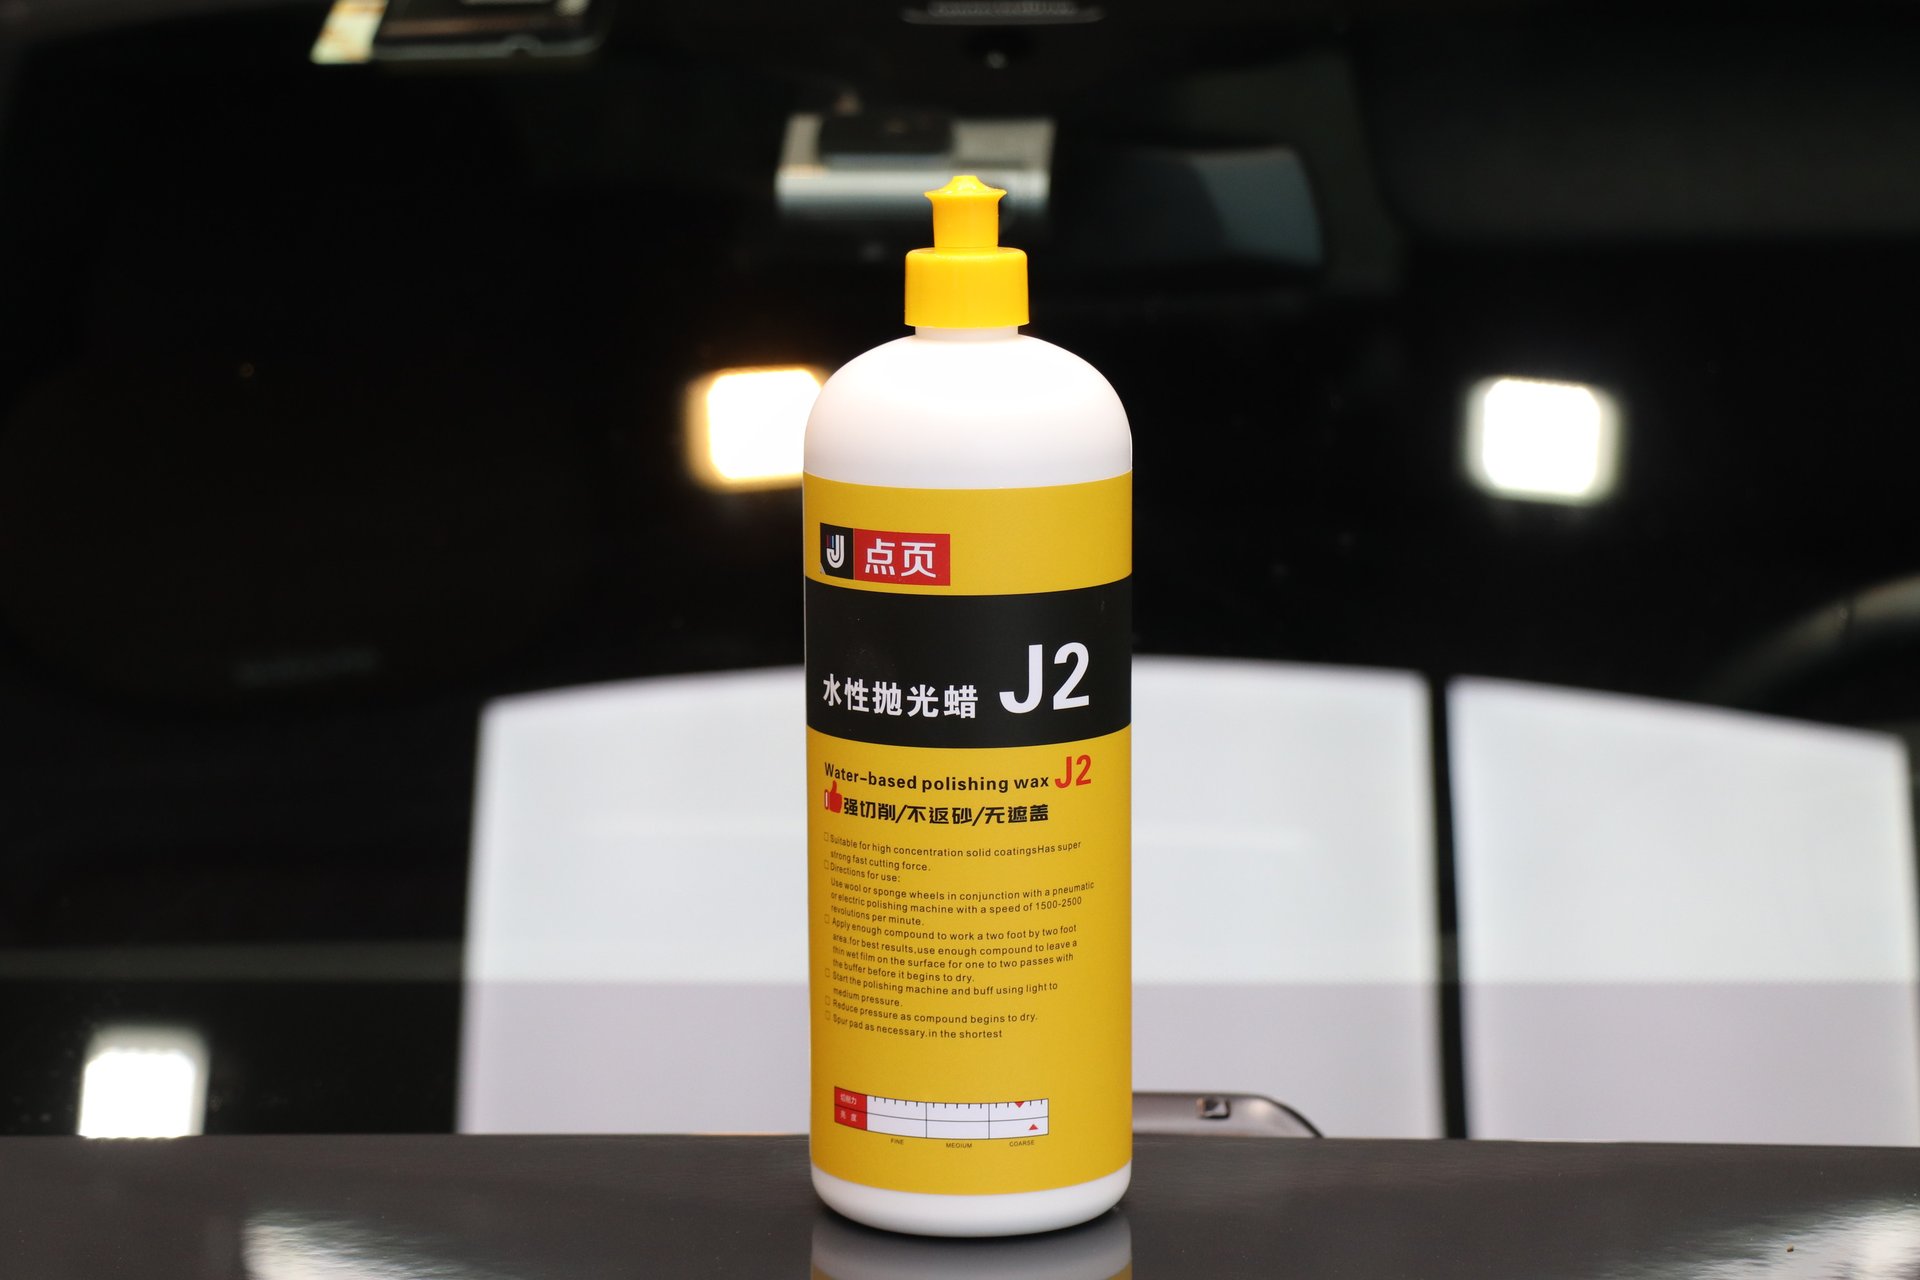
3.2 Step 2: Coarse Polishing for Leveling (J2 Coarse Polishing Wax + Short Wool Pad)
Coarse polishing is the core of deep scratch treatment, aimed at removing the main scratch and any wet sanding marks.
Product selection:
- DianYe J2 Water-Based Polishing Wax: Abrasive particles >10μm, specifically designed for coarse polishing. 1000g大容量 (large capacity), ideal for the leveling stage of deep scratch treatment. J2 cutting compound efficiently cuts through the clear coat, quickly leveling scratch grooves.
- Pad choice: Short wool pad — strong cutting ability with enough flexibility to conform to curved surfaces, perfect for coarse leveling.
Operating parameters:
| Parameter | Recommended Value |
|---|---|
| Machine | RO or DA polisher |
| Pad | Short wool pad |
| Speed | RO: 1200-1500rpm / DA: Setting 5-6 |
| Pressure | Medium |
| Pattern | Straight-line overlapping, no circles |
| Section size | 2’×2’ (approx. 60cm×60cm) |
| Completion cue | Abrasive breaks down and turns clear, haze disappears |
Key technique points:
- Keep the pad parallel to the paint surface — never tilt.
- Each pass overlaps about 50% of the pad diameter for even coverage.
- Polish each section until haze disappears and the abrasive turns clear before moving on.
- After each section, feel the paint temperature with the back of your hand. If it’s hot to the touch, stop immediately — wait for it to cool before continuing.
After coarse polishing, the deep scratch should be significantly reduced or gone, and the paint feels smooth. But the overall surface will appear “dull” — this is normal. Medium and fine polishing are needed to restore gloss.
3.3 Step 3: Medium Polishing for Brightness (J3 Medium Polishing Wax + Fine Foam Pad)
Medium polishing eliminates swirl marks and holograms left by coarse polishing. It serves as the transition bridge between coarse and fine polishing.
Product selection:
- DianYe J3 3-in-1 Polishing Wax: Abrasive particles 3-10μm, water-based paste, completes medium polishing in a single step. The “3-in-1” means it reduces the need for a separate fine polishing step compared to traditional medium compounds. For paint restoration after deep scratch treatment, J3 is the best value choice.
- Pad choice: Fine foam pad — moderate hardness, effectively removes holograms when paired with medium polishing wax.
Operating parameters:
| Parameter | Recommended Value |
|---|---|
| Machine | DA polisher (recommended) |
| Pad | Fine foam pad |
| Speed | Reduce to 1000-1200rpm |
| Pressure | Light |
| Completion cue | Holograms disappear, paint shows uniform gloss |
After medium polishing, the paint gloss is largely restored but hasn’t yet reached a mirror finish — that requires the final fine polishing step.
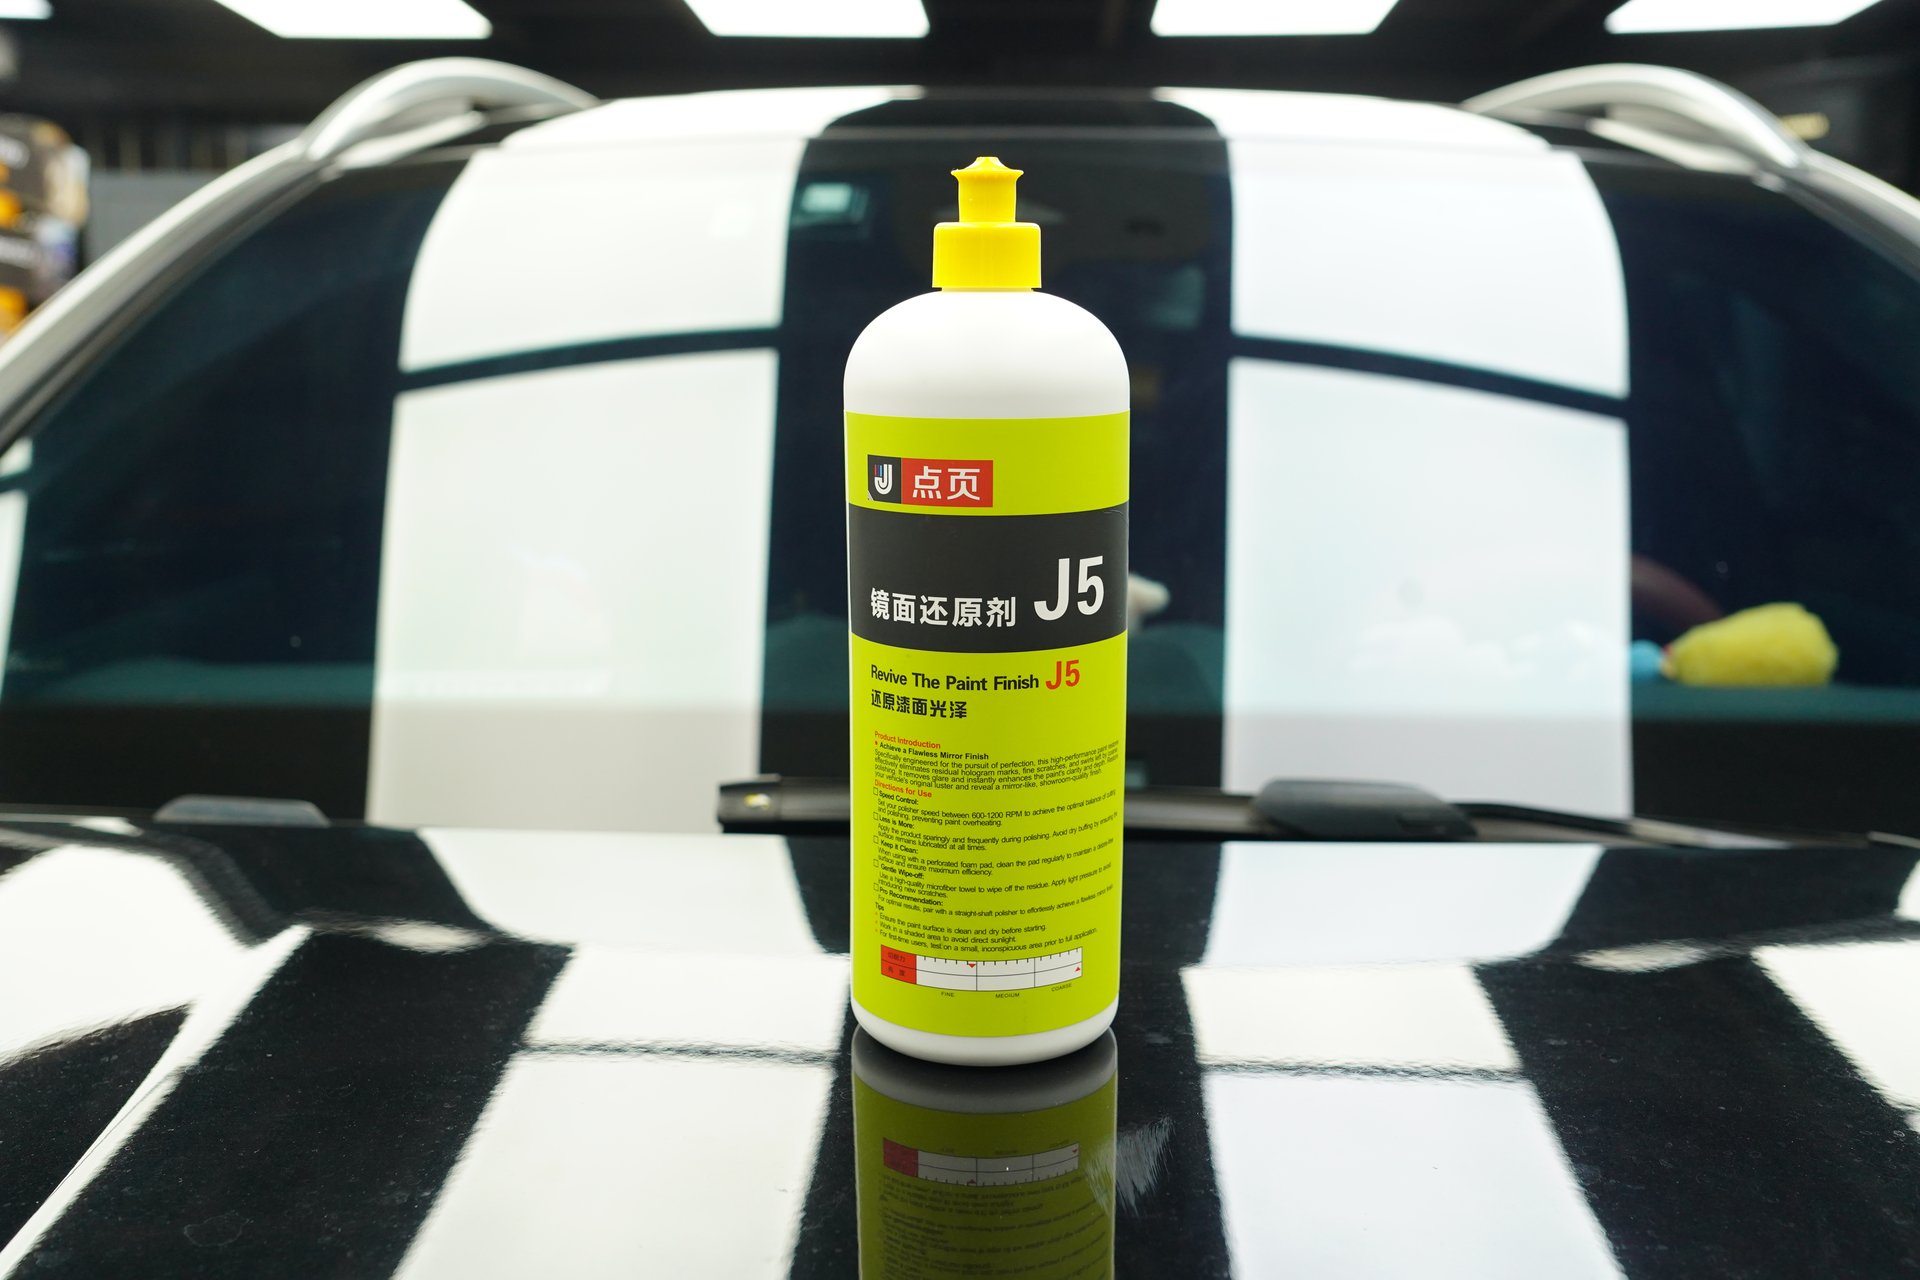
3.4 Step 4: Fine Polishing for Mirror Restoration (J5 Mirror Restorer + Ultra-Fine Foam Pad)
Fine polishing is the finishing step, aimed at achieving the ultimate mirror gloss.
Product selection:
- DianYe J5 Mirror Restorer: Abrasive particles <3μm, specifically designed for fine polishing and restoration. 1000g size. Completely eliminates the fine marks left by medium polishing, delivering a true mirror finish.
- Pad choice: Ultra-fine foam pad or microfiber pad — extremely soft, paired with J5 restorer for the final mirror effect.
Operating parameters:
| Parameter | Recommended Value |
|---|---|
| Machine | DA polisher |
| Pad | Ultra-fine foam/microfiber pad |
| Speed | Reduce to 800-1000rpm |
| Pressure | Very light — mostly machine weight |
| Completion cue | Mirror gloss achieved, no marks visible |
After fine polishing, you must wipe the surface with IPA degreaser to inspect:
- If gloss remains strong after degreasing, it’s a genuine mirror restoration.
- If gloss drops significantly after degreasing, the “shine” was just filler illusion — further treatment needed.
Fine polishing restoration is physical abrasion (J5 contains abrasive particles), removing approximately 0.5-1μm of clear coat. When paint condition is good, you can skip medium polishing and go straight to fine; but after deep scratch treatment, the full three-step process is mandatory.
3.5 Degreasing Verification and Protection
Perform a degreasing check immediately after fine polishing, then apply a protective layer — otherwise, the newly exposed clear coat will re-oxidize within days.
- Apply DianYe X1 Quick Liquid Wax: Fast gloss and protection for post-polishing care. X1 quick liquid wax can be applied directly after fine polishing — apply and wipe off immediately, no waiting needed. Provides dual gloss and protection benefits.
- Or opt for ceramic coating or glaze sealing for longer-lasting protection.
4. Deep Scratch Polishing Pitfall Guide
4.1 The Biggest Danger: Burning Through the Clear Coat
Once the clear coat is burned through, it cannot be regenerated. The only fix is repainting. This is the outcome you must avoid at all costs.
Why burn-through happens:
- Clear coat is already thin (Japanese cars only 25-35μm), and each coarse polish removes 3-5μm. One careless pass too many and you’re through.
- Edges and body lines naturally have thinner clear coat — high-risk zones.
- Excessive heat softens the clear coat, accelerating material removal.
How to prevent burn-through:
- Measure clear coat thickness with a gauge before polishing. Build a record.
- Follow the principle of “as much correction as necessary, as little as possible” — necessary correction, minimum consumption. Use fine when possible instead of coarse. Two steps when three aren’t needed.
- Never use high speed on edges and body lines — RO machine no more than 1200rpm, DA no more than 2000rpm, always use soft foam pads.
- Check paint temperature with the back of your hand between passes. Hot to the touch = stop immediately.
- If one polishing pass can’t fully remove a scratch, accept a slight residual rather than forcing another pass.
4.2 Operation Taboos
| Taboo | Consequence |
|---|---|
| Polishing in direct sunlight | Clear coat softens from heat —极易 burn-through |
| Staying in one spot over 3 seconds | Localized heat buildup — burns through clear coat |
| Using a dirty pad directly | Embedded particles cause secondary scratches |
| Mixing pads between stages | Coarse wax residue scratches the finish |
| Touching undegreased paint with bare hands | Oil contamination affects polishing results |
| Starting work without measuring clear coat thickness | No idea of safety margin — blind operation |
4.3 Deep Scratch Polishing Quick Reference
| Stage | Product | Pad | Speed | Pressure |
|---|---|---|---|---|
| Coarse | J2 Coarse Wax | Short wool pad | RO 1200-1500rpm | Medium |
| Medium | J3 Medium Wax | Fine foam pad | 1000-1200rpm | Light |
| Fine | J5 Mirror Restorer | Ultra-fine foam pad | 800-1000rpm | Very light |
| Post-polish protection | X1 Quick Liquid Wax | — | — | — |
Coarse pairs with hard, fine pairs with soft — coarse wax on a soft pad “slides” without cutting power; fine wax on a wool pad leaves new marks. This is the iron rule of pad-wax pairing. Break it, and even the best wax won’t deliver results.
5. What If Marks Remain After Polishing?
After the 3-step deep scratch polishing process, most scratches are eliminated or significantly reduced. But some situations may leave residuals:
Scratch still faintly visible: The scratch depth may have exceeded the clear coat’s safe removal capacity. Solution — use a glaze product with fillers to temporarily mask remaining scratches. Note this is a temporary fix; after several washes the filler dissipates and you’ll need to reapply.
Scratch on a body line edge: Clear coat is extremely thin at body edges. Further polishing risks burn-through. Solution — accept incomplete removal, fill the remainder with glaze, or opt for touch-up paint.
Light holograms appear: Caused by uneven medium polishing. Solution — spot-polish the affected area to remove holograms, then fine polish to restore.
6. The Right Timing for Deep Scratch Treatment
Timing matters when addressing deep scratches:
Best timing: Right when the scratch occurs. Surface contamination is minimal, scratch edges are clean, and treatment results are optimal.
Acceptable timing: Scratch is weeks old with slight surface oxidation but no rust. Deep cleaning and de-oxidation are needed first, then reassess whether polishing is viable.
Don’t polish directly: Rust has appeared at the scratch or primer is exposed. Rust must be treated first, or touch-up paint applied and dried before polishing.
Post-polish protection is mandatory: Whether wax or ceramic coating, after polishing the clear coat is “naked.” Without a protective layer, the newly exposed clear coat will re-oxidize quickly — defeating the entire purpose.
Conclusion
Deep scratches sound scary, but as long as the scratch is still within the clear coat, using coarse wax for leveling, medium wax for brightness, and mirror restorer for fine polishing — combined with proper technique and measured clear coat consumption — you can eliminate the scratch without paying for a respray.
This is experience distilled from over a decade of making polishing products at DianYe — many car owners assume deep scratches always require repainting. In reality, with the right automotive polishing wax and the correct 3-step process, the results are better than repainting at one-tenth the cost.
Remember three rules:
- Judge the depth first — only polish if it’s safe.
- Coarse, medium, fine — three steps, skipping any leaves residue.
- Better to leave a trace than burn through the paint.
Xiaohongshu (Little Red Book) Title Suggestions (3)
- Car Paint Scratched? Don”t Rush to Paint — 3 Polishing Steps to the Rescue
- The Fingernail Test Tells All! Know If Your Deep Scratch Can Be Polished Before Spending a Dime
- Complete Deep Scratch Restoration Guide — From Coarse to Fine Polishing, All in One Article